Warner Bros. Studio Tour Tokyo - Making of Harry Potter: A 6-Hour Walk from 9 AM
I'd heard that the studio sets were built on the grounds of what used to be Toshimaen amusement park, but I didn't realize the experience started the moment we arrived at Ikebukuro…
Tokyo · Warner Bros. Studio Tour Tokyo - The Making of Harry Potter
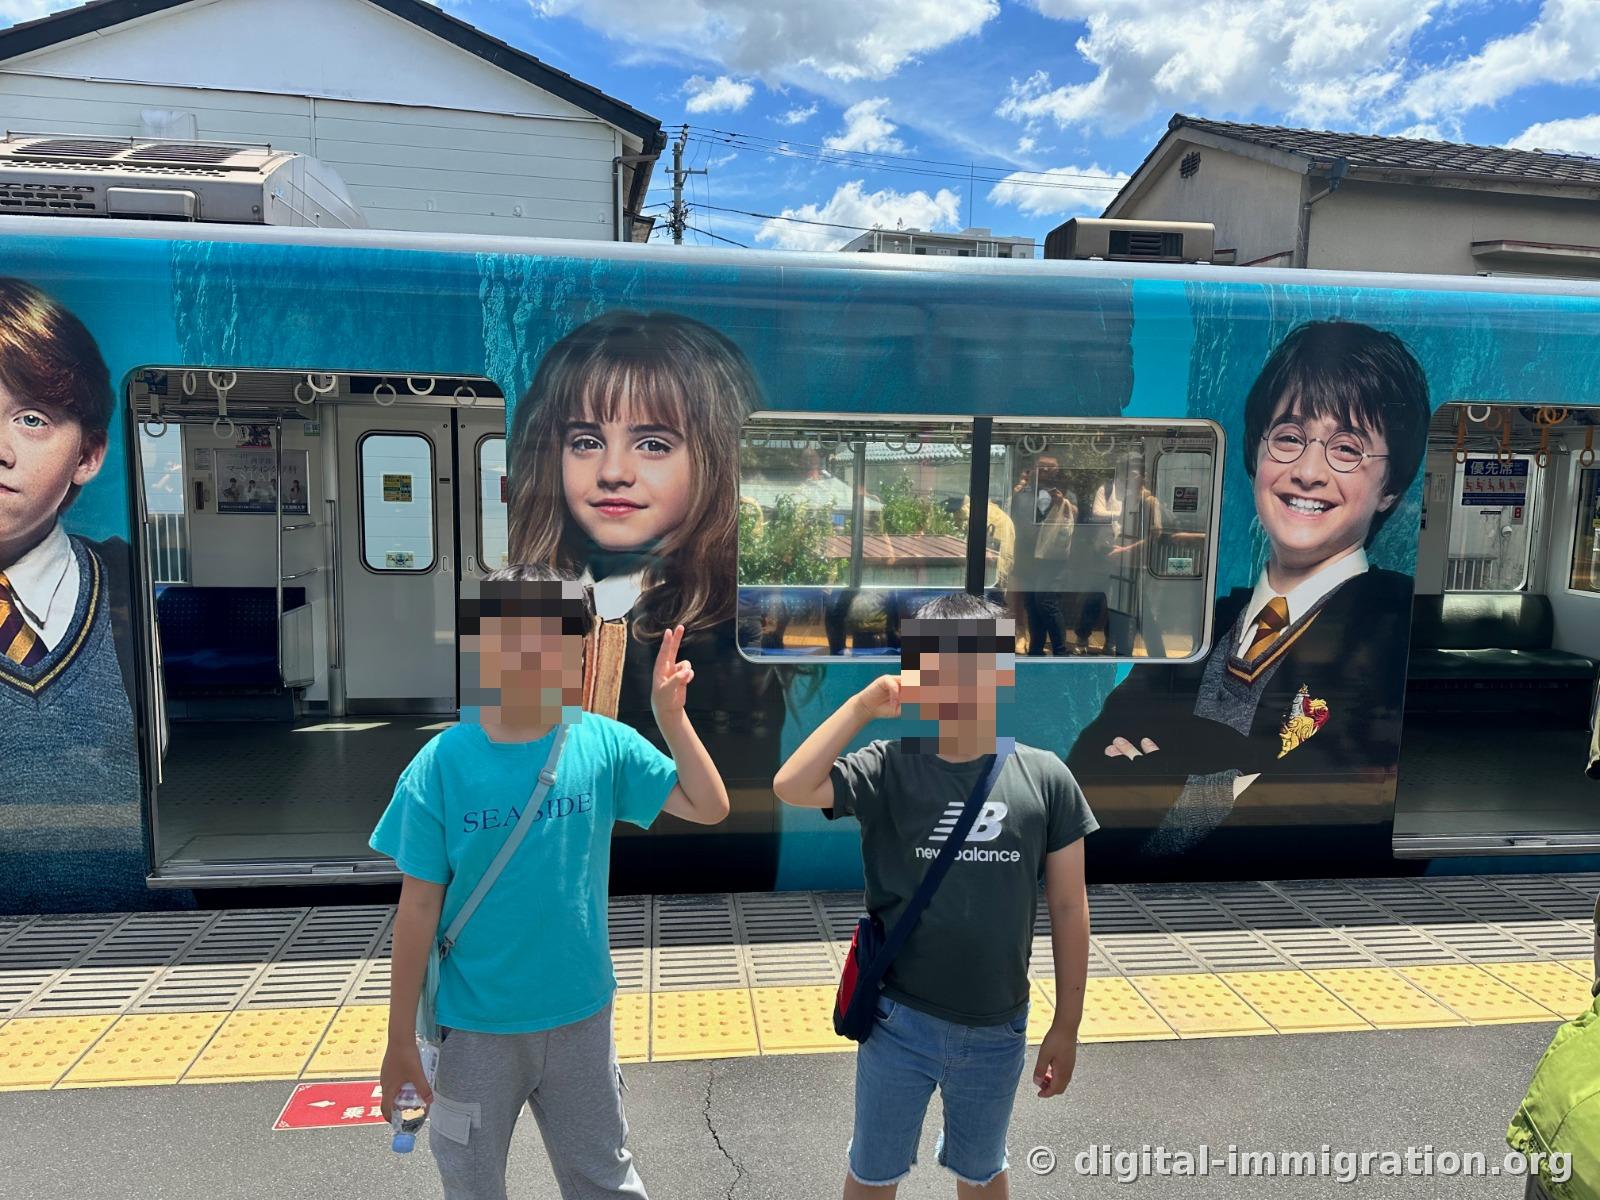
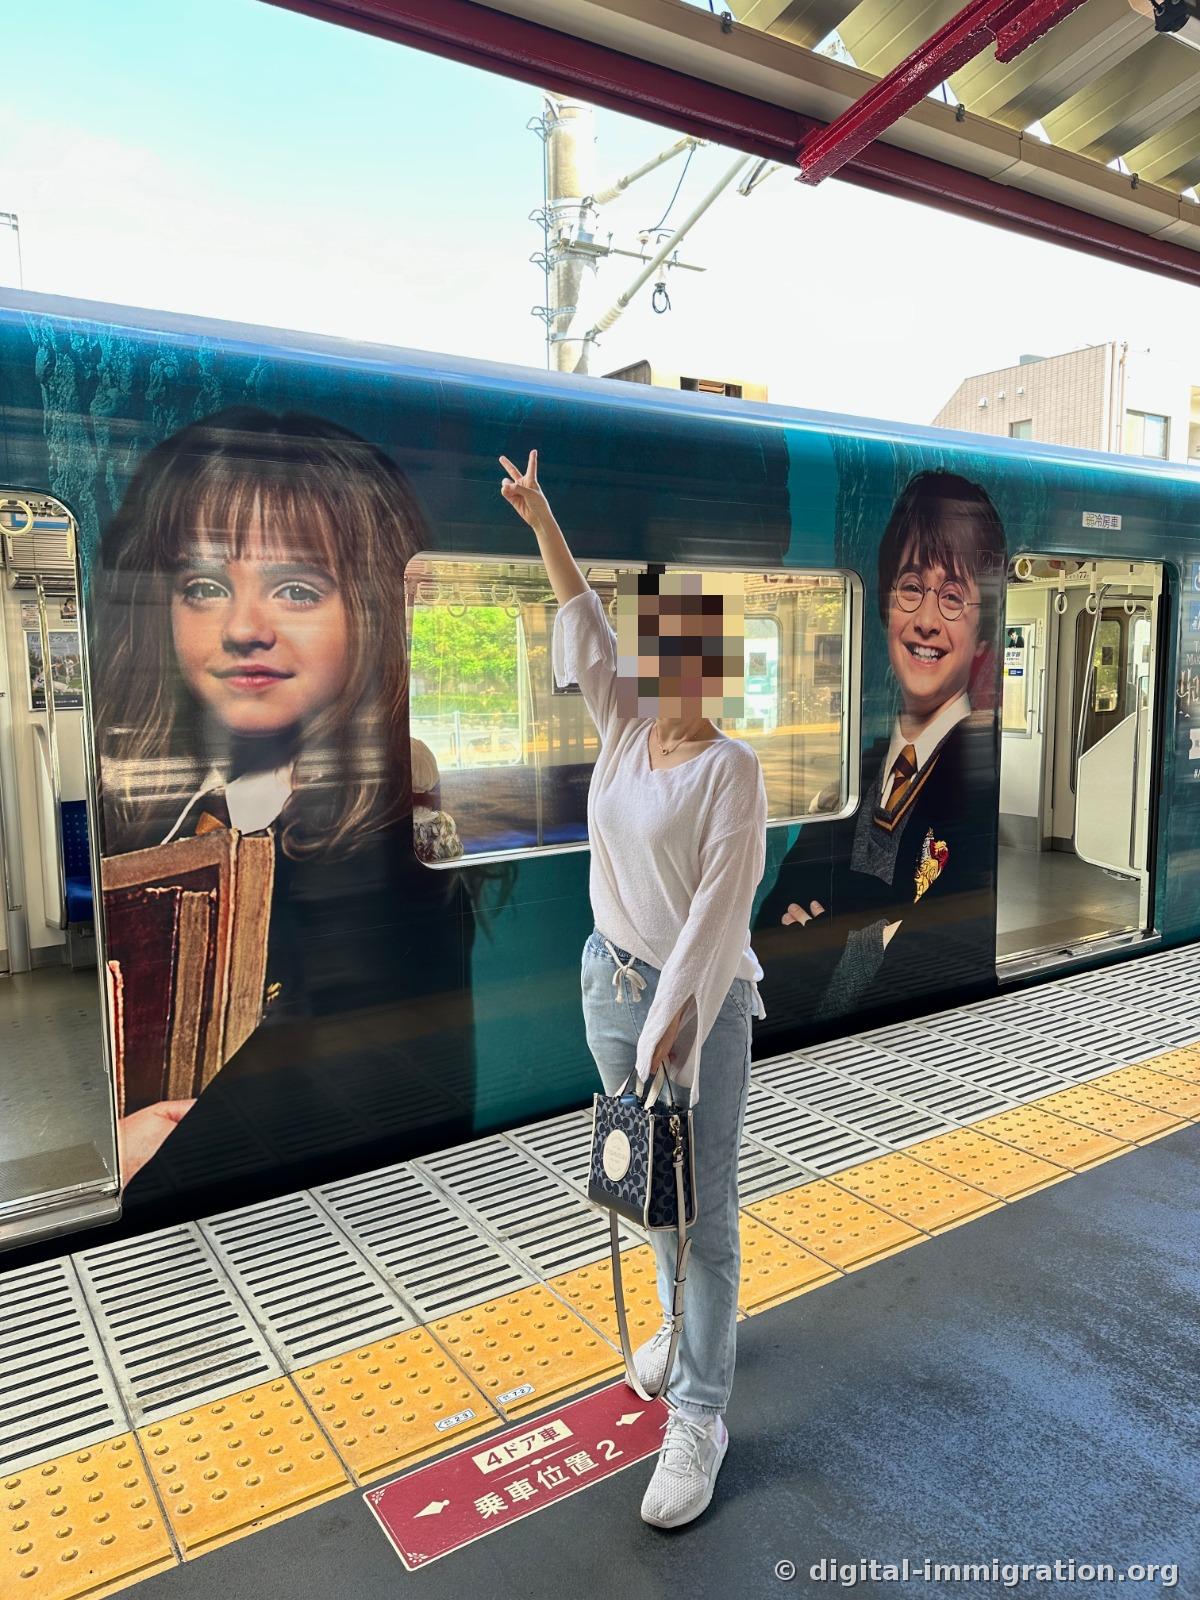
I'd heard that the studio sets were built on the grounds of what used to be Toshimaen amusement park, but I didn't realize the experience started the moment we arrived at Ikebukuro and boarded the Seibu line. On the side of the train that pulled into the platform were life-sized images of Harry, Hermione, and Ron. The children screamed. Not all trains have this wrapping—only some cars in regular service do. We were lucky.
A Glass Building Appears Right as You Exit the Station
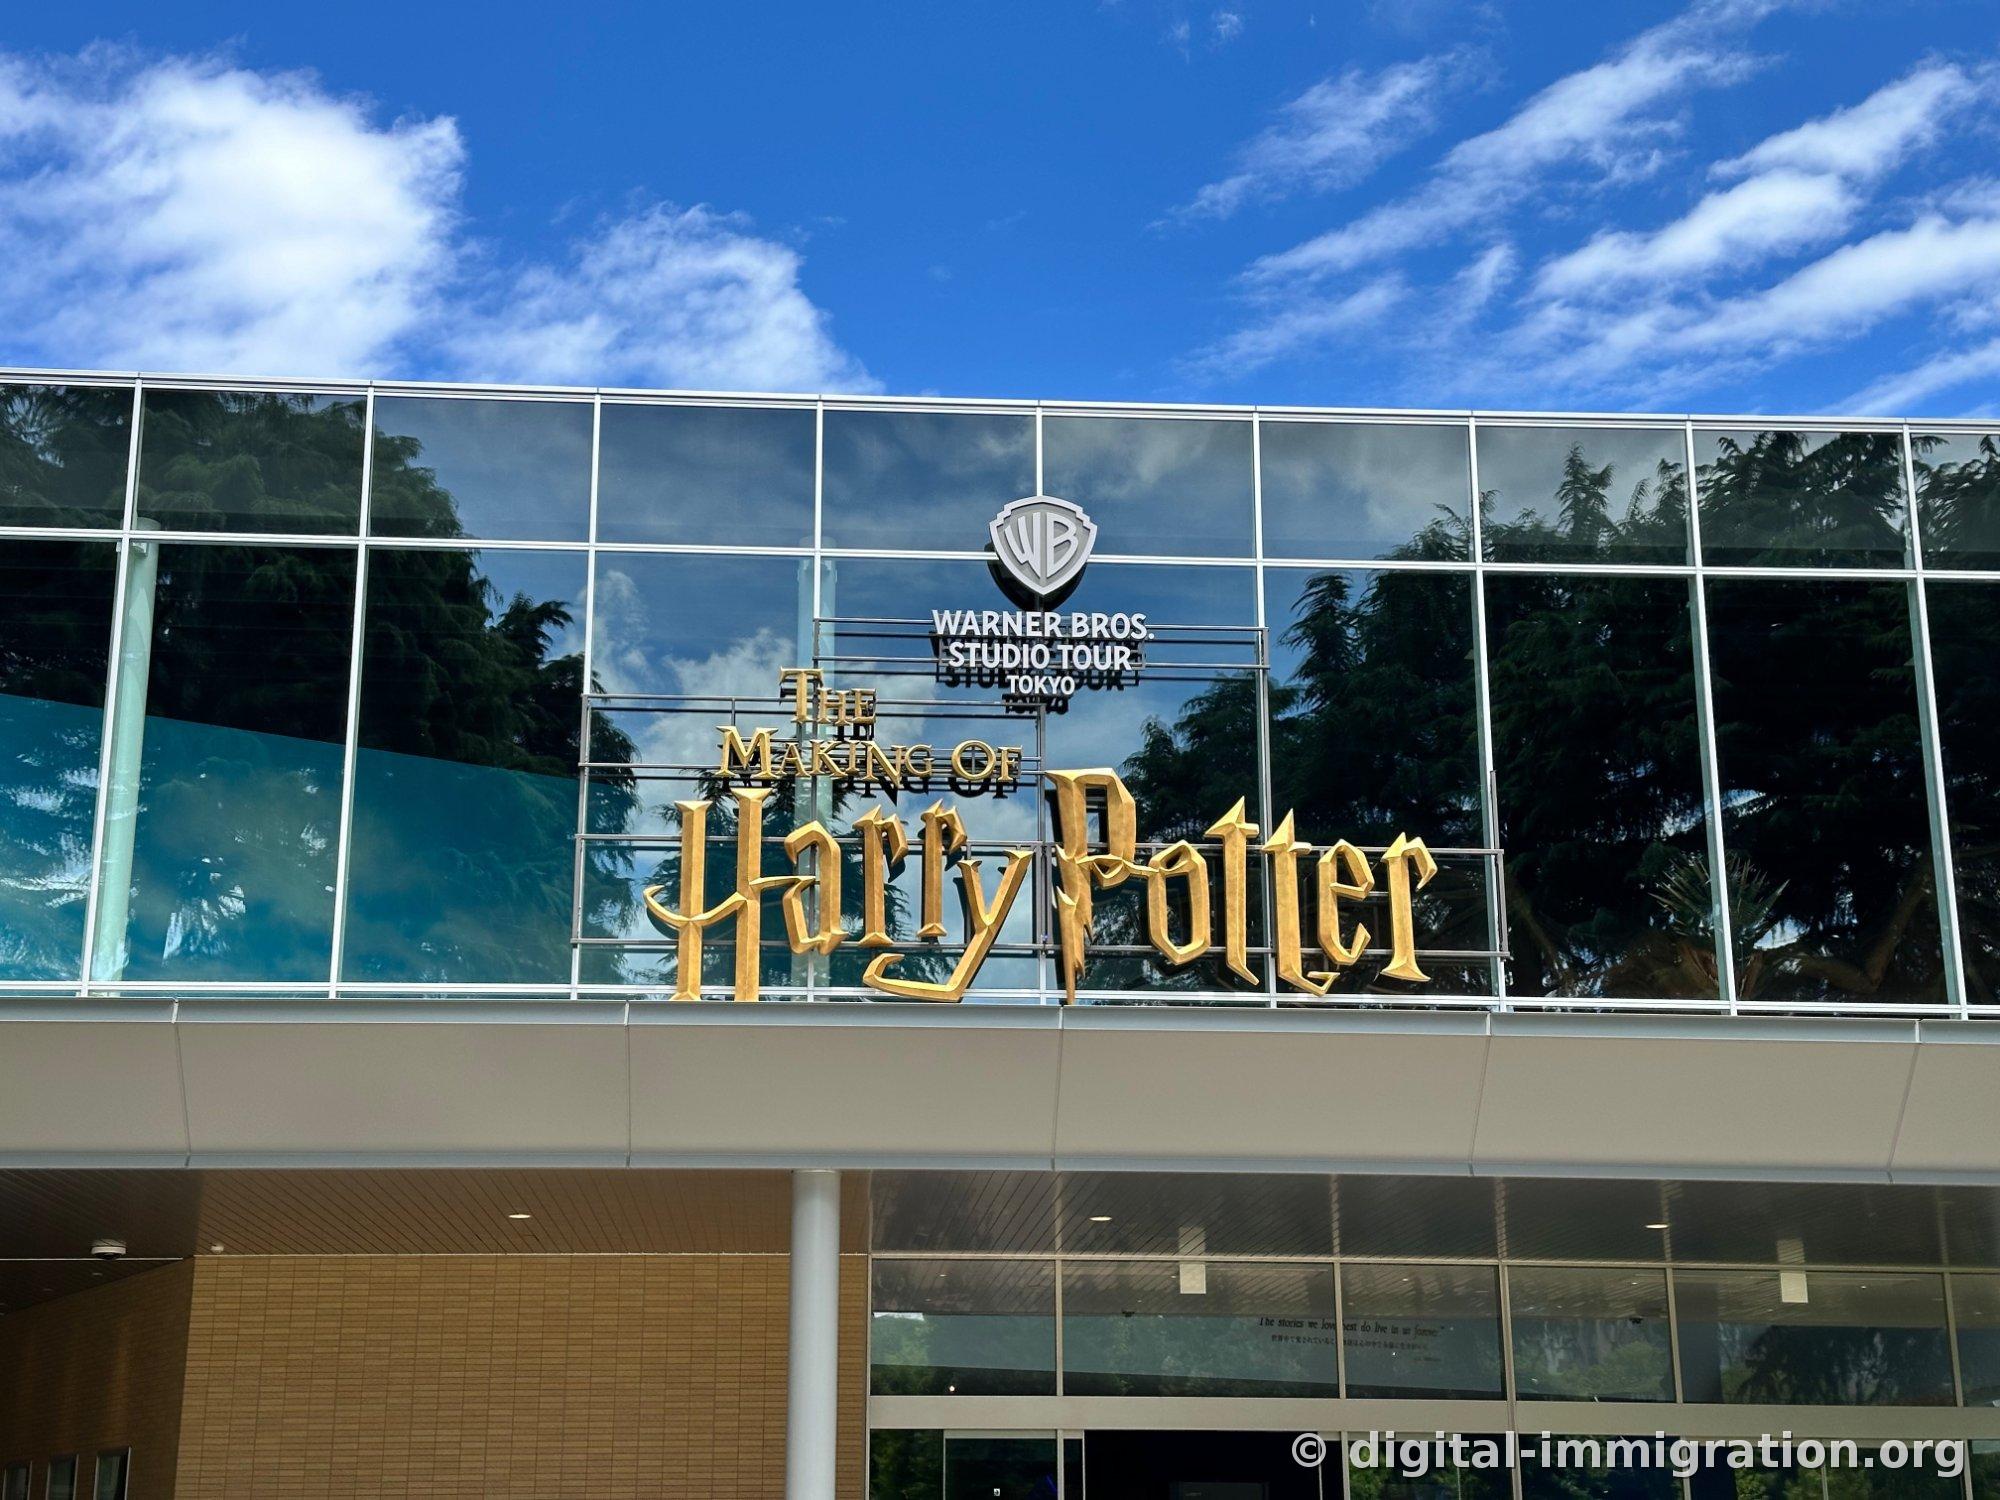
From Toshimaen Station, it's less than a 2-minute walk. A glass curtain wall displays a gold "Harry Potter" logo and the Warner Bros. shield. Below the logo, the words "The stories we love best do live in us forever" are subtly etched into the glass—easy to miss if you're just passing by. We arrived in the morning, and the sky reflected beautifully off the glass, making for great photos.
Tickets are sold by date and time reservation only, so don't expect to buy them on the spot. We booked a morning slot, which turned out to be a good decision. When we left, we saw afternoon groups lined up long for photos in the Great Hall. Prices and hours change seasonally, so it's best to check the booking page for accurate details.
A Dragon Hangs Directly Above Your Head Upon Entry
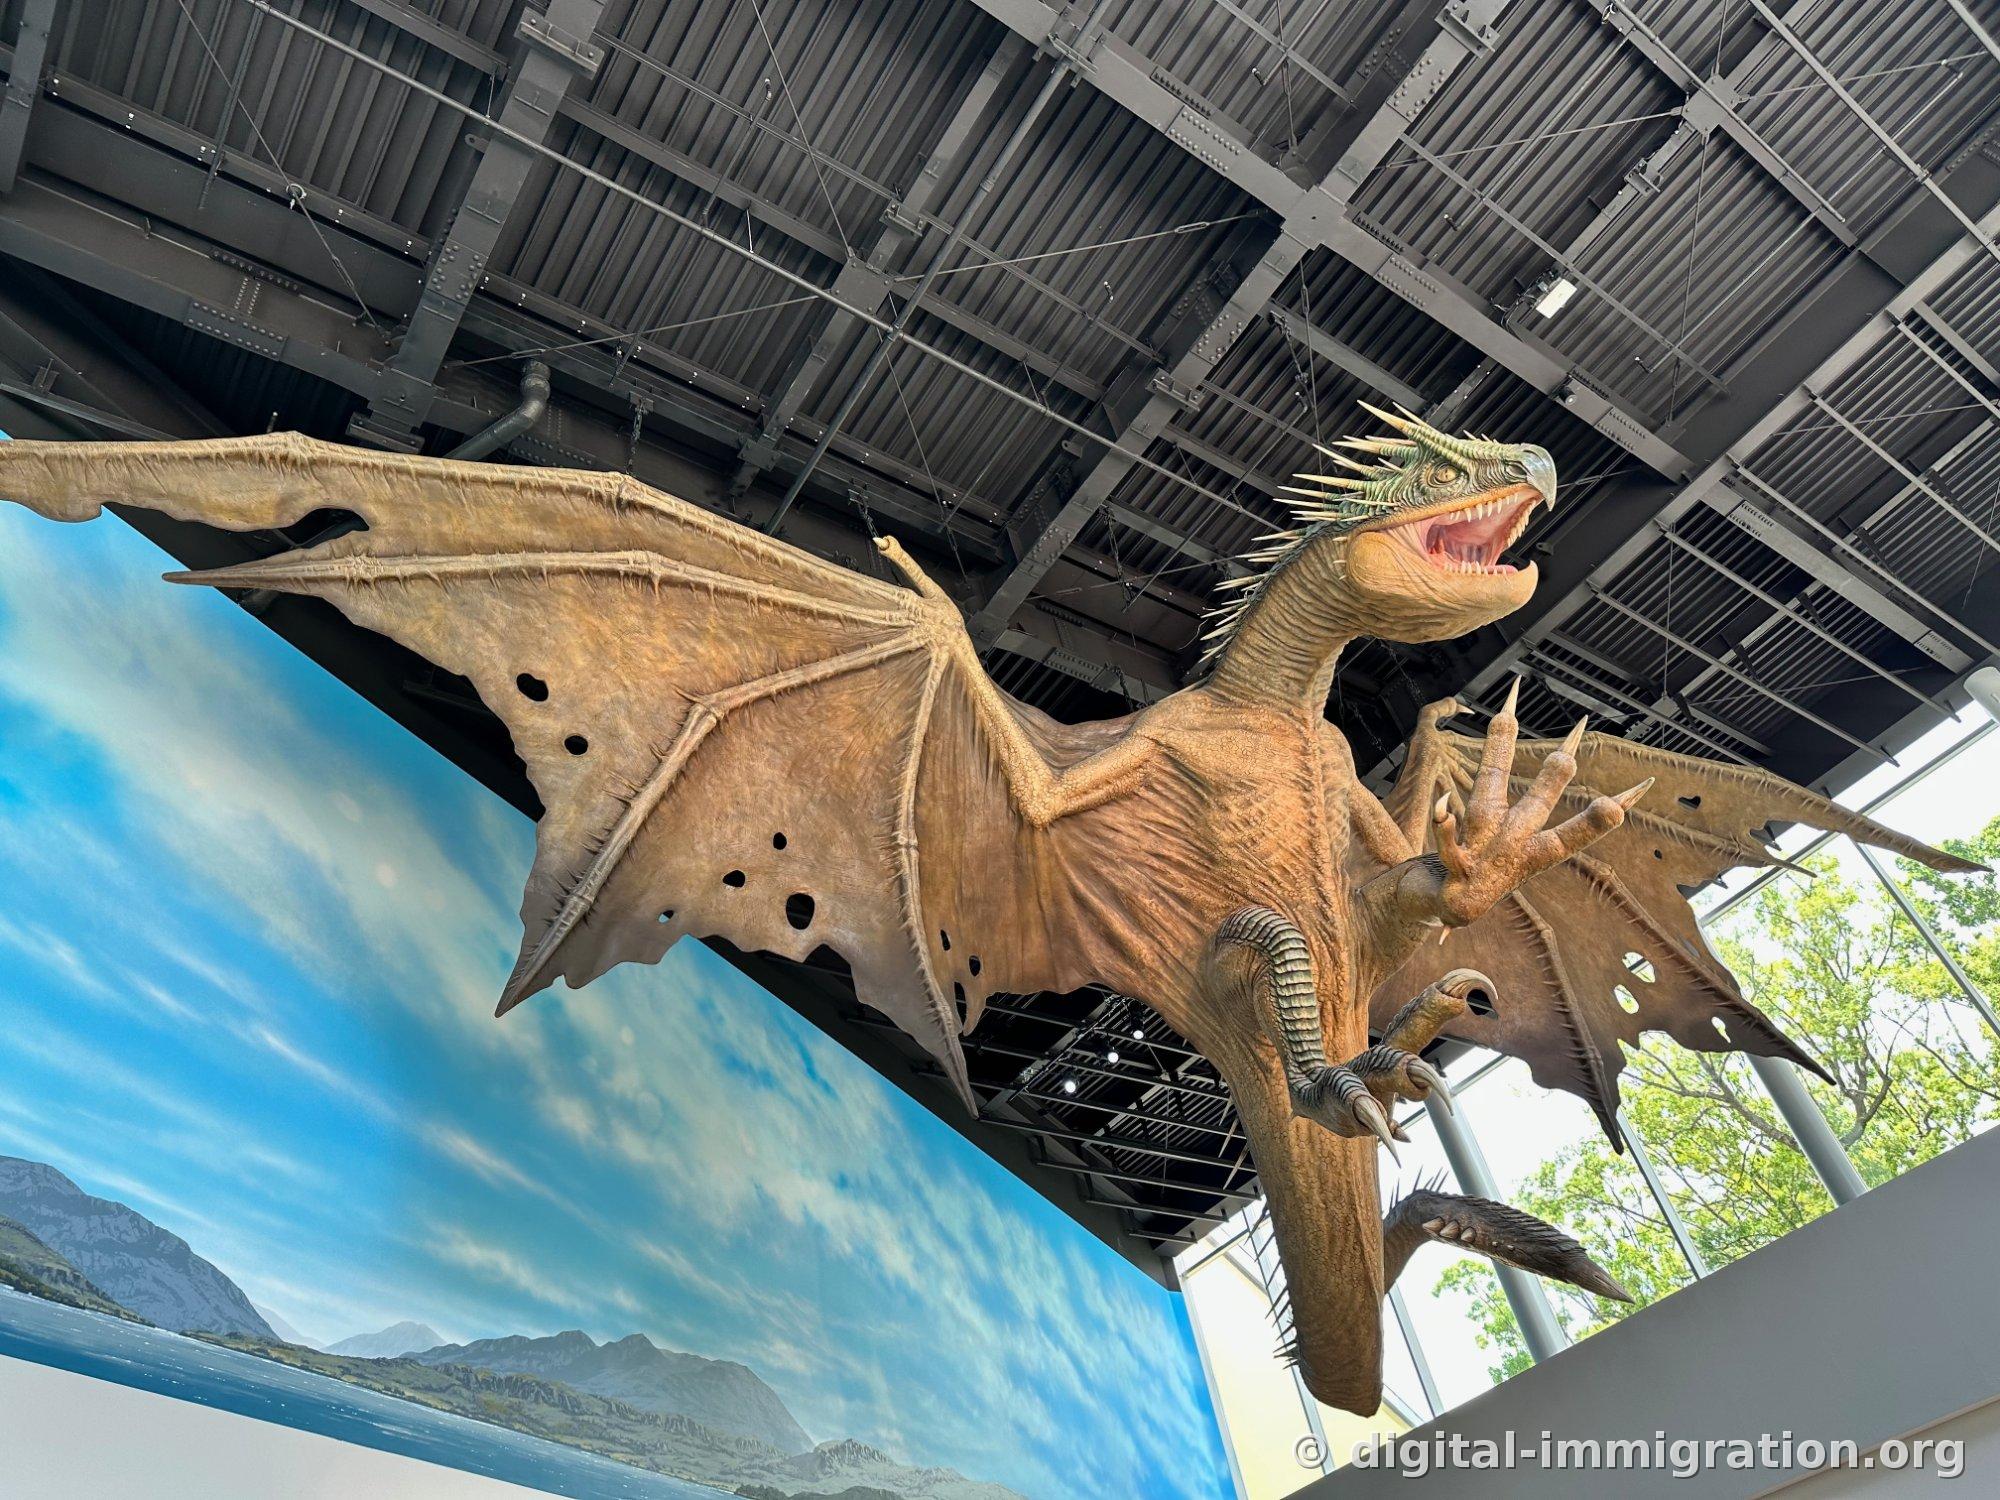
As you step inside and scan your ticket, a bronze dragon hangs from the lobby ceiling. It's the dragon from the Gringotts escape scene. The exposed steel trusses in the ceiling make it immediately clear you're in a working studio, not a recreation. The wing membranes have perforations and sagging leather texture, and the back wall displays a large print of a Scottish lakeside landscape.
The Great Hall and the Moving Staircase
The tour begins at the Great Hall. The moment the door opens, you feel a temperature shift. The floor is laid with yorkstone, and your footsteps echo dully. The orange glow from the wall torches makes your eyes take a moment to adjust, even indoors. Real wax cups and plates sit on the long tables on either side, and robes for each house drape from mannequins against the walls. Walking down the center, you face the staff table and stained-glass windows. This section operates with controlled flow—everyone enters and exits together—so photo time is limited. It's better to capture the front view right as you enter rather than lingering for individual shots, or you'll get swept along by the group behind you.
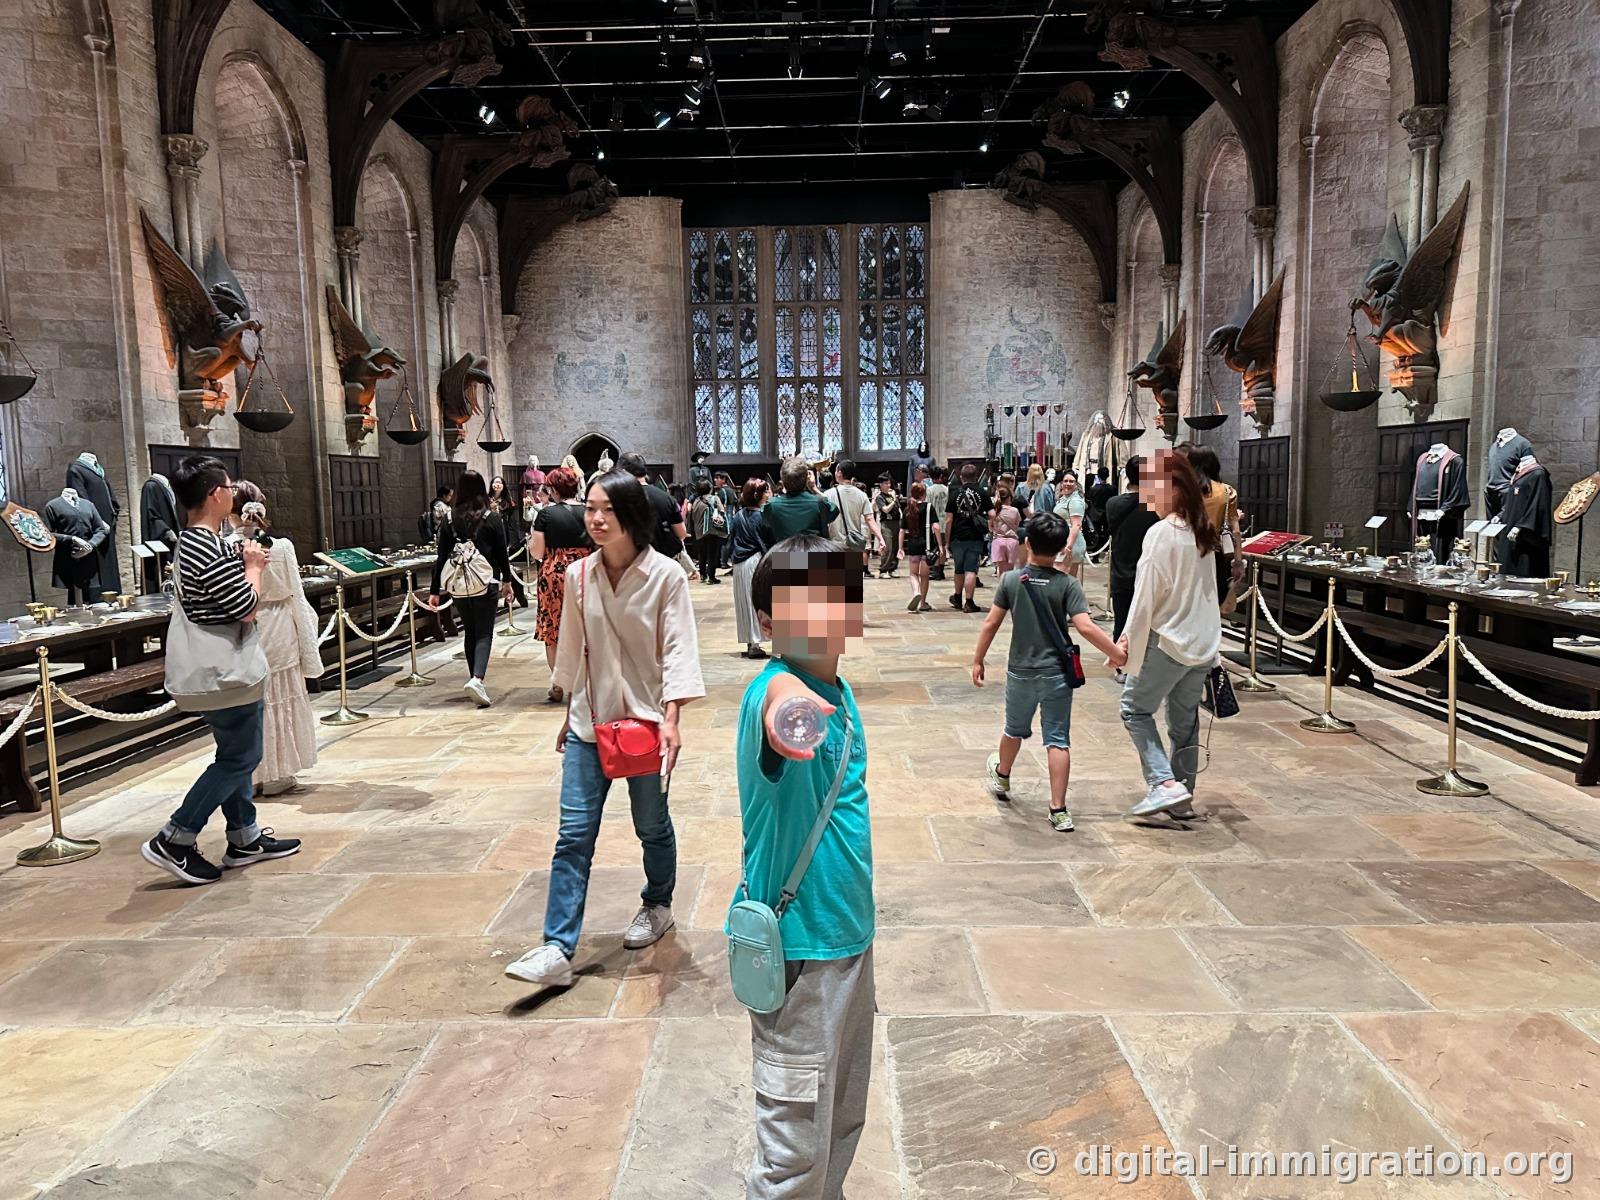
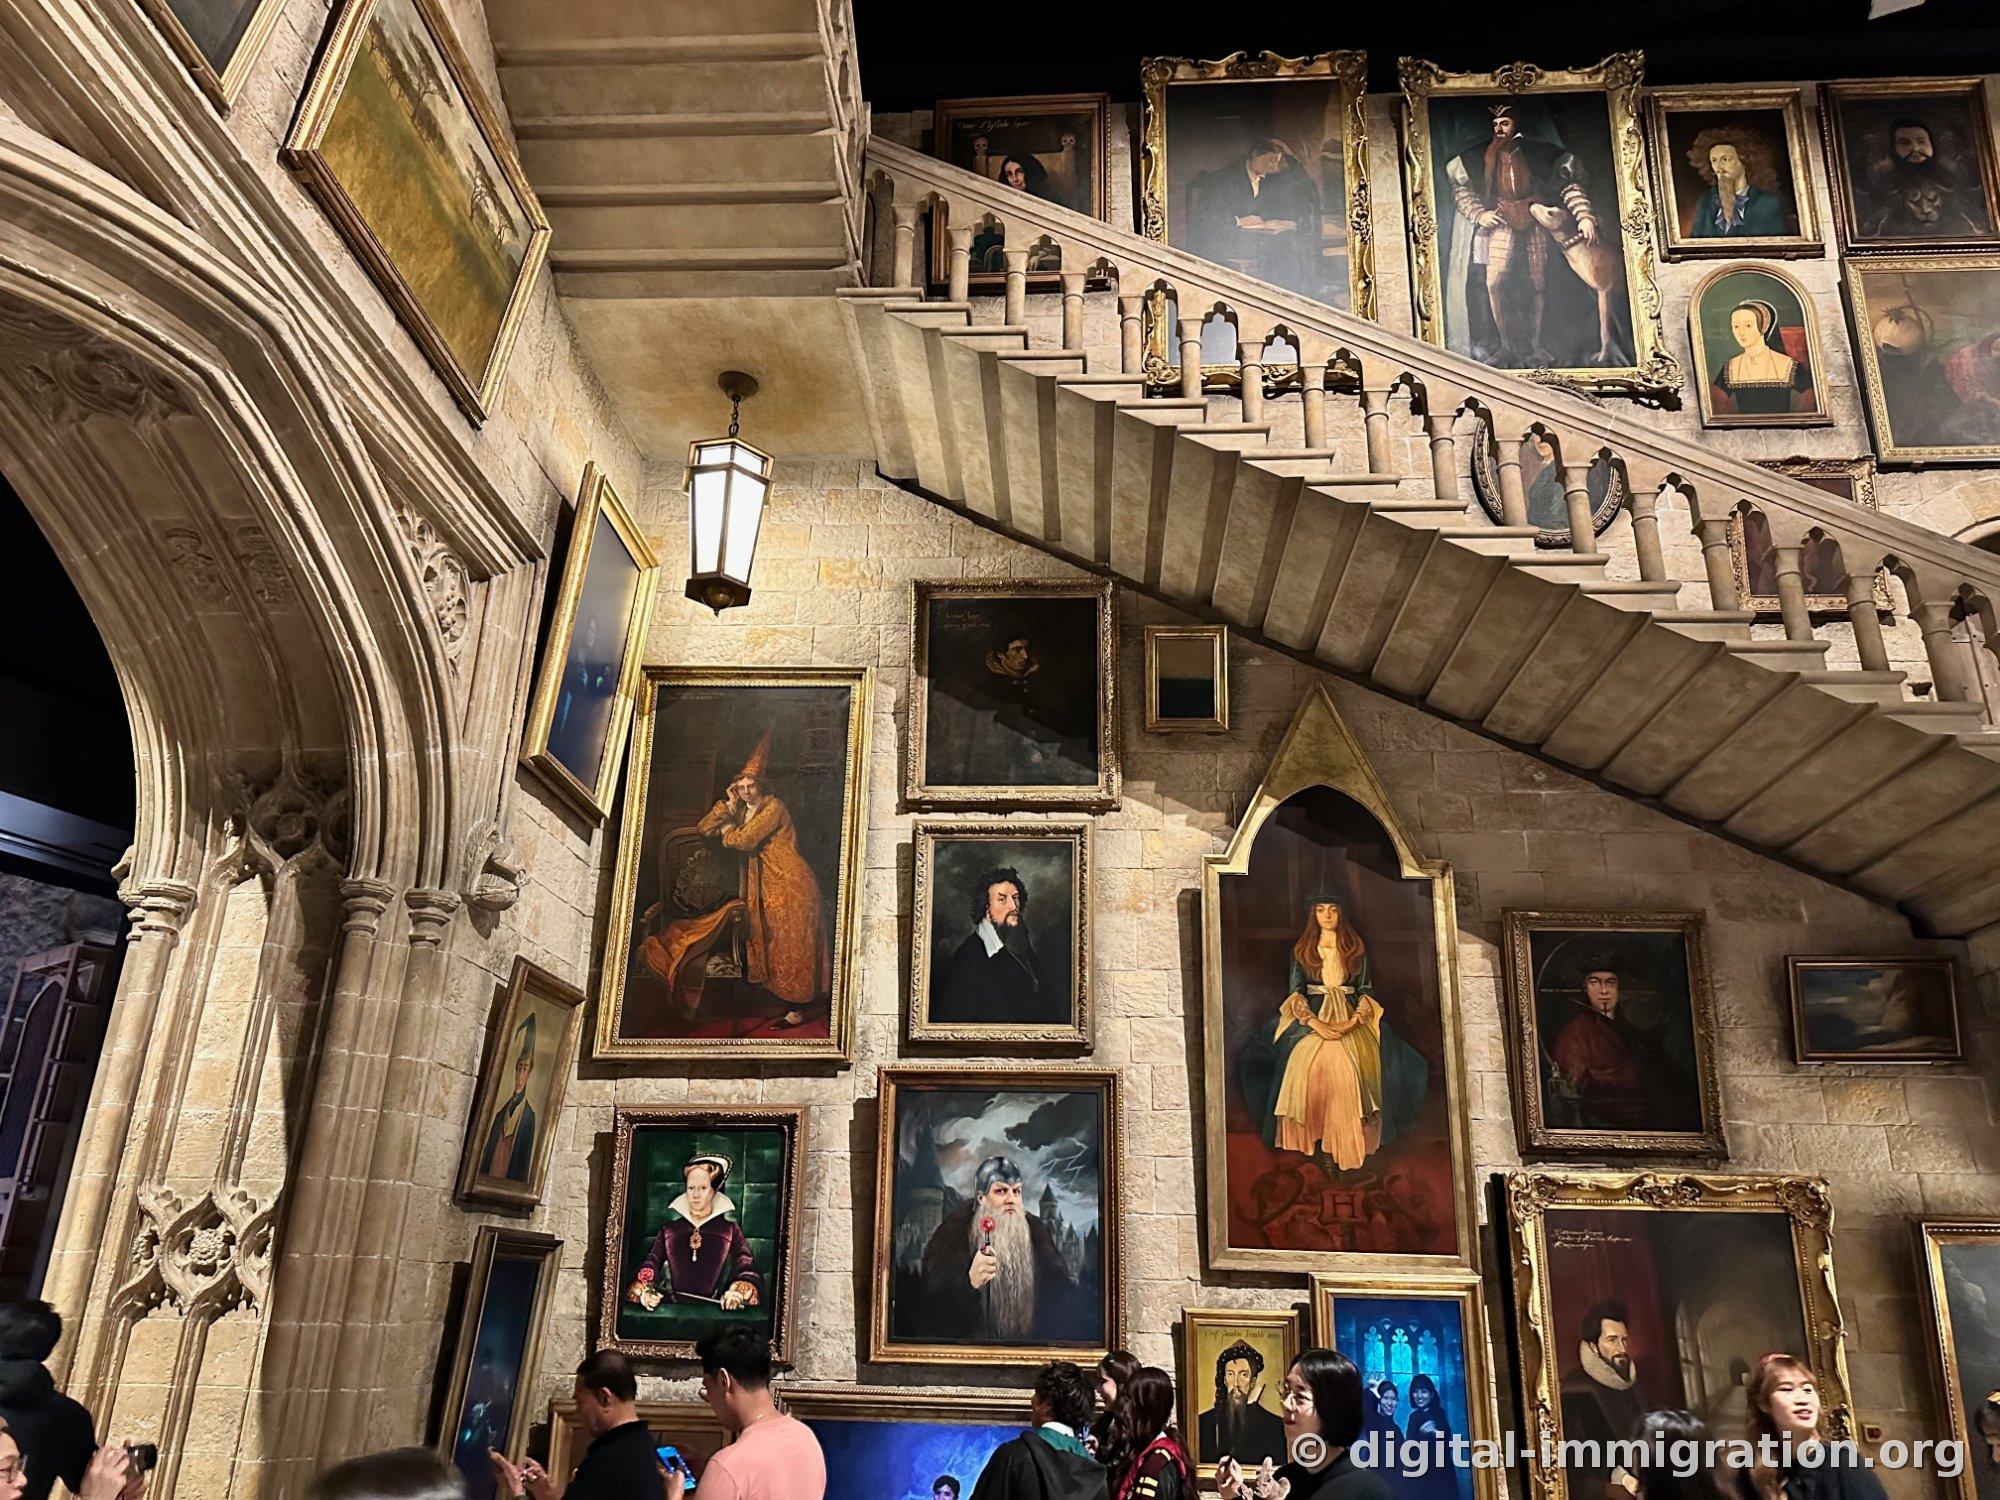
Leaving the Great Hall, you encounter a portrait wall and the moving staircase section. Each frame holds a different painting, and every frame is unique. Wizards in pointed hats, women in Tudor dress, white-bearded men with staffs—all layered densely, and growing darker as they rise. You'll crane your neck looking up. The stonework texture on the staircase railings looks real, but the placard notes it's actually lightweight sculptural material.
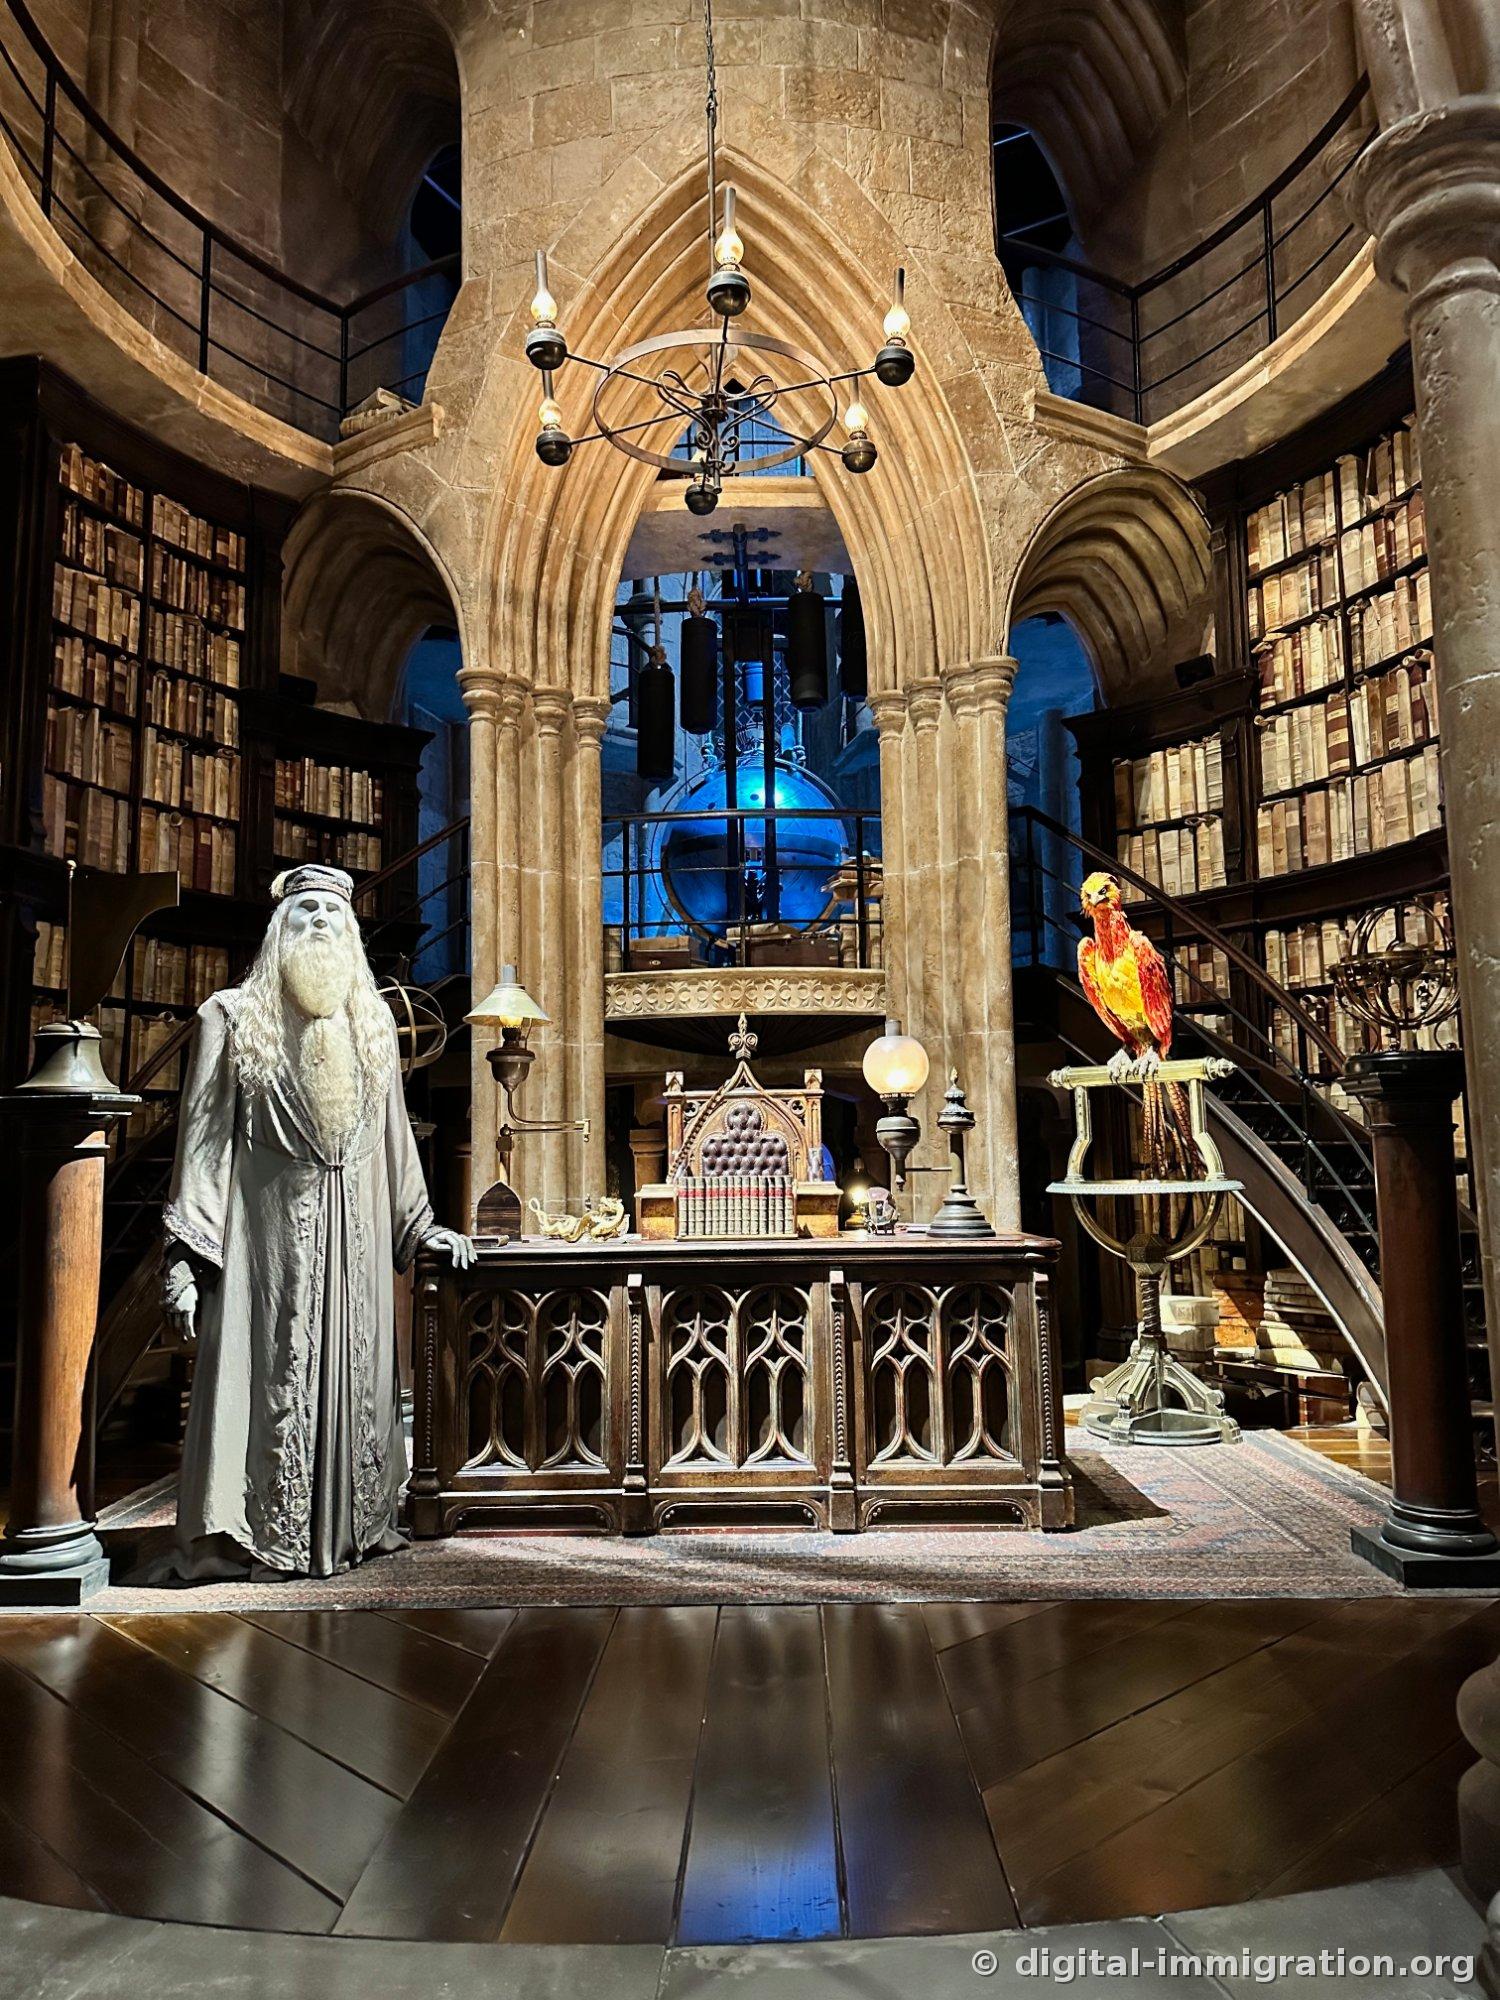
Dumbledore's Office — We Lingered Here the Longest
The circular office has dim, blue-toned lighting that makes photography challenging. A Dumbledore figure in a gray robe stands at the desk on the left, and Fawkes the phoenix sits on a stand to the right. The entire wall is lined with old leather-bound books, and close inspection reveals actual printed text on the spines. On the second-floor balcony, a celestial globe rotates under blue light. When crowds gather, the railing area gets packed. It's better to wait for the group ahead to clear, then photograph from the front.
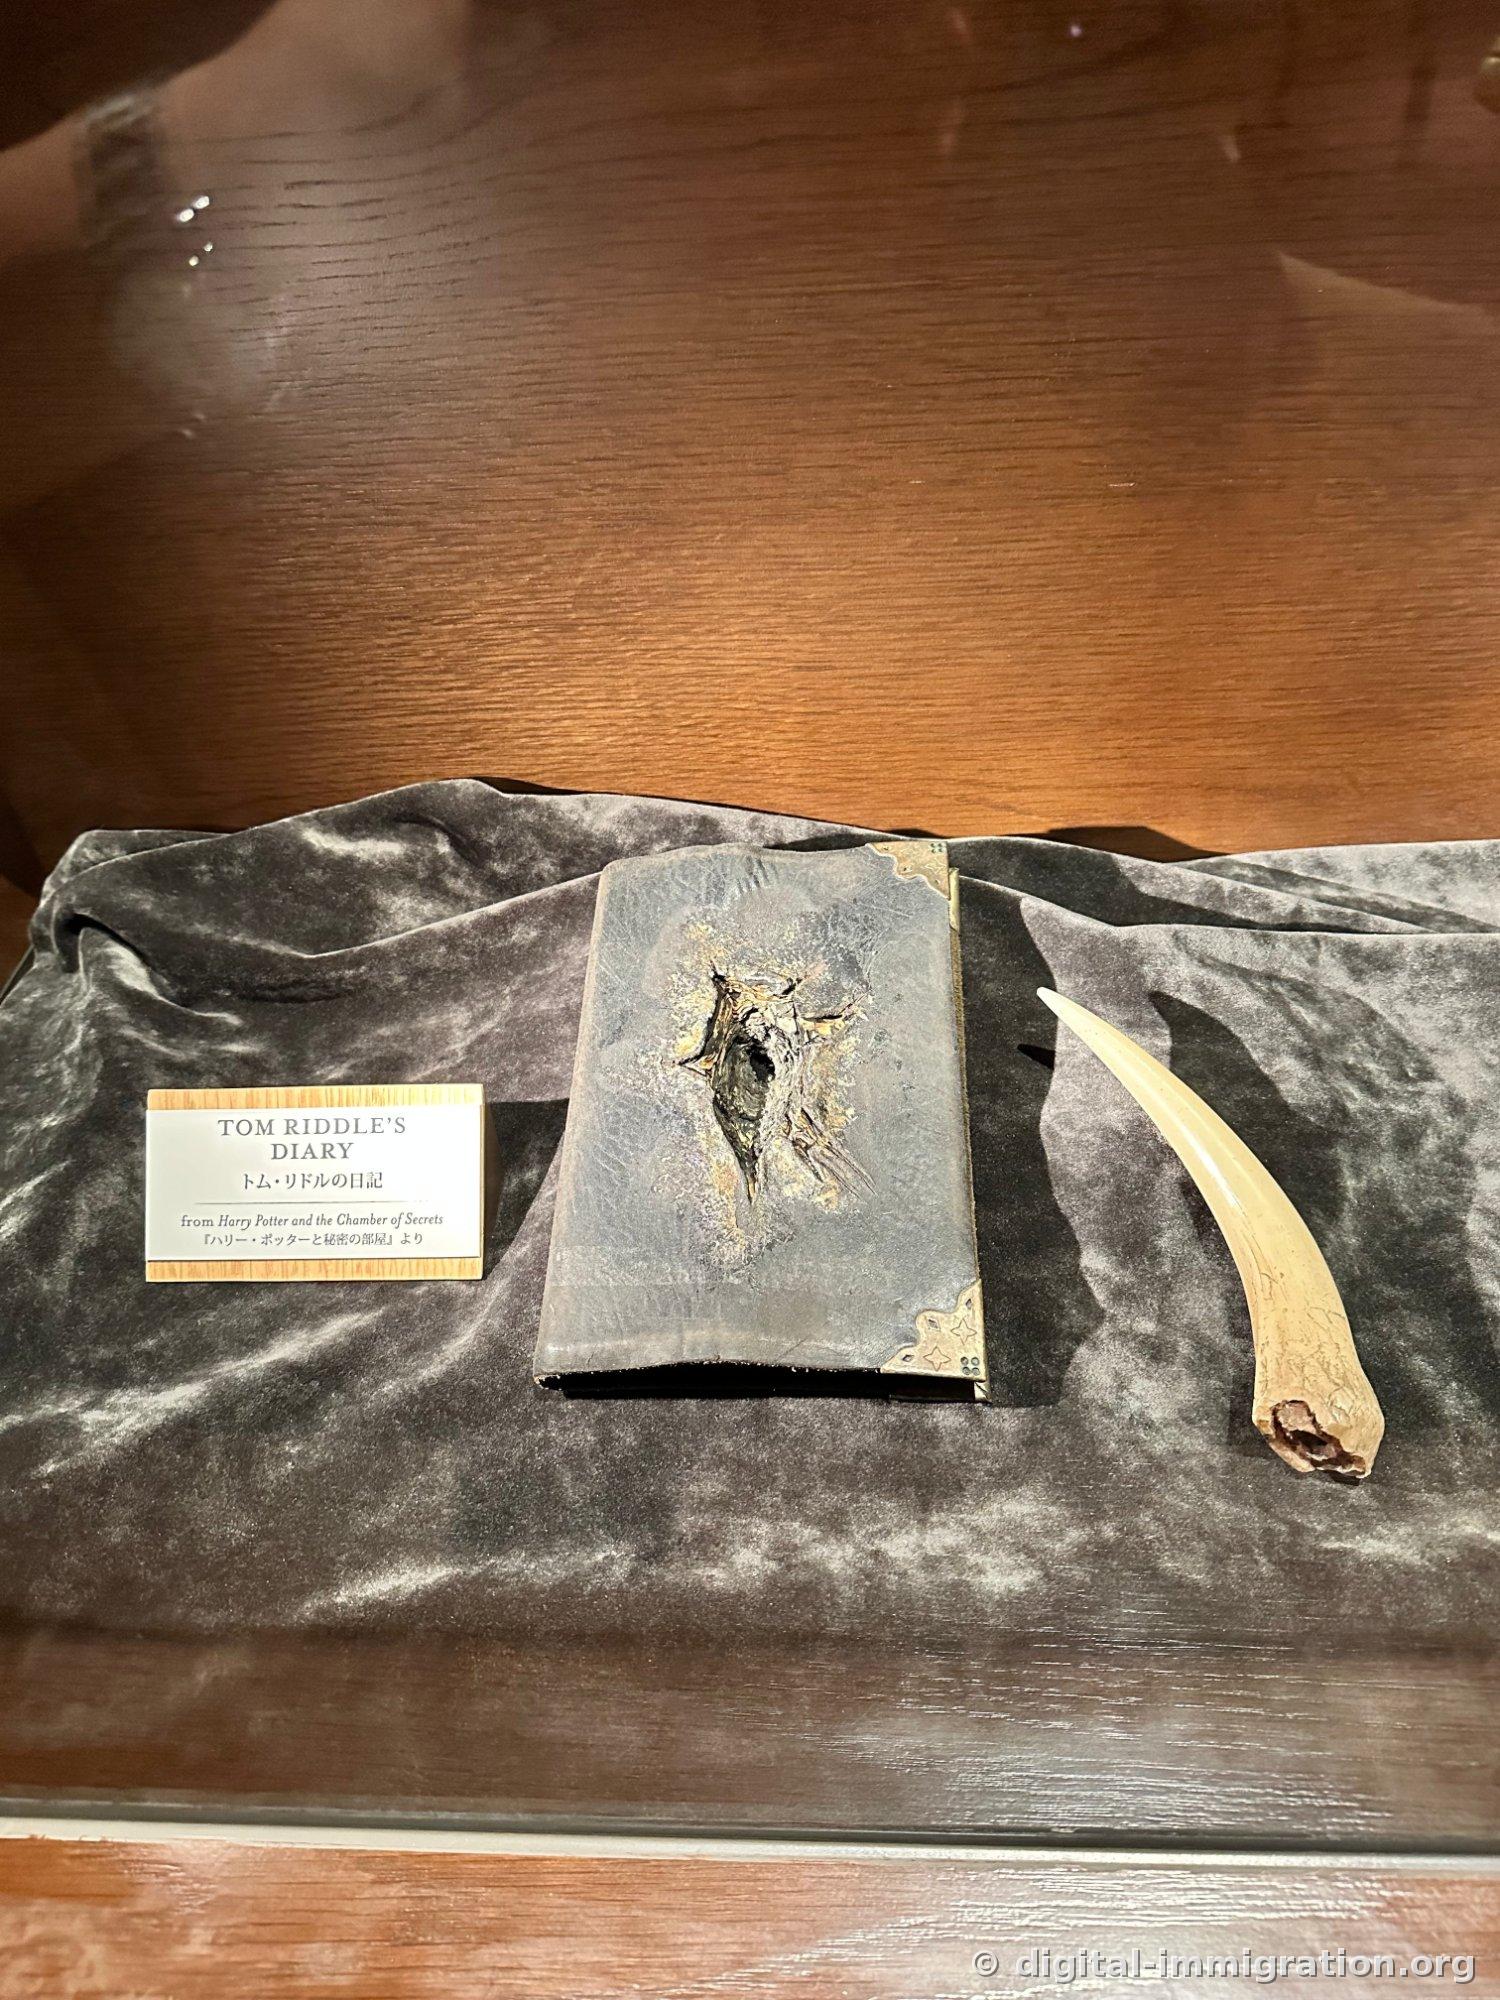
The Horcrux Display Cases — Each Artifact Has Its Own Lighting
A corridor lined with glass cases in darkness—this section personally felt the most densely packed with detail. Props rest individually on gray velvet, each with a bilingual nameplate in English and Japanese noting which film it appeared in. Walking through, you can't help but trace the sequence of the films.
First is Tom Riddle's diary. The center of the cover is punctured and charred black around the hole. Right beside it: a basilisk fang. No explanation needed for how that happened.
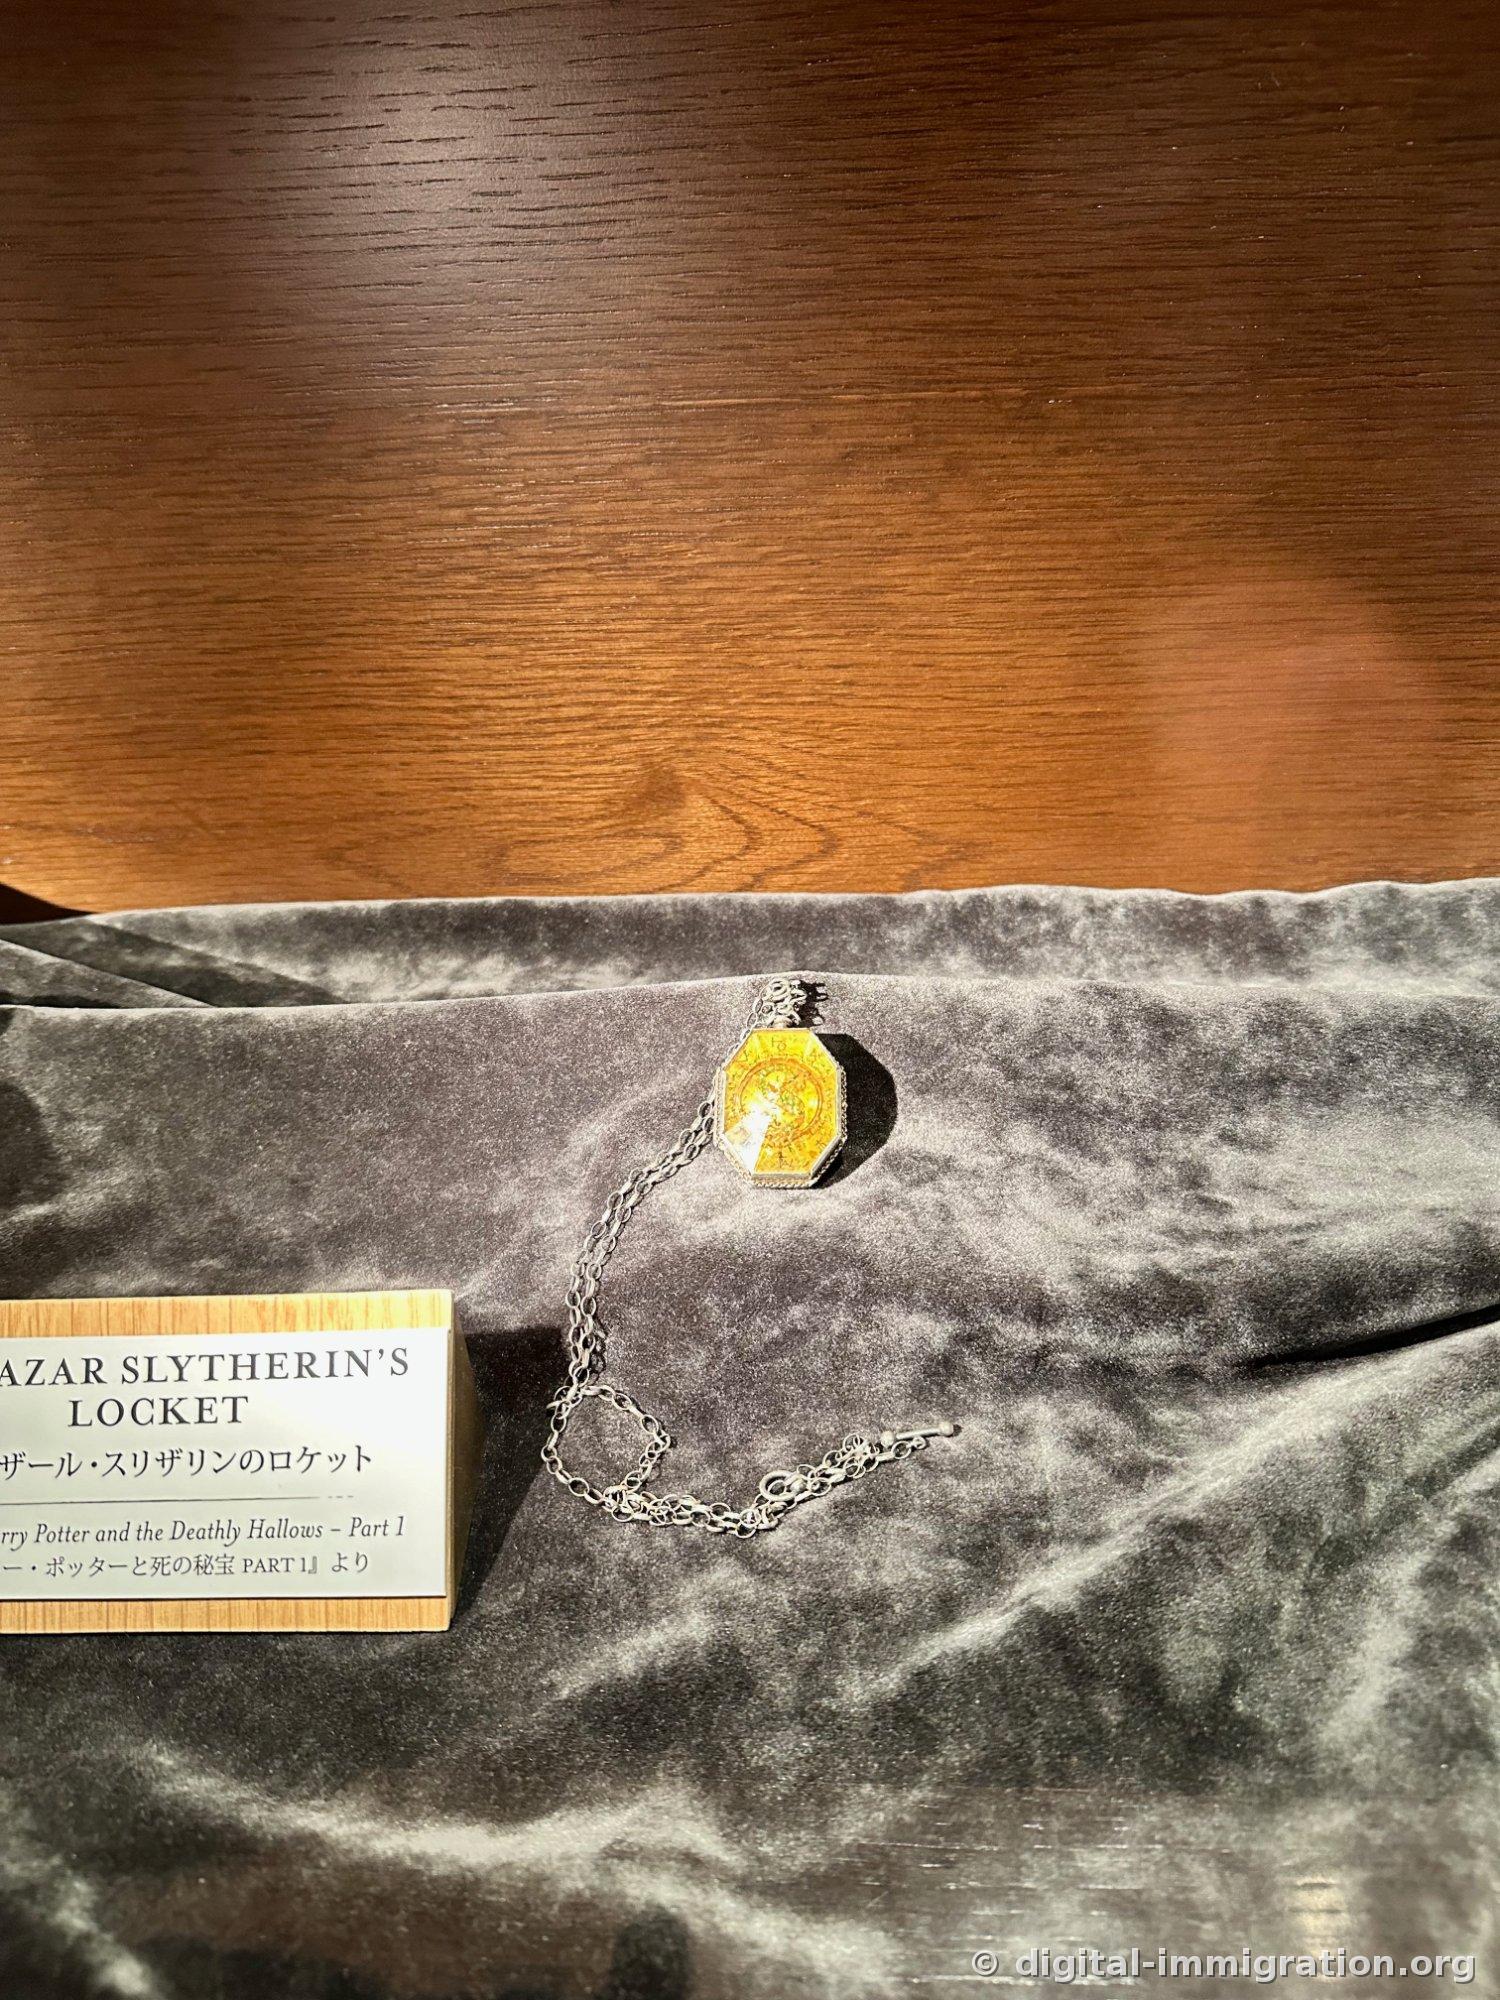
Salazar Slytherin's locket is smaller than you'd expect. An octagonal gold pendant with a long silver chain—but recalling the scene of someone wearing it around their neck in the film, the size feels oddly diminished.
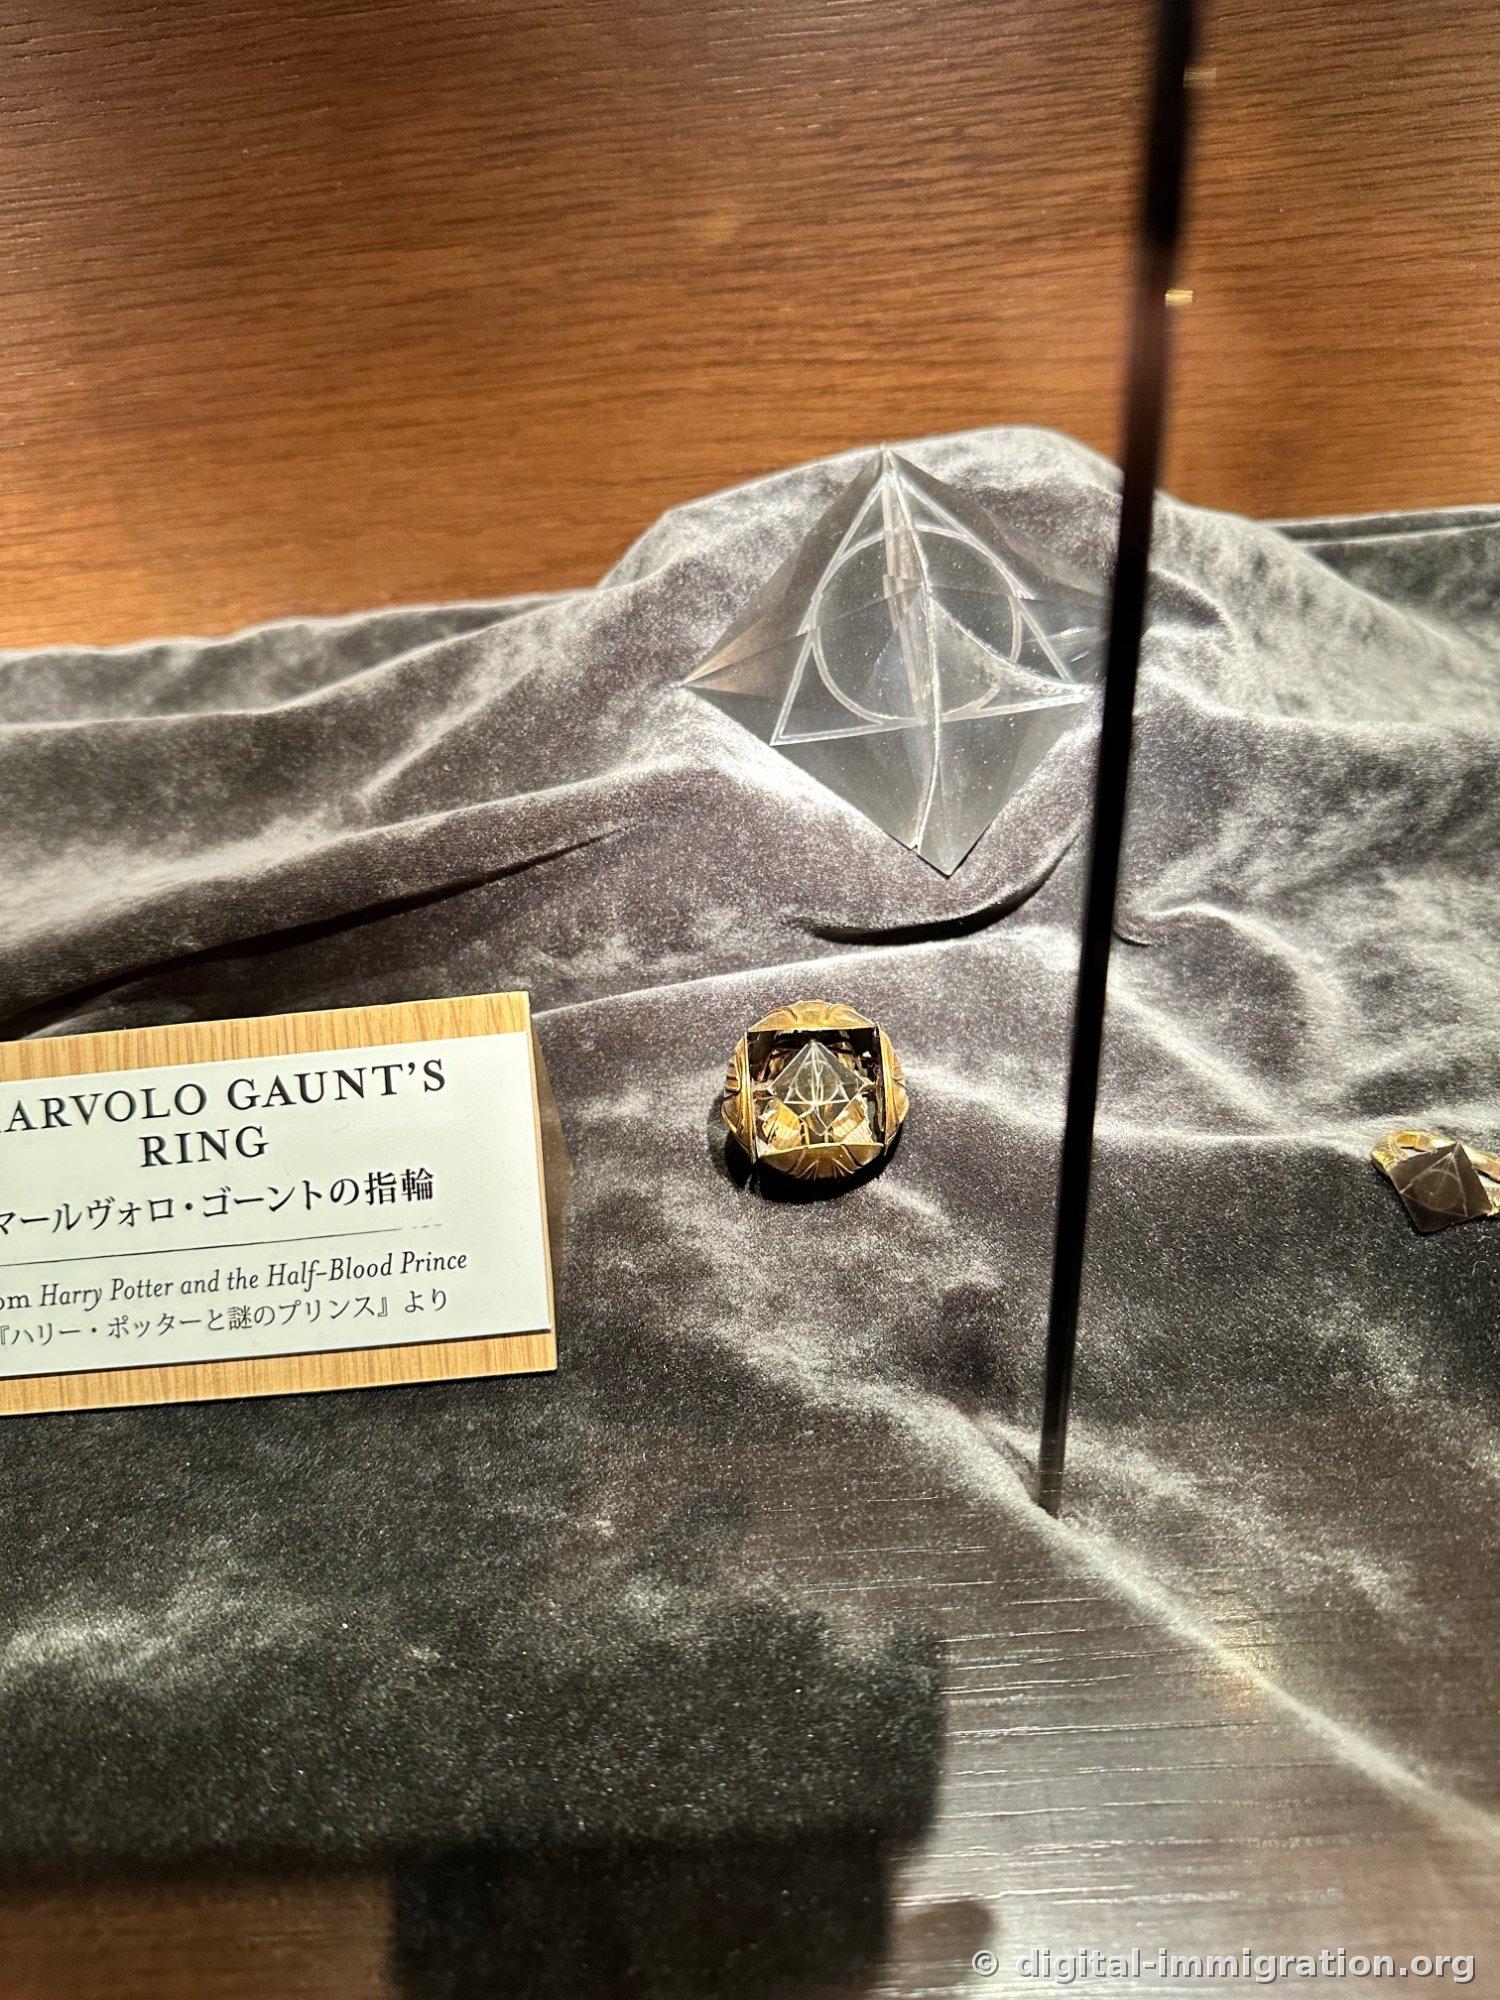
Marvolo Gaunt's ring is so small you'd walk past it without the nameplate. A gold band set with a black stone, and etched on that stone: the symbol of the Deathly Hallows. Behind it on the velvet rise, a larger crystal sculpture bears the same symbol—creating visual contrast.
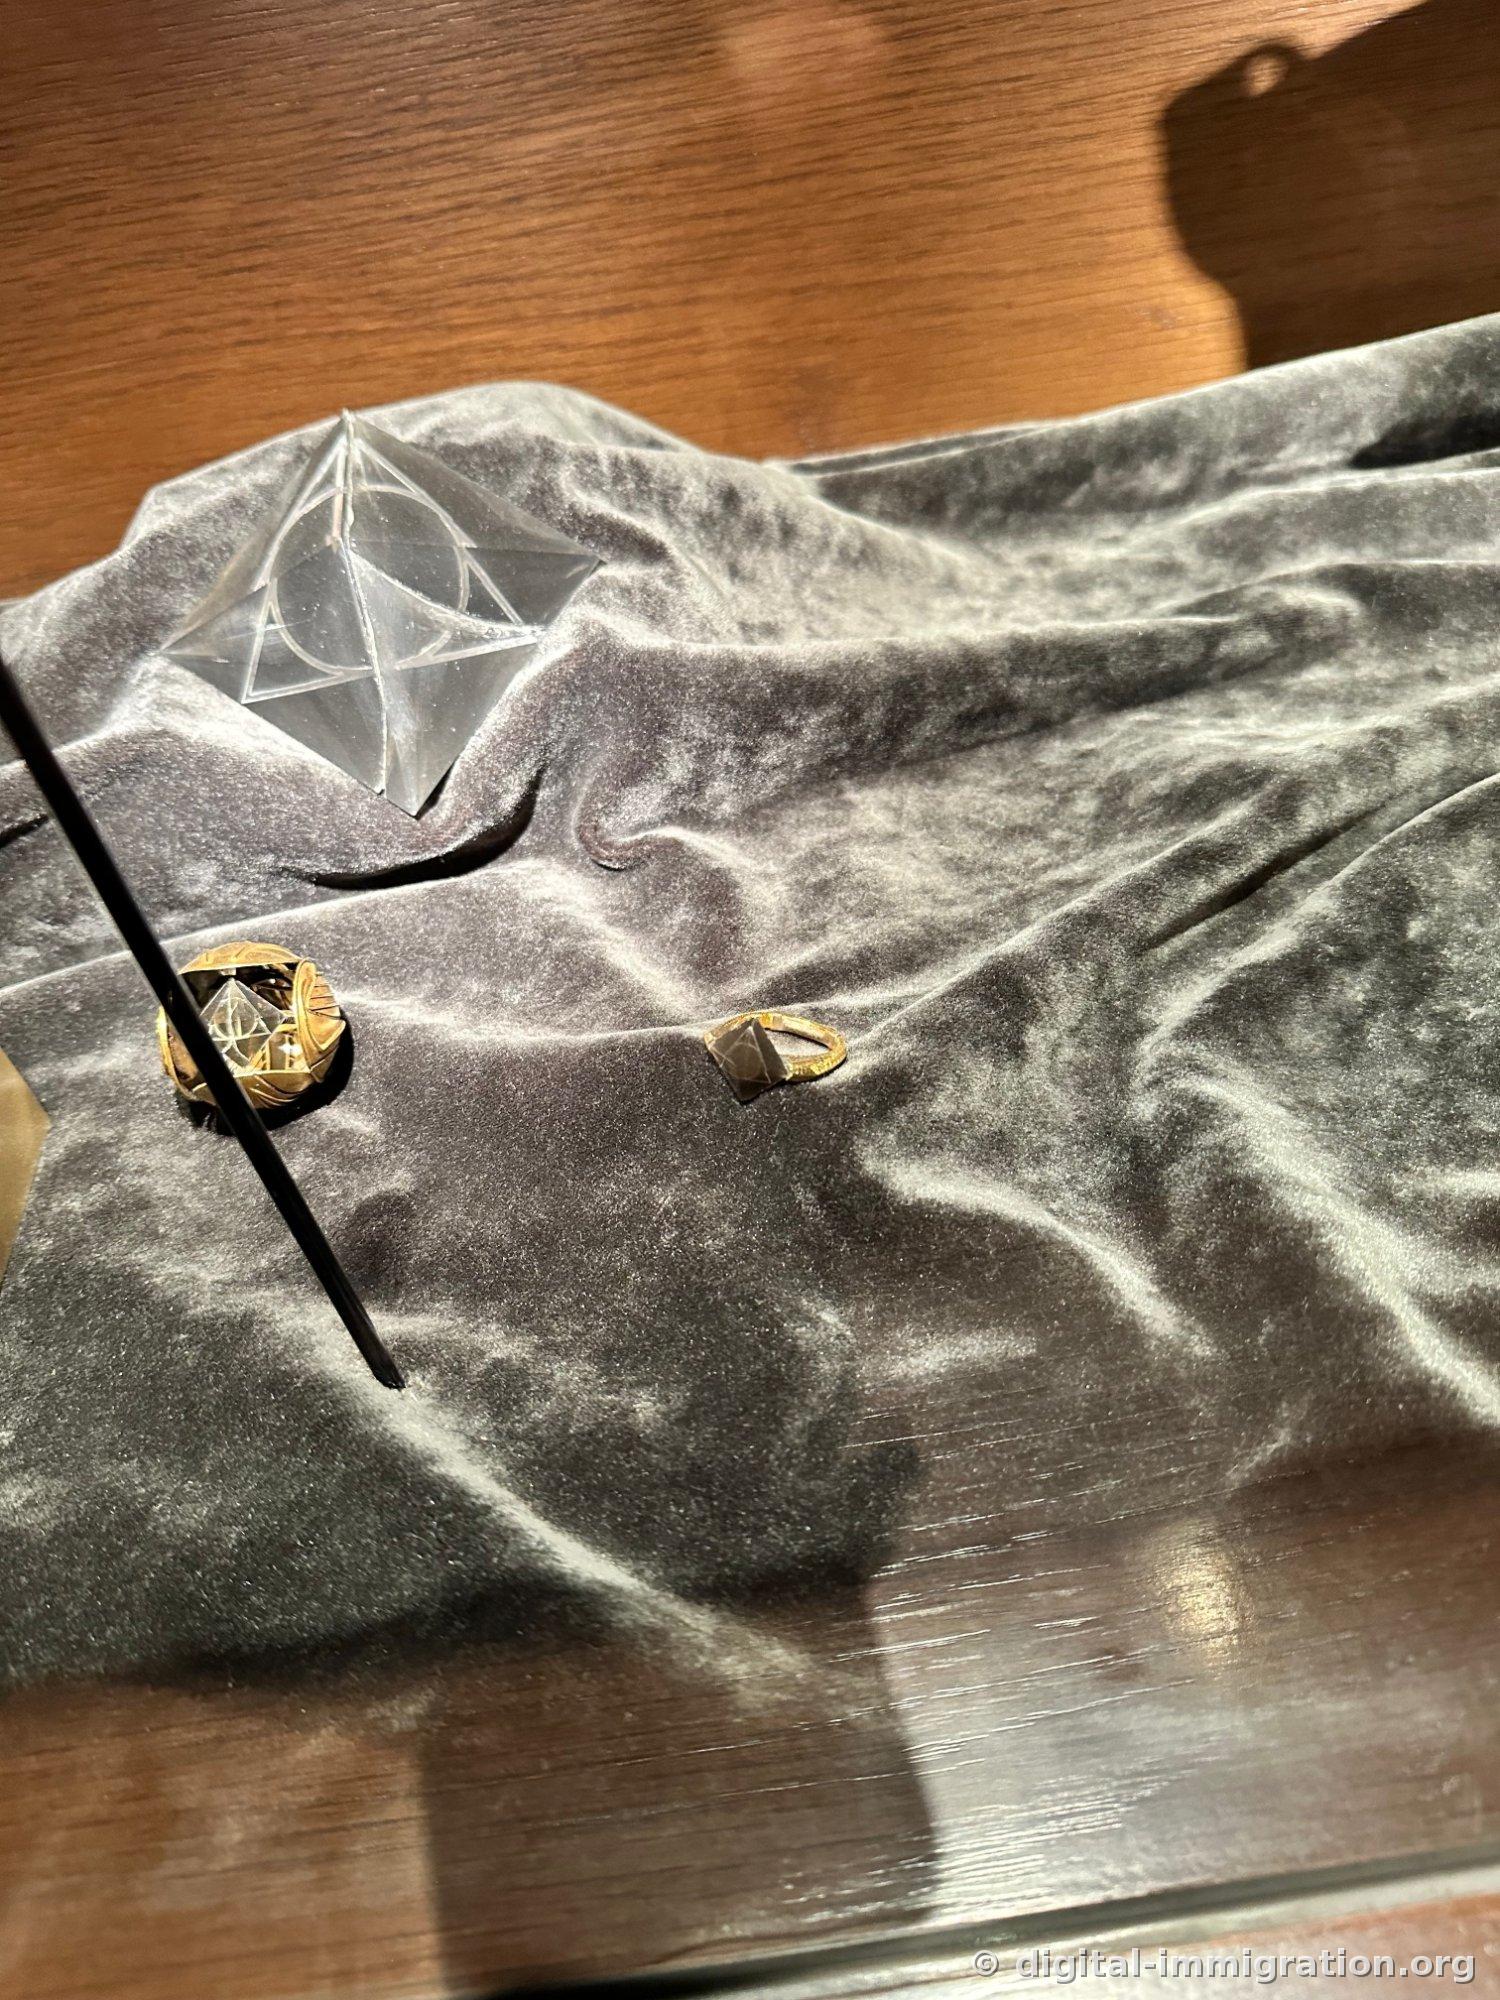
Viewing the same case from the opposite side, you see two rings on display. The left one has the stone intact; the right one is bare. Glass reflection is severe—you have to press your body against the side to get a clear shot.
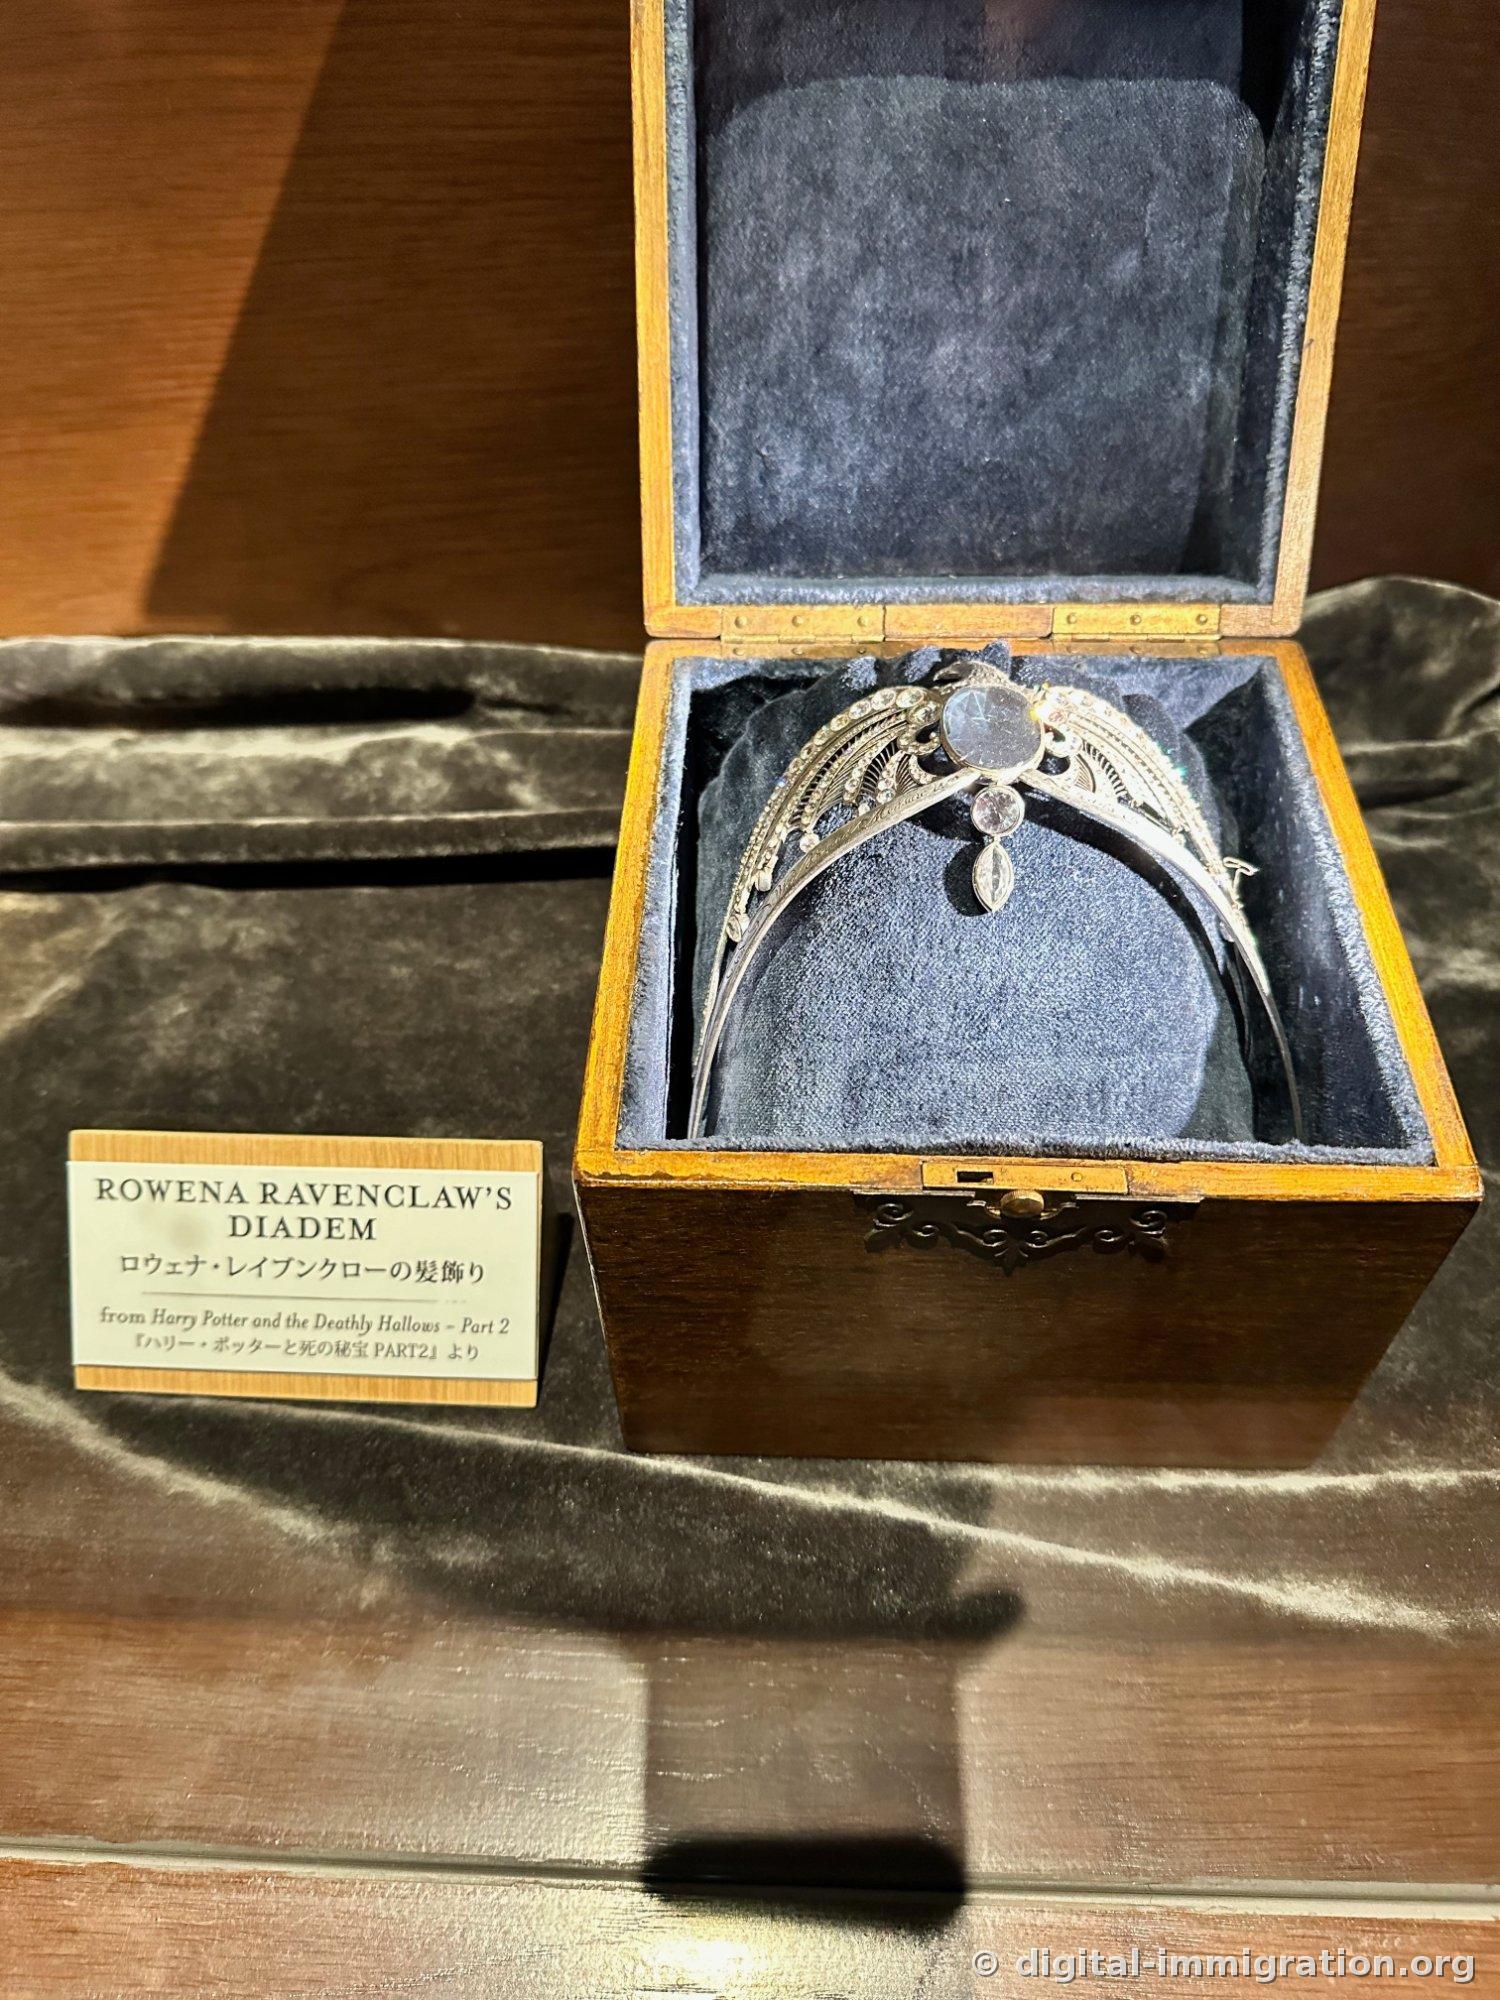
Rowena Ravenclaw's diadem sits in a wooden box with the lid open. Silver filigree set with three transparent stones, lined with gray velvet inside. Front lighting catches the shine beautifully.
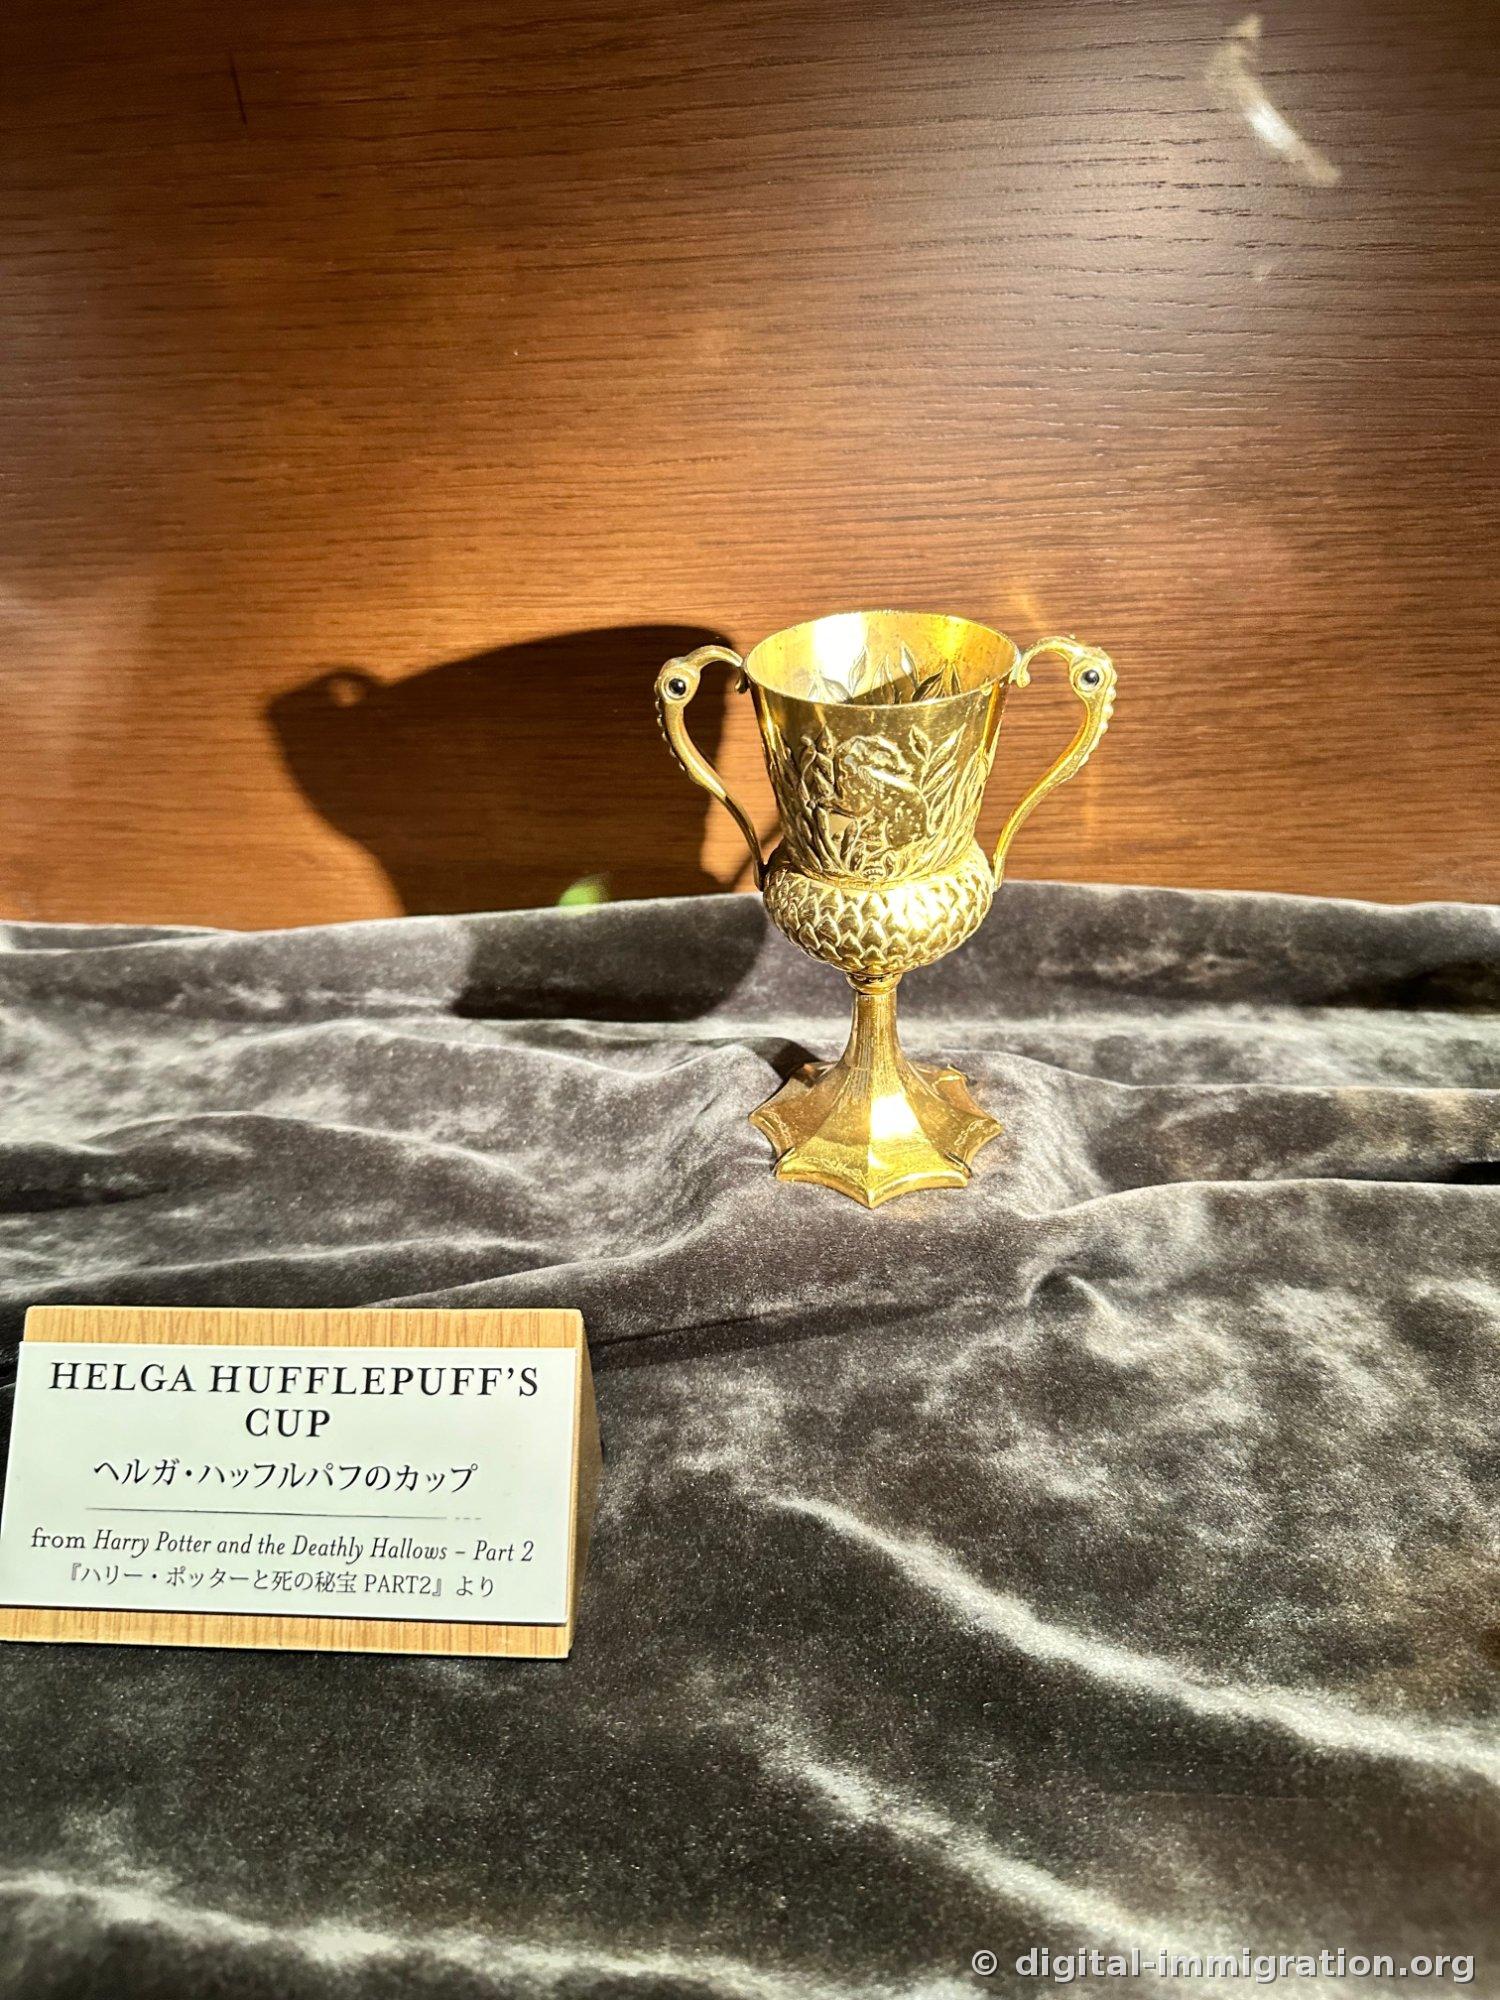
Helga Hufflepuff's cup fits in the palm of your hand. Both handles curve like a badger's neck, and badgers are embossed on the body. The lighting casts a large shadow of the cup on the wall behind—the shadow is actually more striking than the object itself.
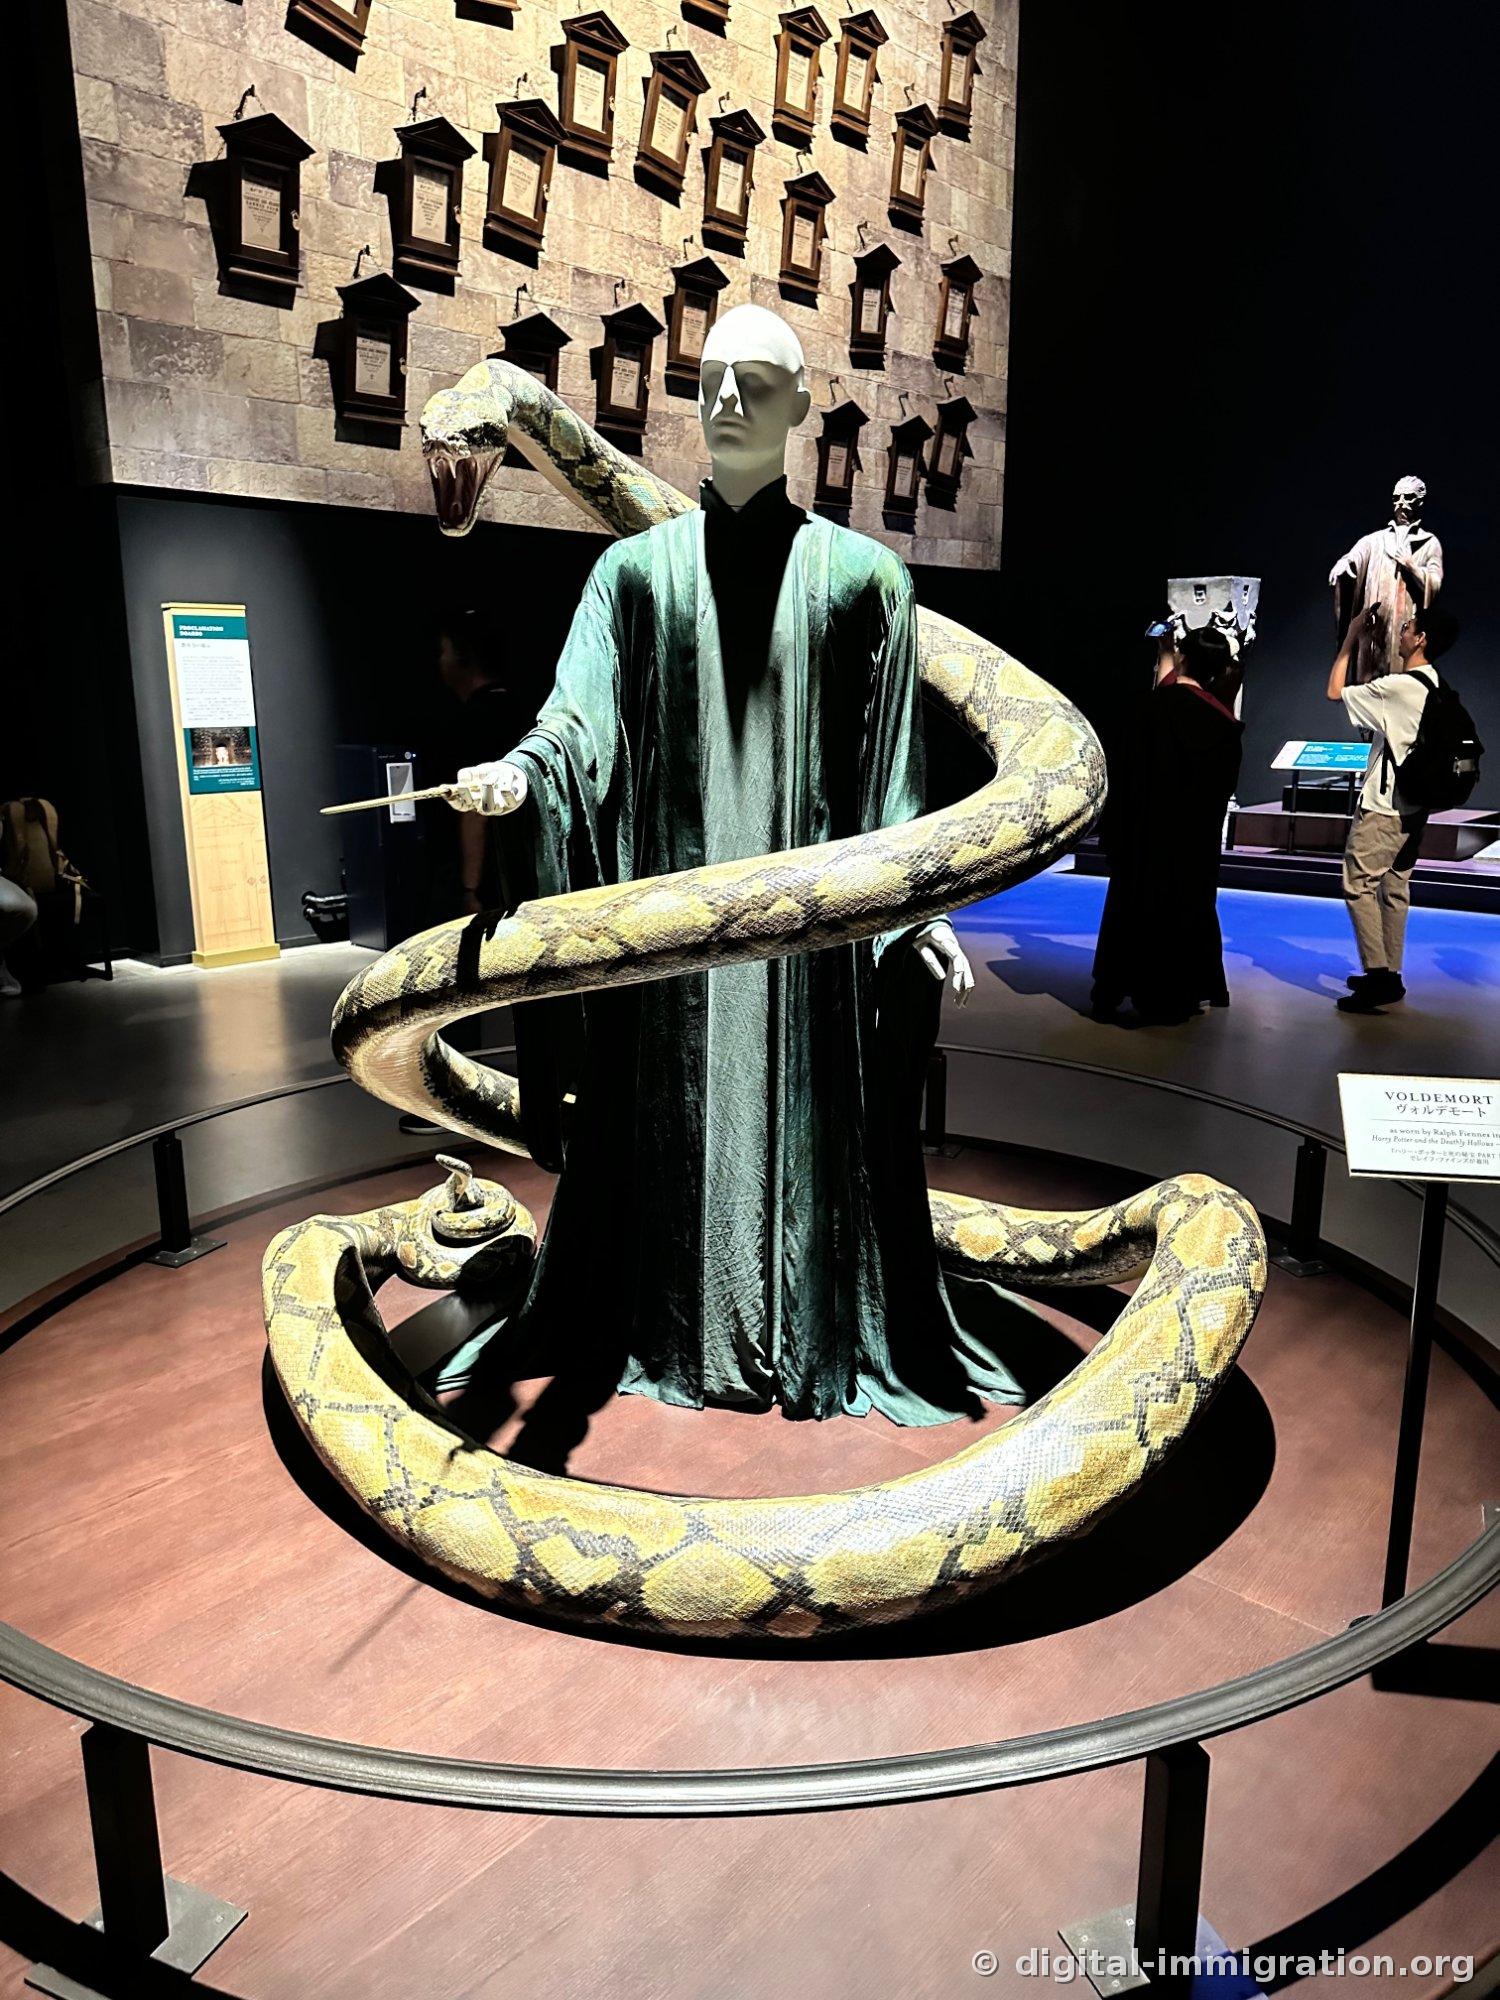
Beyond the prop cases stands Voldemort in costume on a circular platform. A teal velvet robe, wand in hand—and coiling up his body from feet to shoulders is the massive yellow serpent Nagini. The wall behind displays muggle-born registration notices in a grid pattern, reinforcing the dark aesthetic of the entire section.
Quidditch Brooms and Triwizard Tournament Props
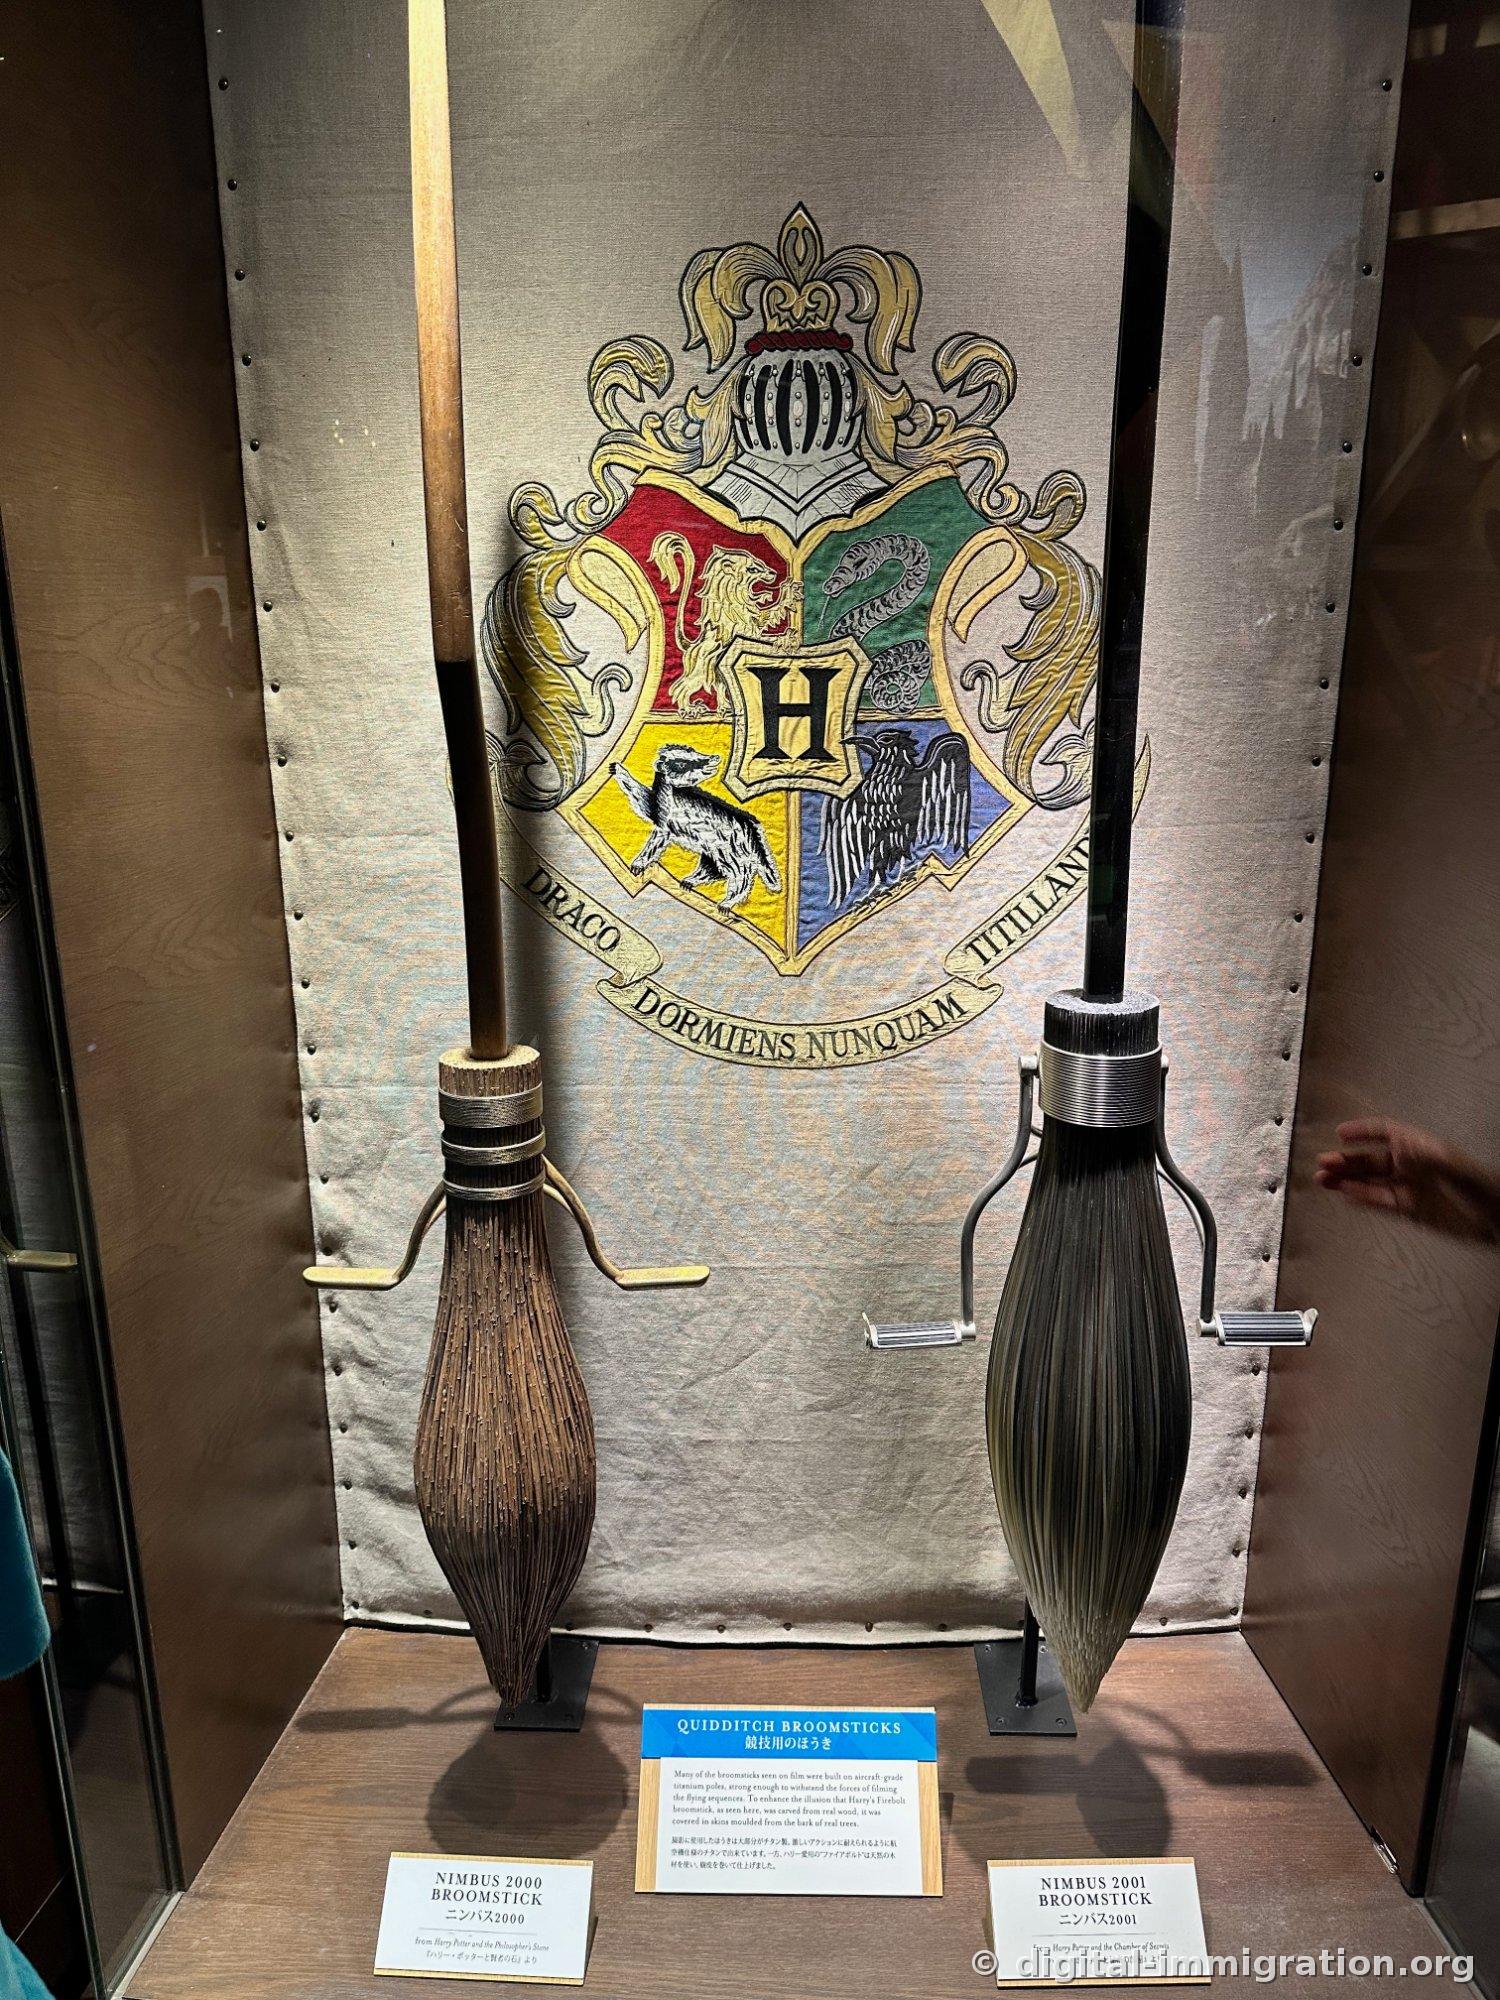
The broom case holds the Nimbus 2000 and Nimbus 2001 side by side. The backdrop shows the Hogwarts crest in large letters, and the placard below contains an interesting detail: most filming brooms were made from titanium tubing for airplanes to handle the weight of flight scenes, while the Firebolt, to look wooden, was actually carved from real wood with veneer applied over it. Two props, two completely opposite techniques.
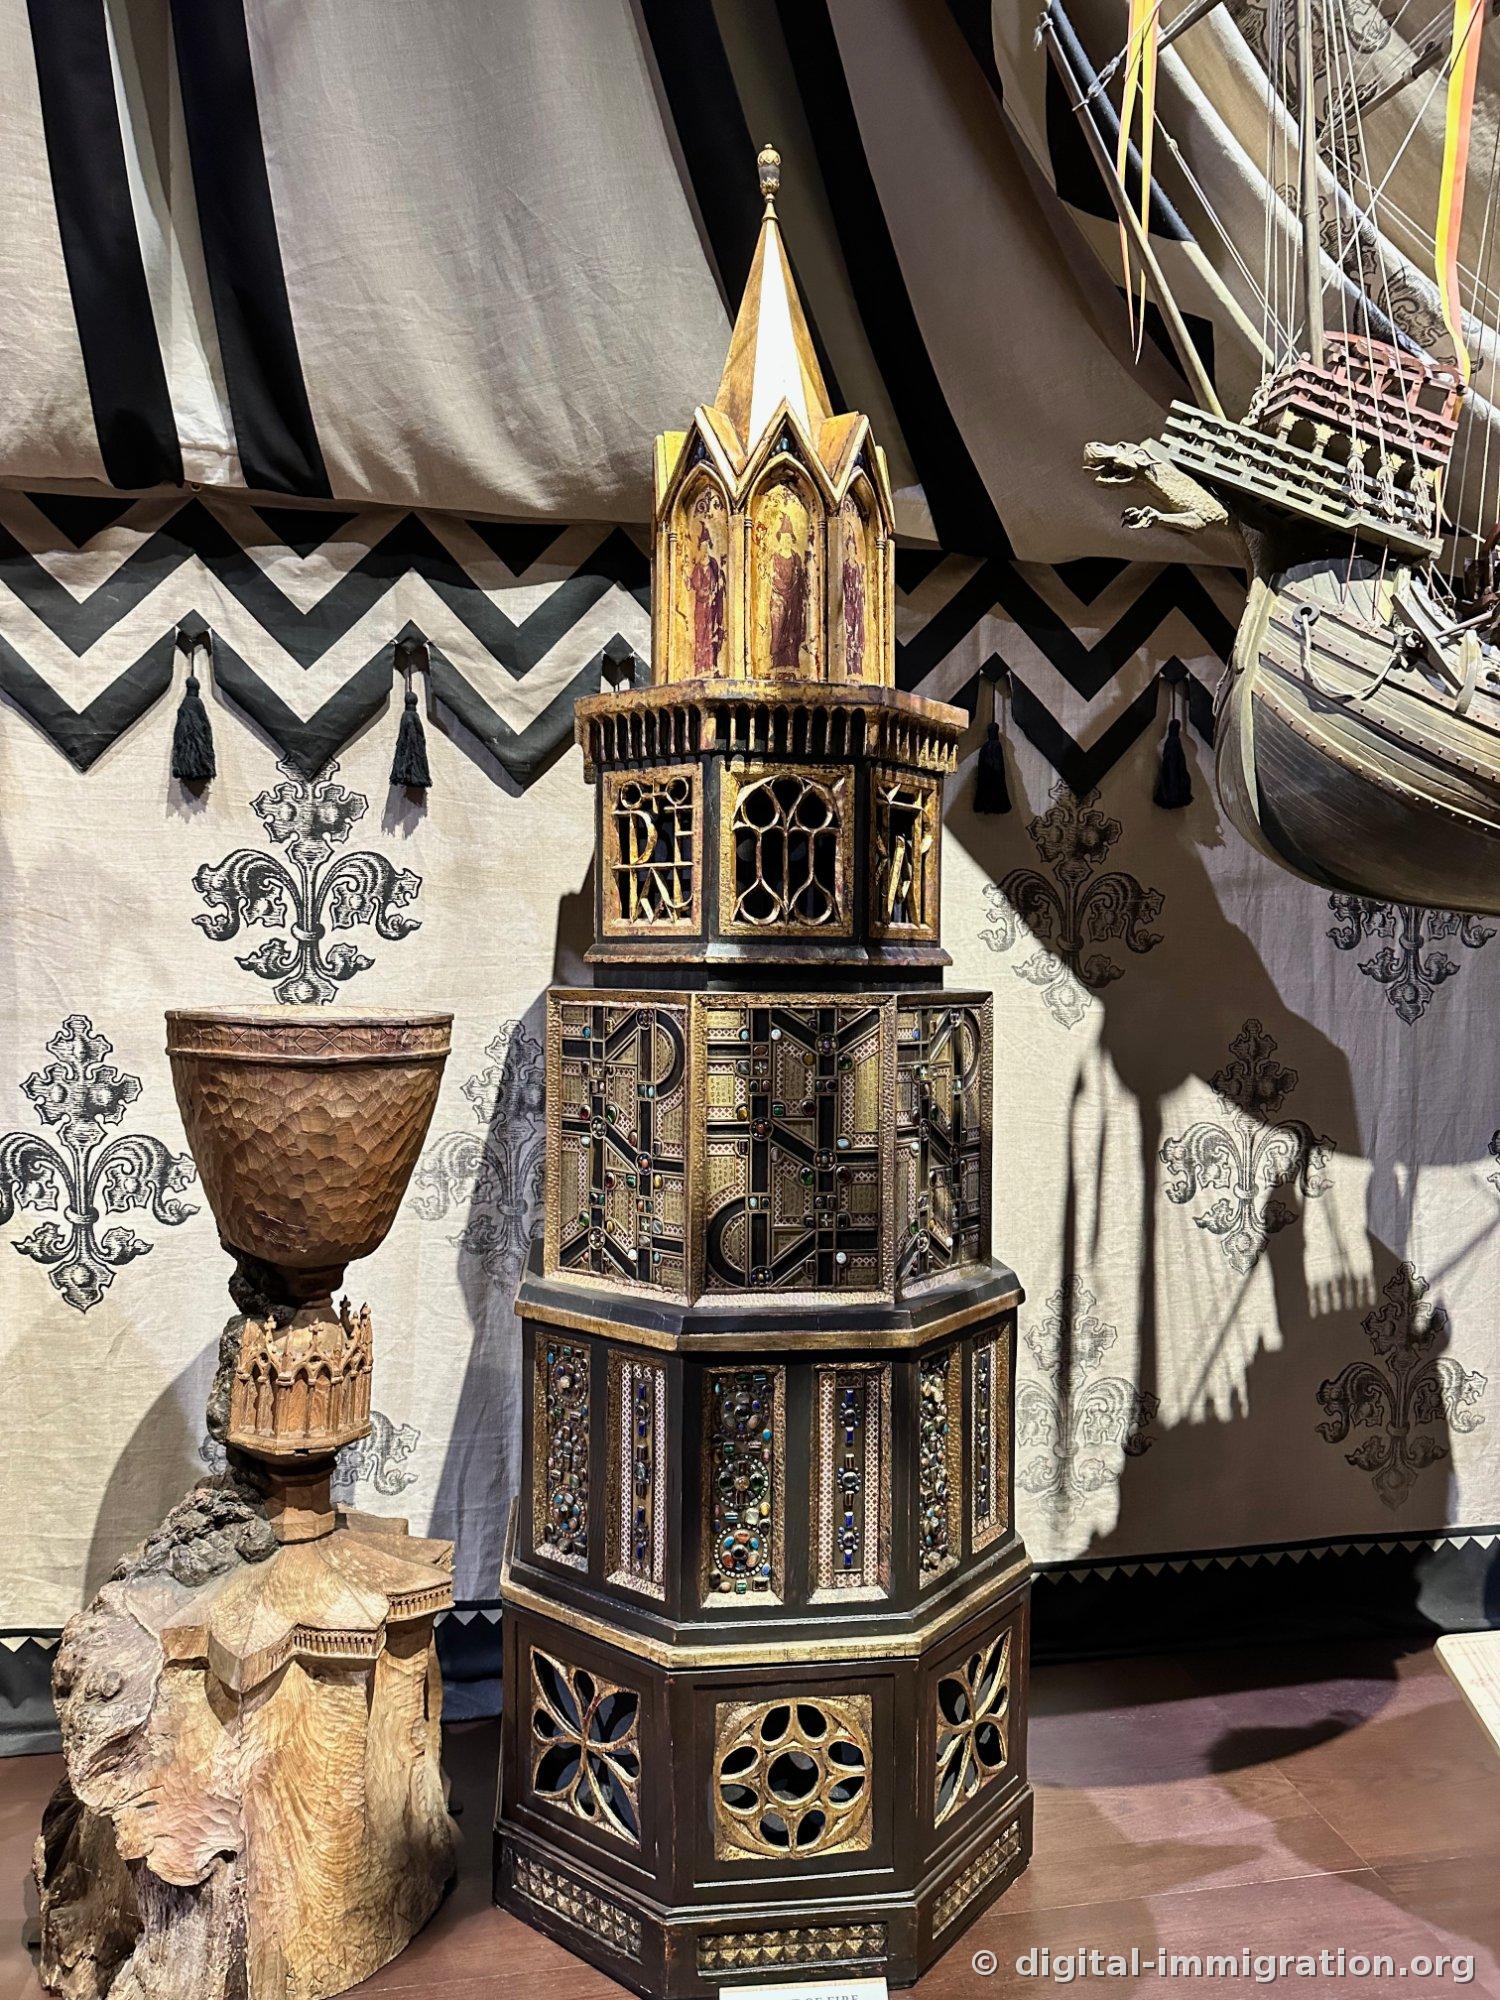
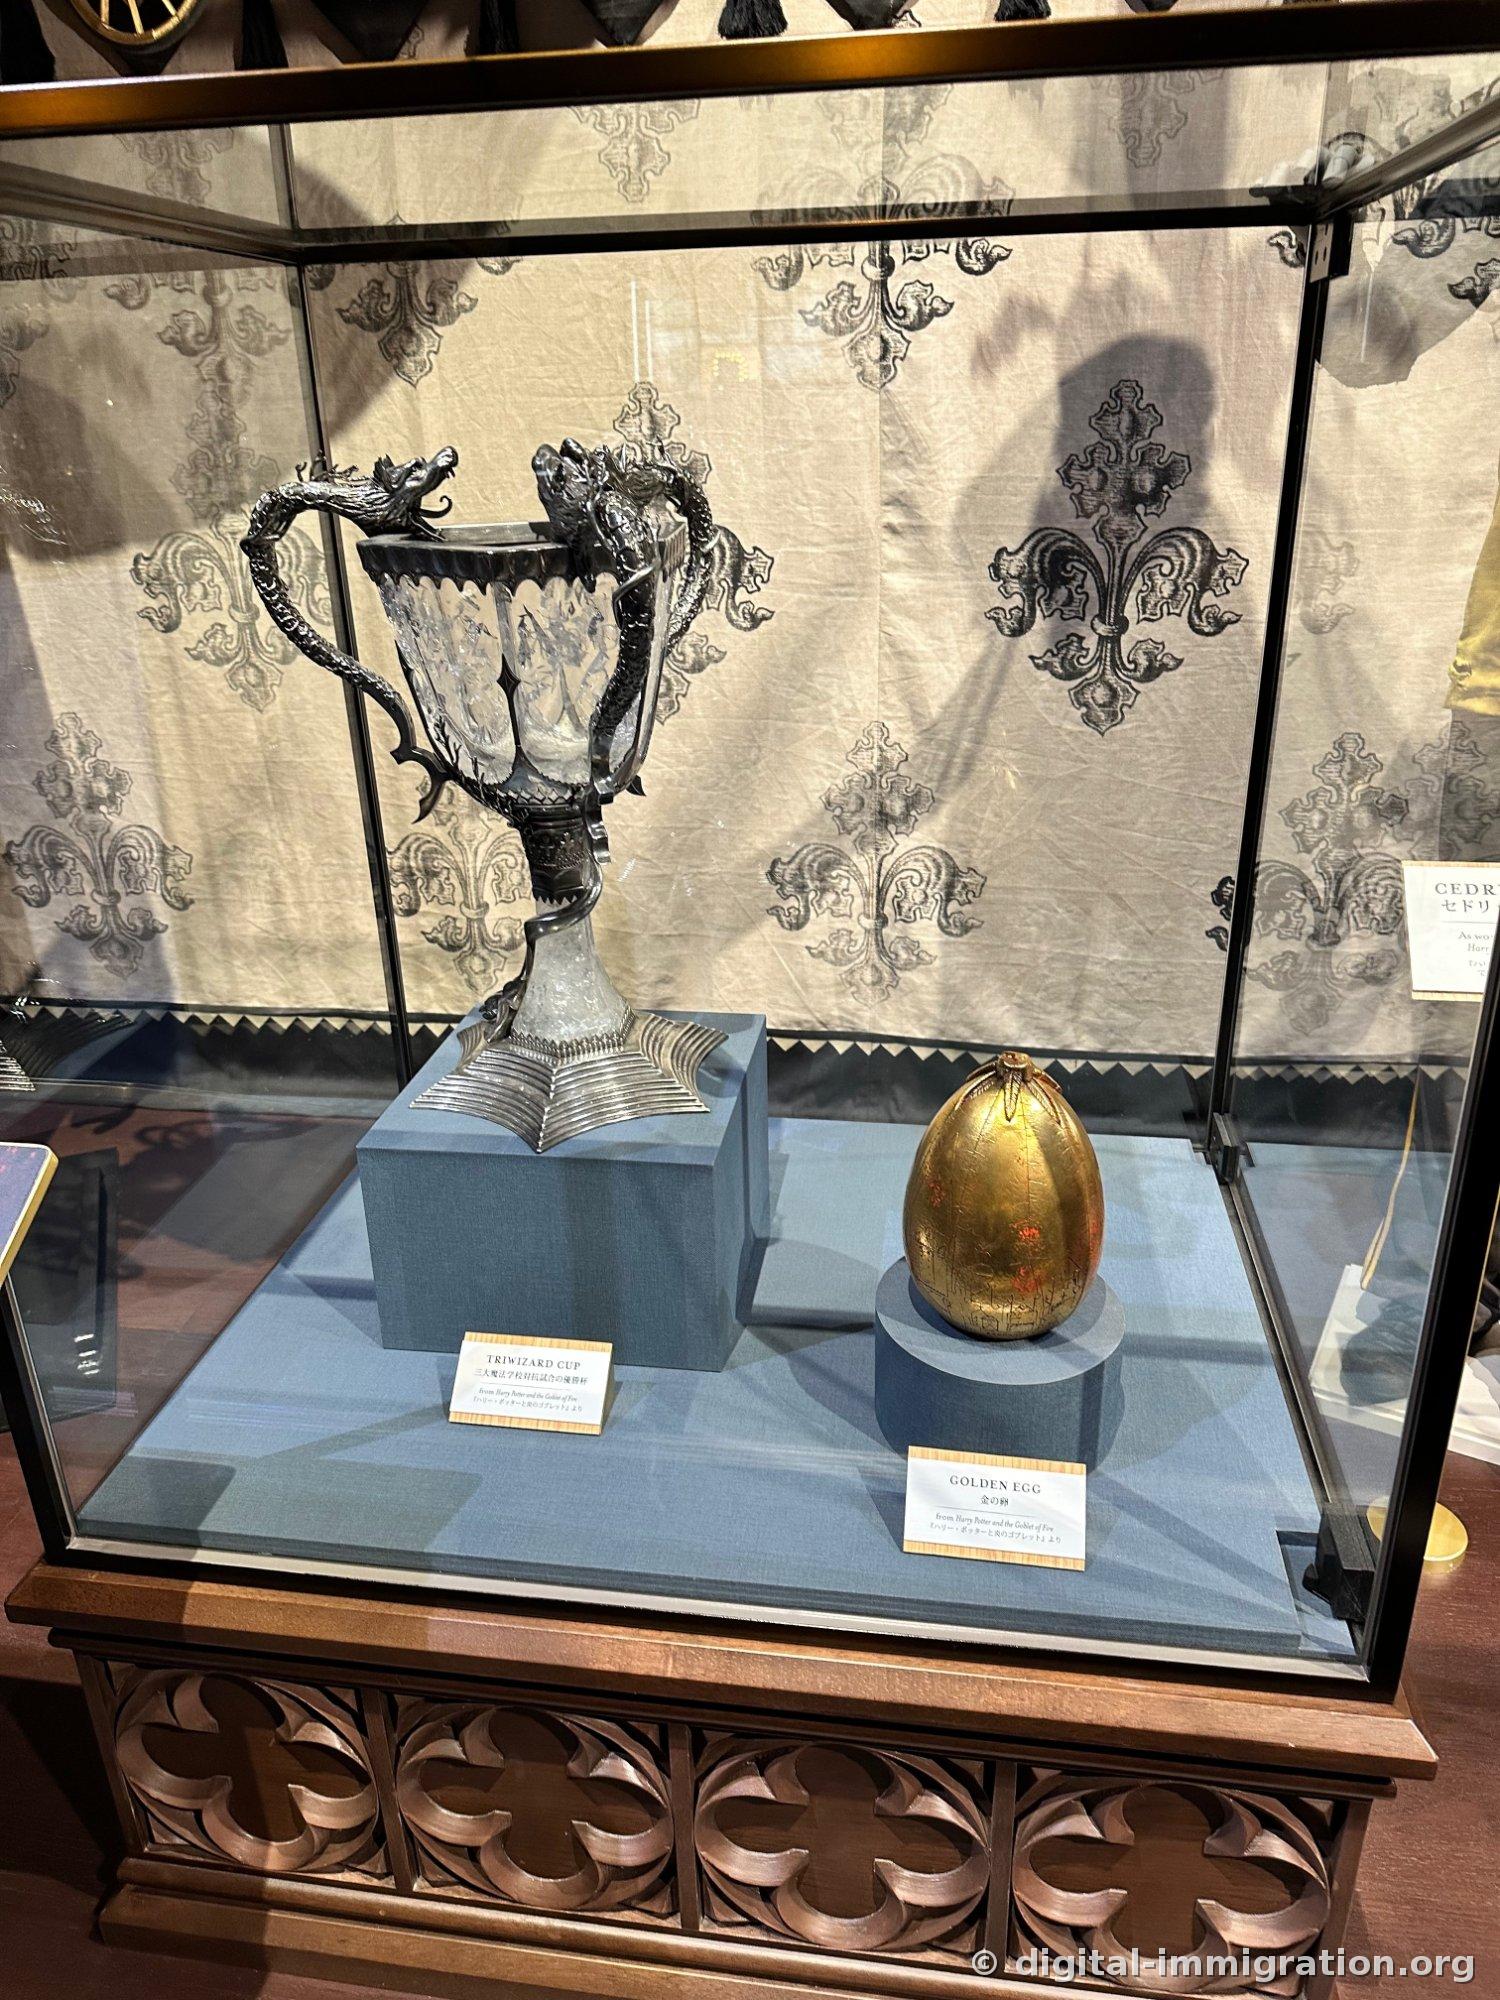
The Goblet of Fire sits in a tent with black and beige chevron-patterned fabric. A goblet carved from a tree base, and beside it an octagonal golden box decorated with gold leaf and colored glass. Above hangs a model of the Durmstrang ship, its shadow stretching long across the tent wall.
The Forbidden Forest
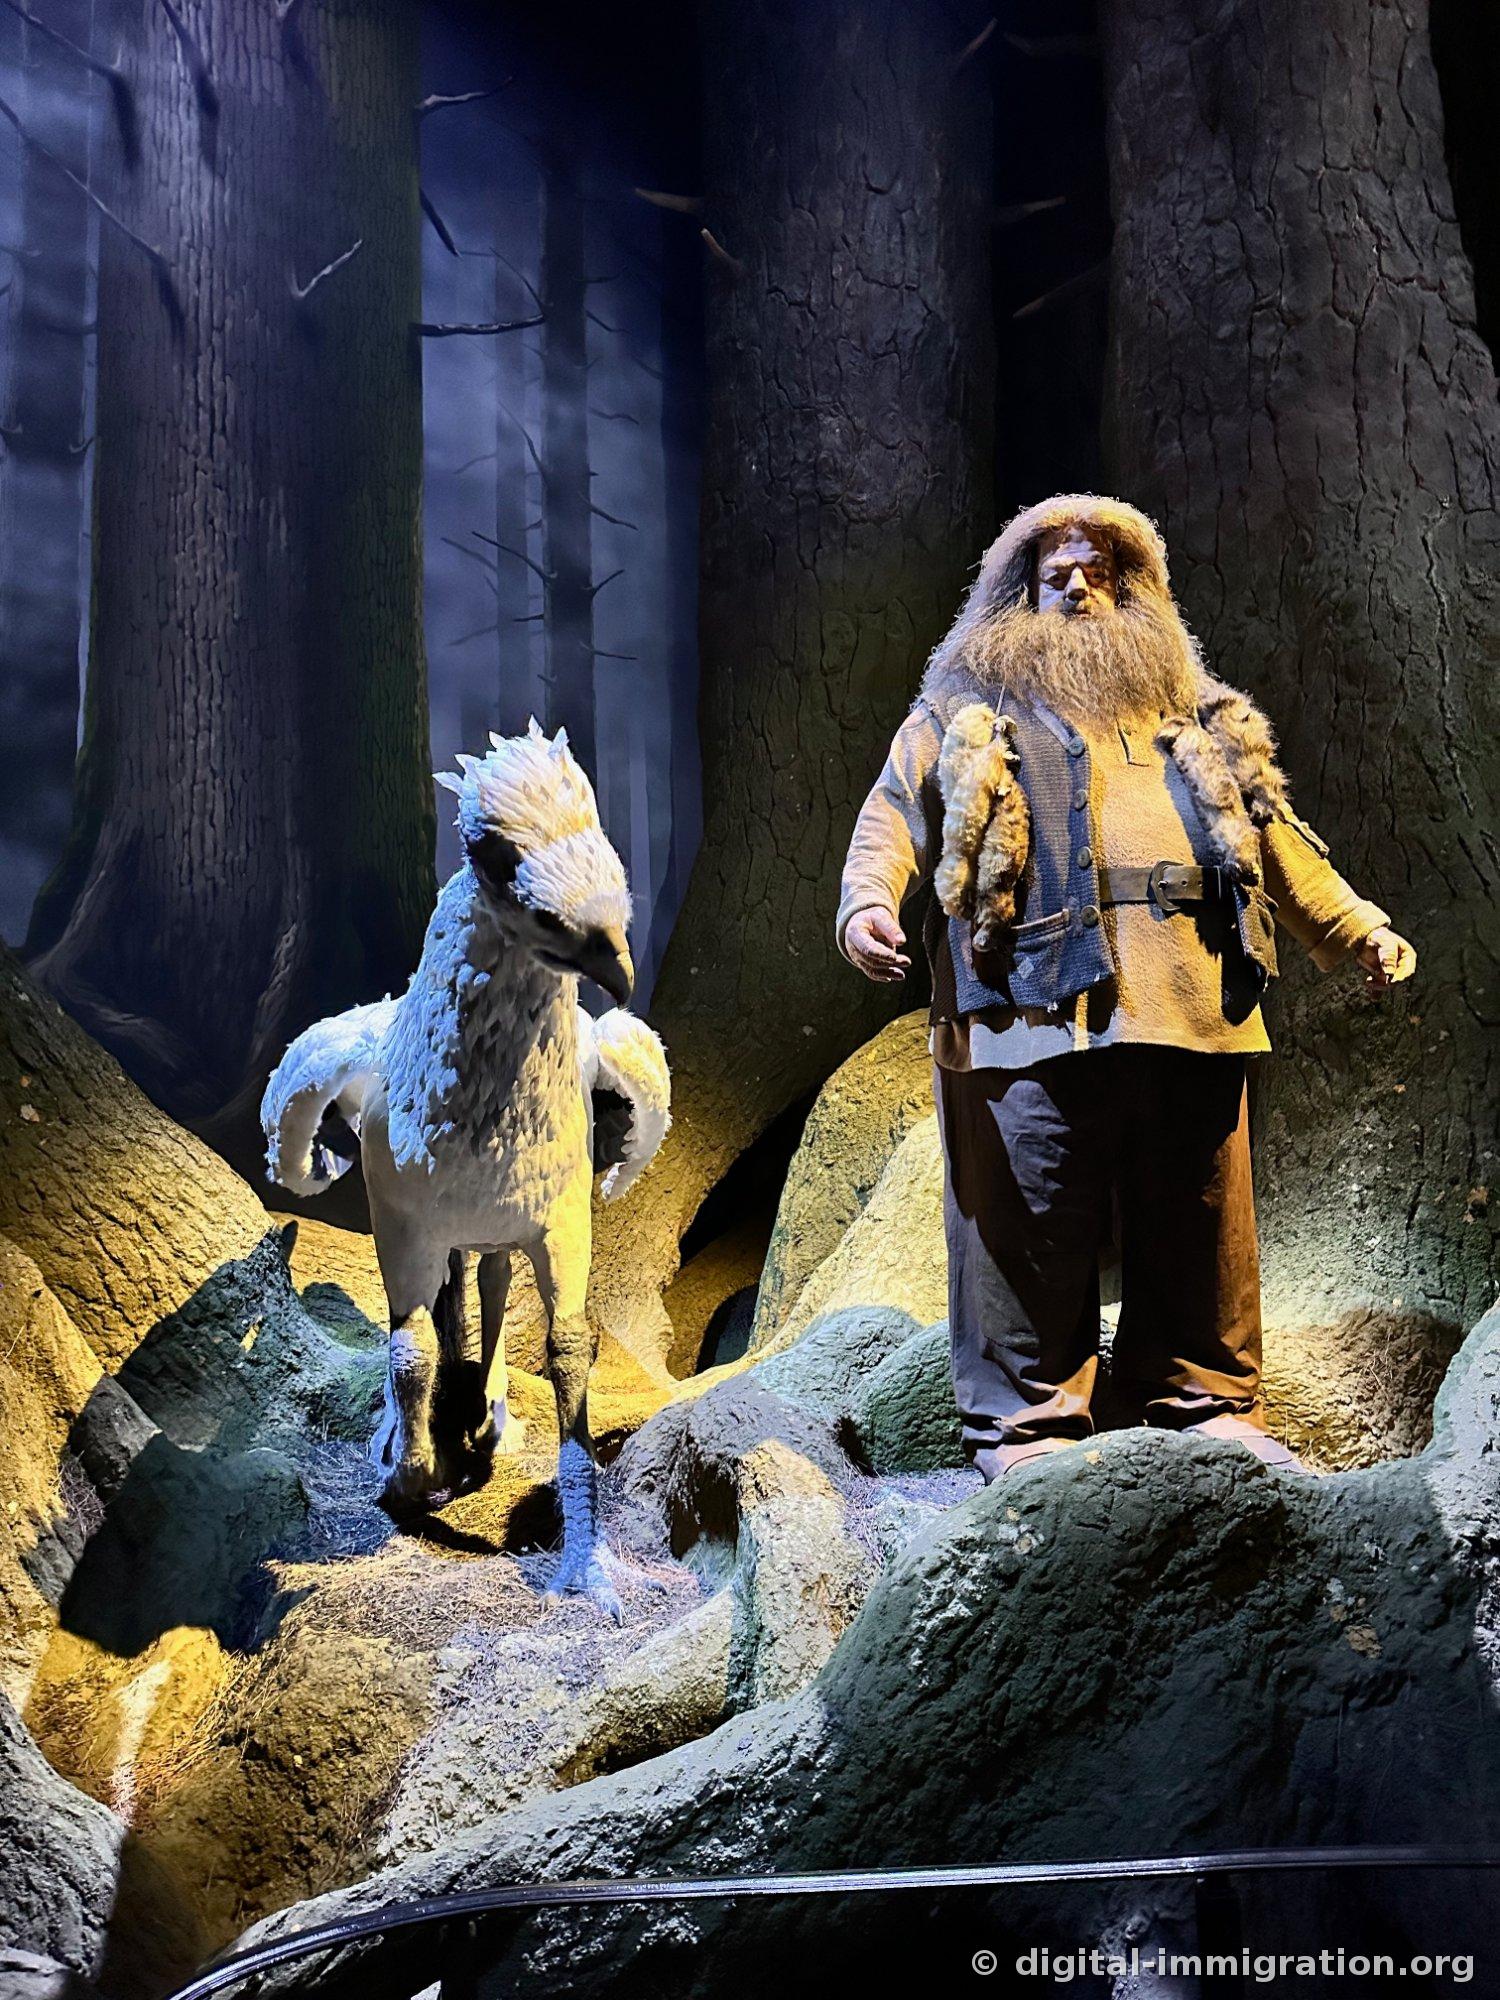
One section drops the indoor lighting dramatically. Wooden pillars stretch to the ceiling, moss and roots carpet the floor, and there's a smell like moisture and earth—whether real humidity or atmospheric effect, I'm not sure. Inside, Buckbeak and Hagrid stand together, blue light filtering through the trees. Kids bowed in respect before Buckbeak, and a few adults followed suit.
Platform 9 ¾ and the Hogwarts Express
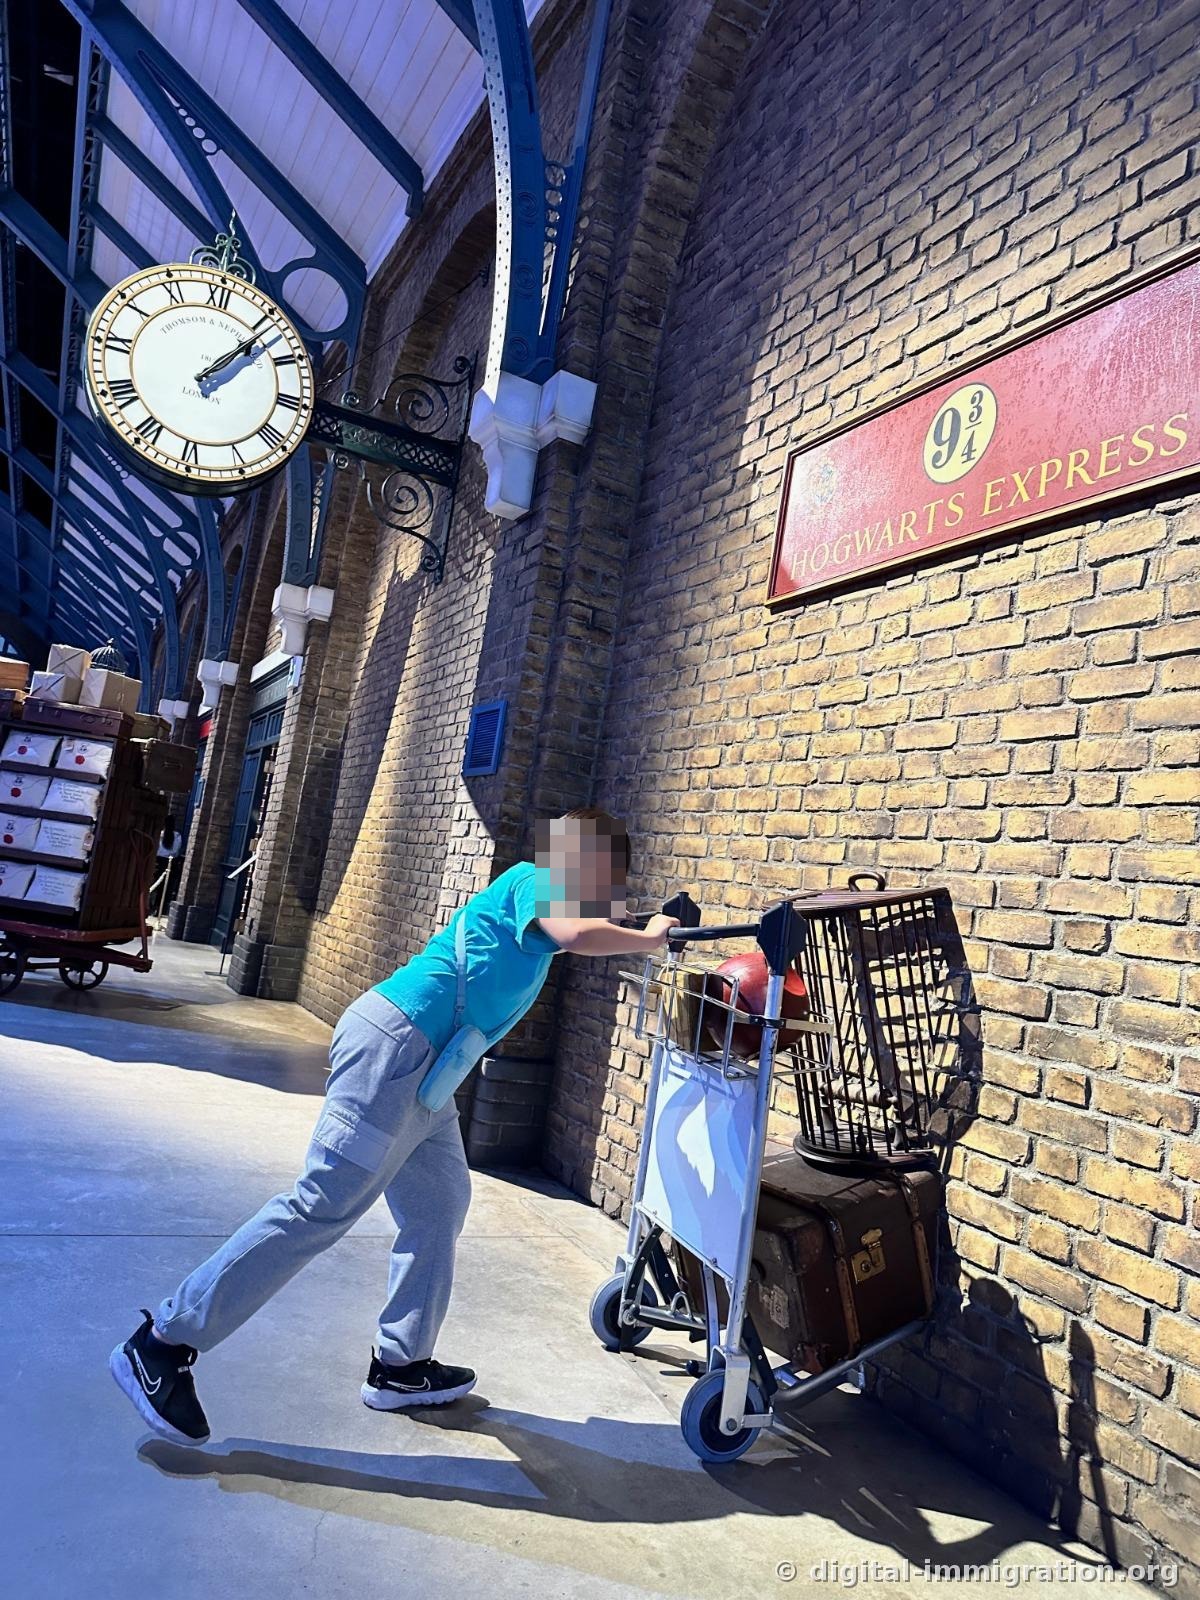
Entering the King's Cross set, light pours through the glass ceiling. A brick wall displays a red "9¾ HOGWARTS EXPRESS" sign, and below it, a cart laden with trunks and owl cages is half-embedded in the wall. Almost everyone pushes that cart for a photo. Our child put full force into it, so I captured that. This section wasn't crowded in the morning, so we had room to work with.
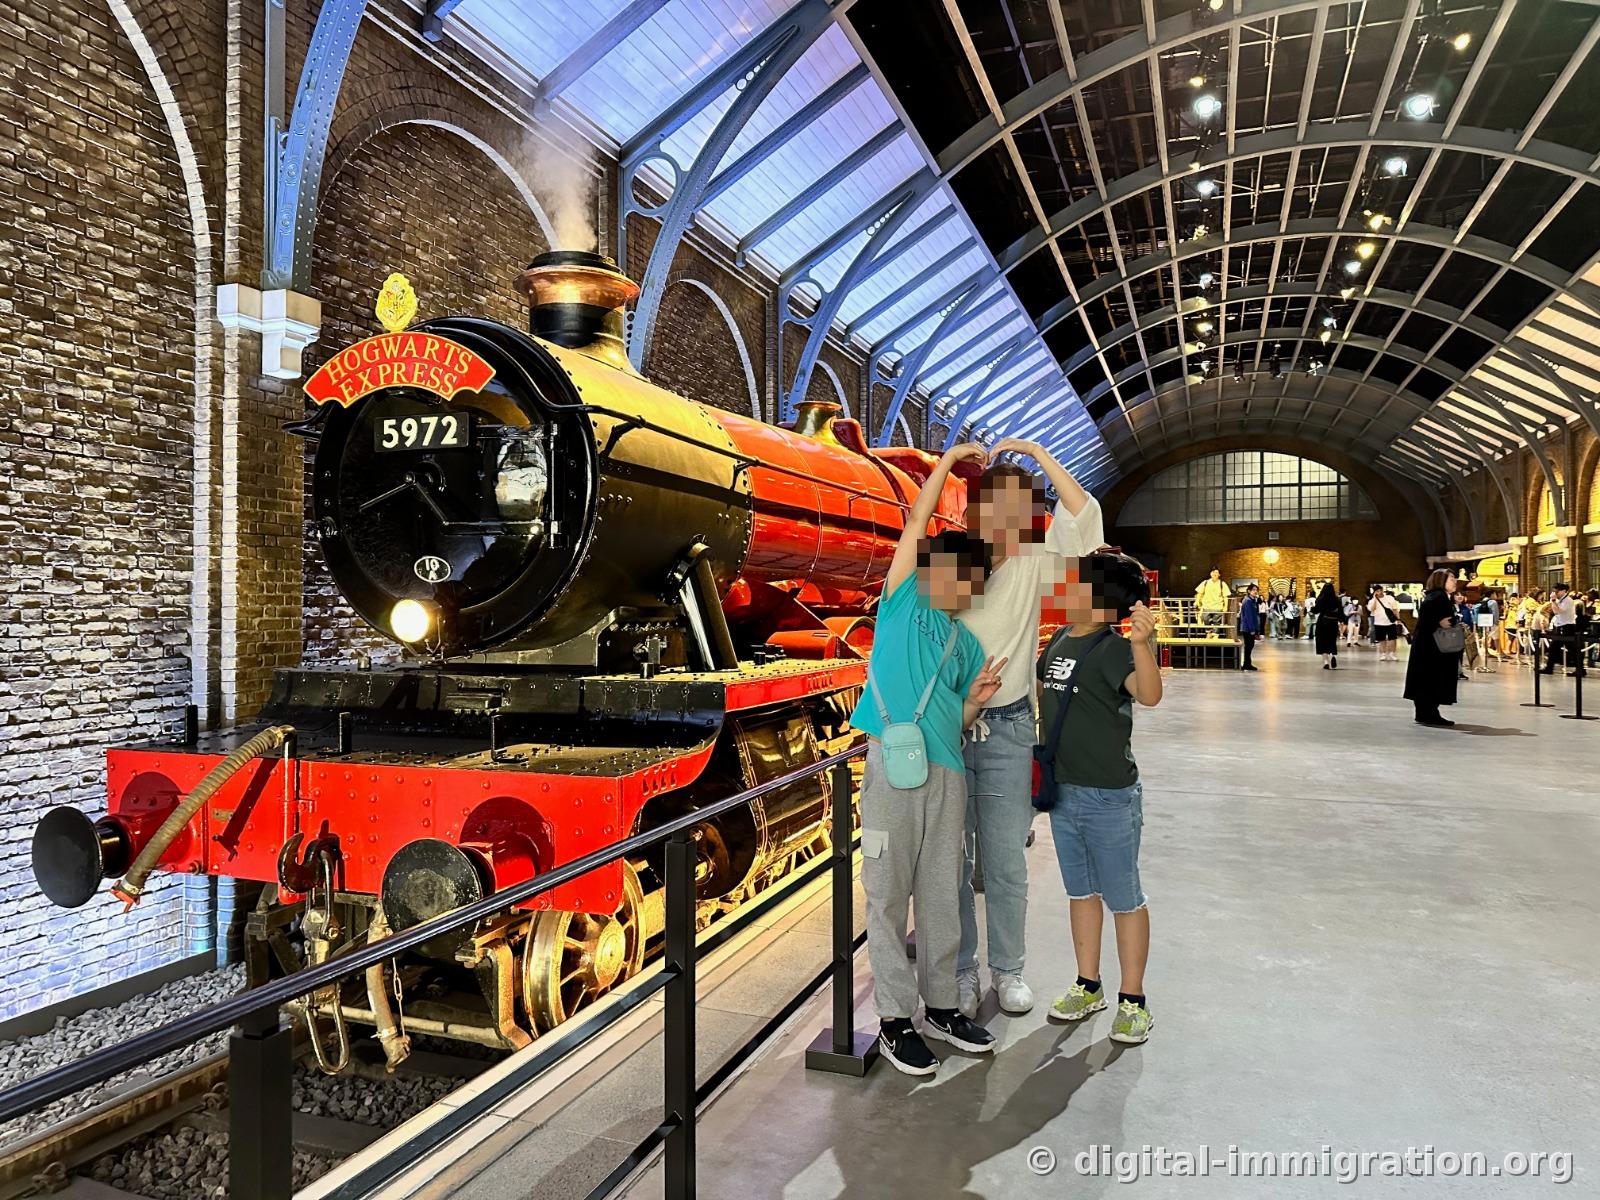
Inside the same hall, locomotive number 5972 stands at full size. Black body with red frame, a "Hogwarts Express" nameplate up front, and white steam actually rising from the smokestack. The headlamp is lit, making the stationary engine look ready to depart any moment. To frame the whole locomotive for a family photo, stand at the far right of the railing.
The Ministry of Magic Atrium
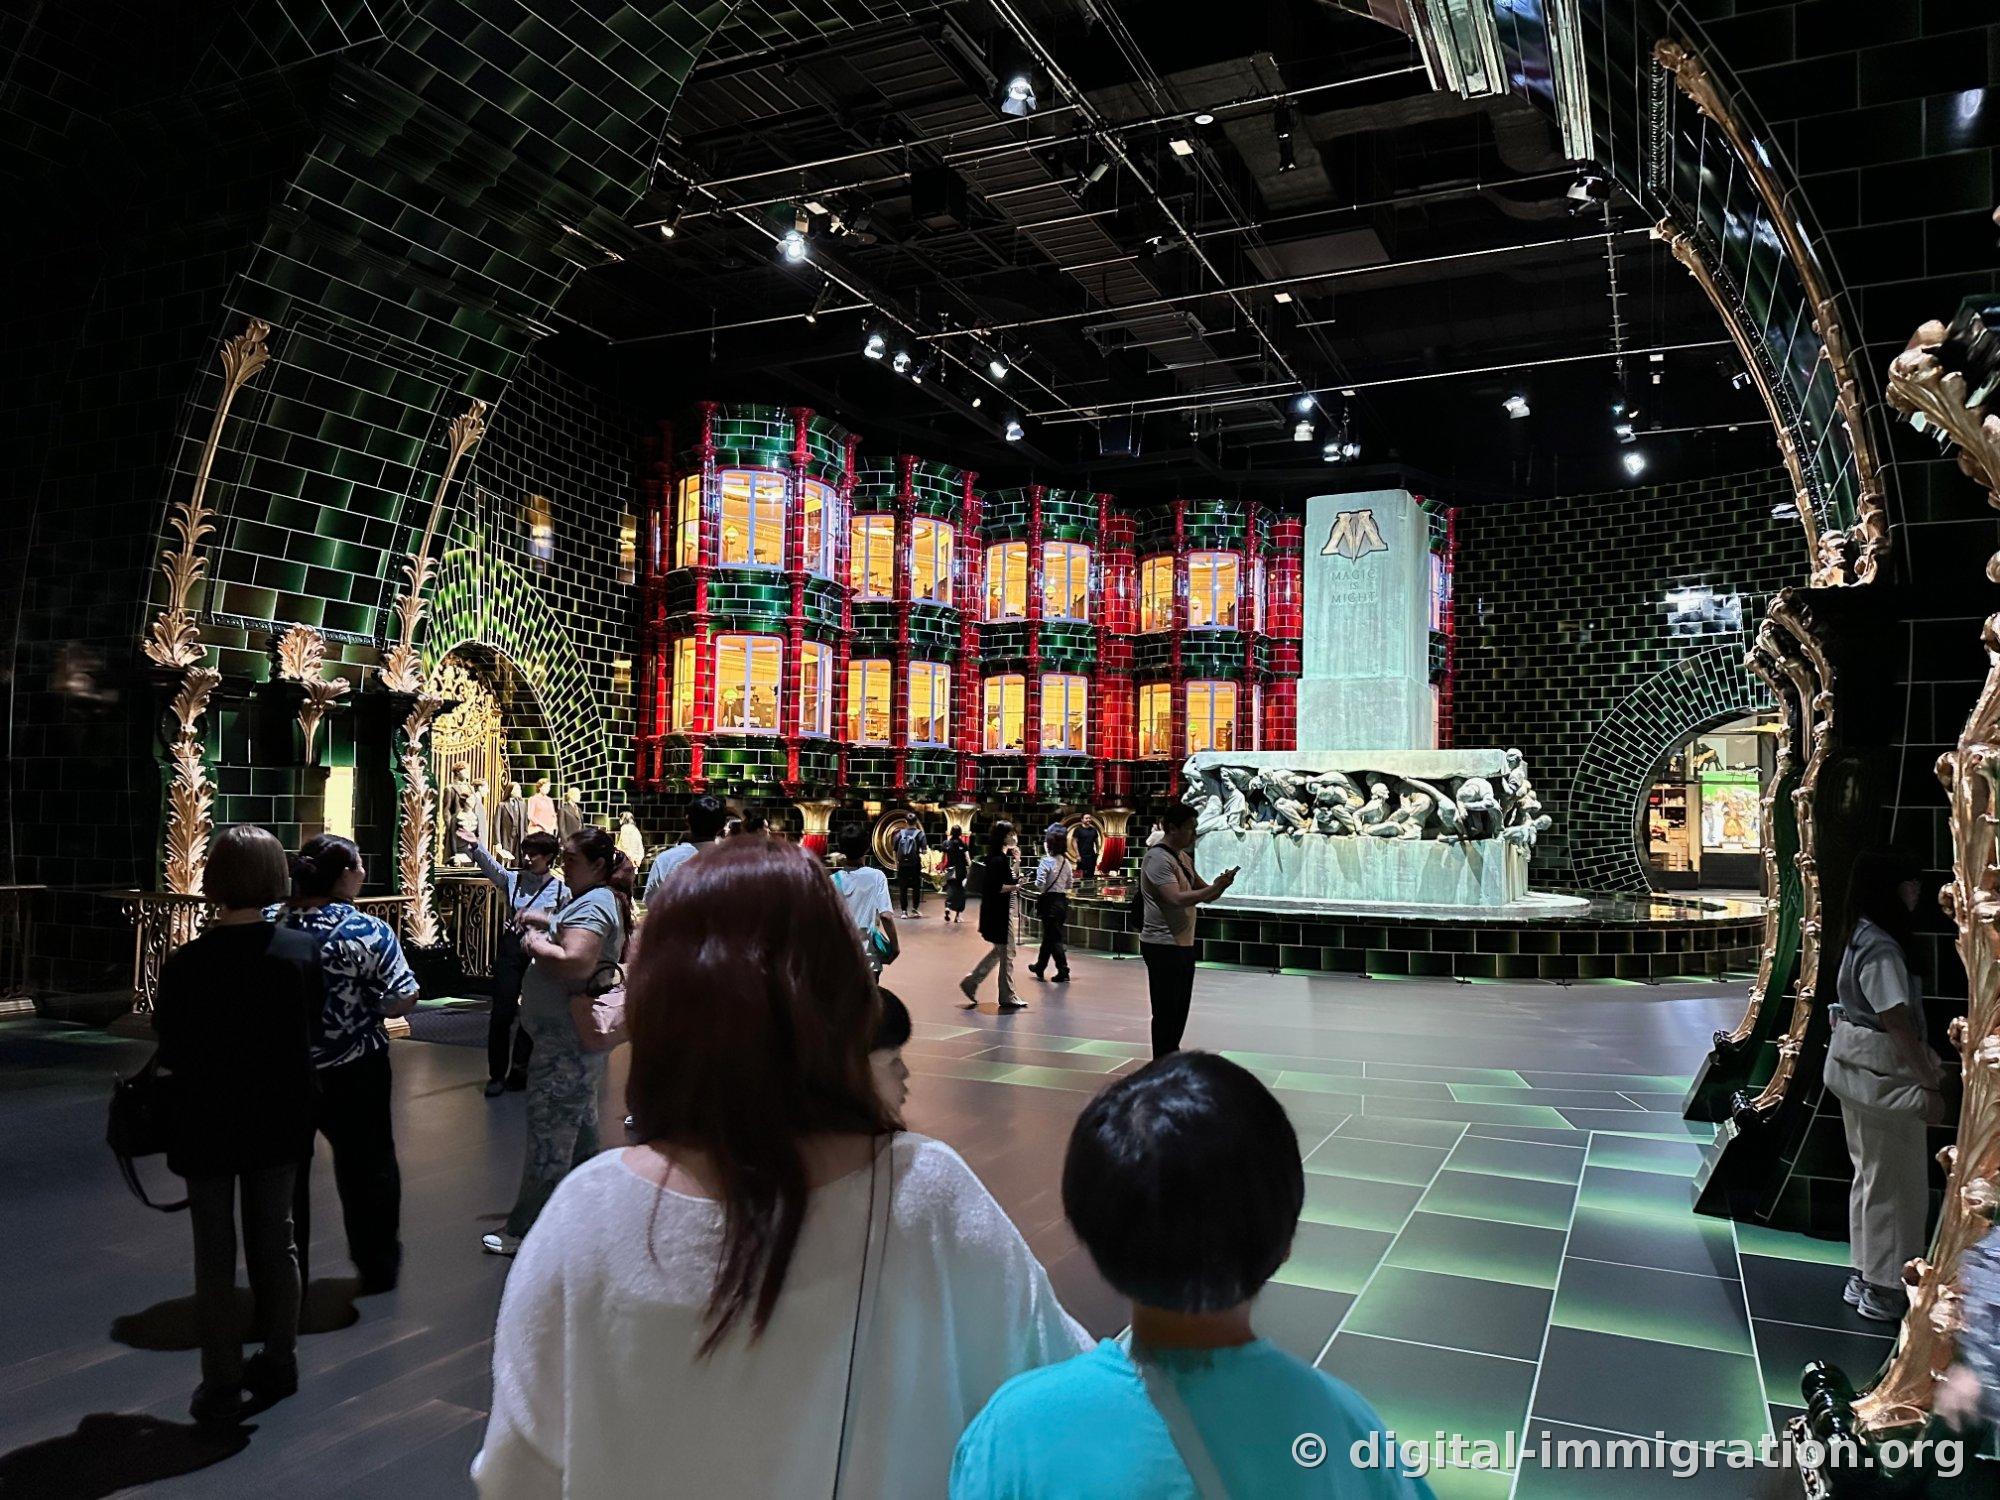
A massive hall tiled entirely in shiny deep-green tiles comes into view. At the center stands a structure with red columns and layered windows, yellow lighting glowing from inside—green and red colliding directly. To the right, a colossal statue carved with "MAGIC IS MIGHT". The space is large, making for great photos, but dim lighting means camera shake is likely.
Diagon Alley Comes Last
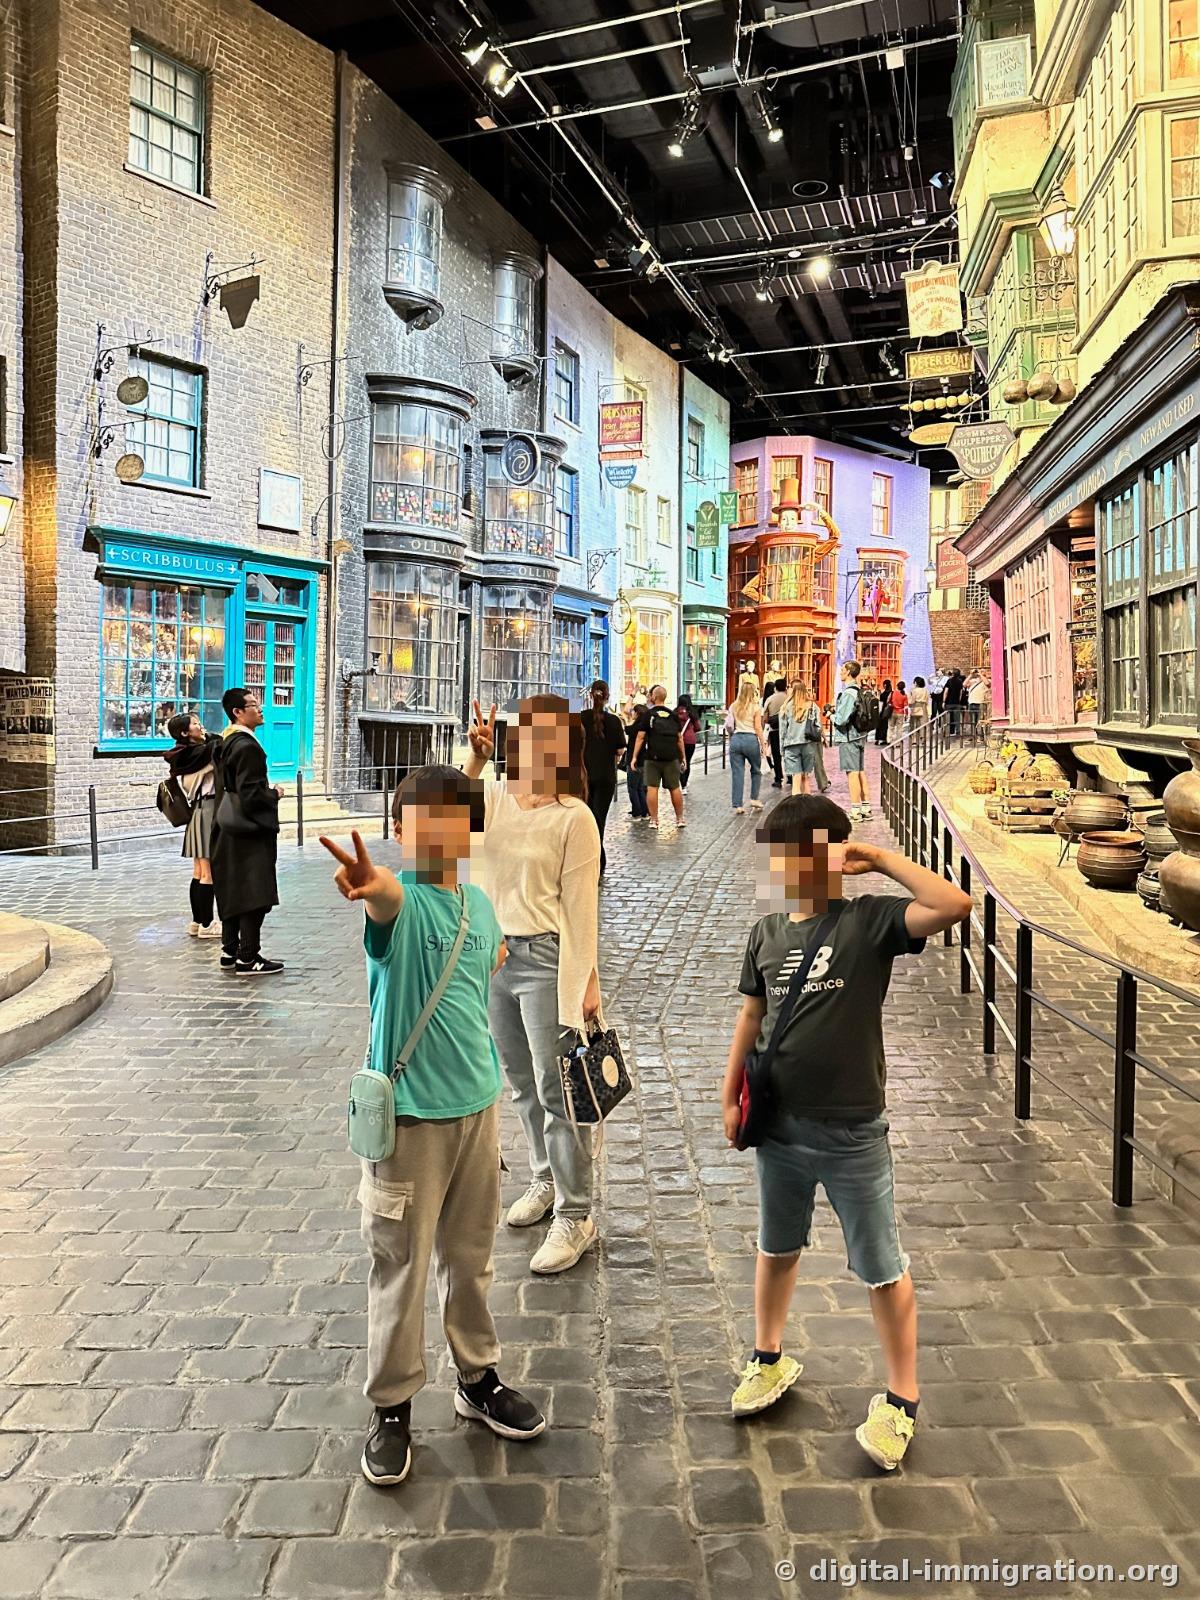
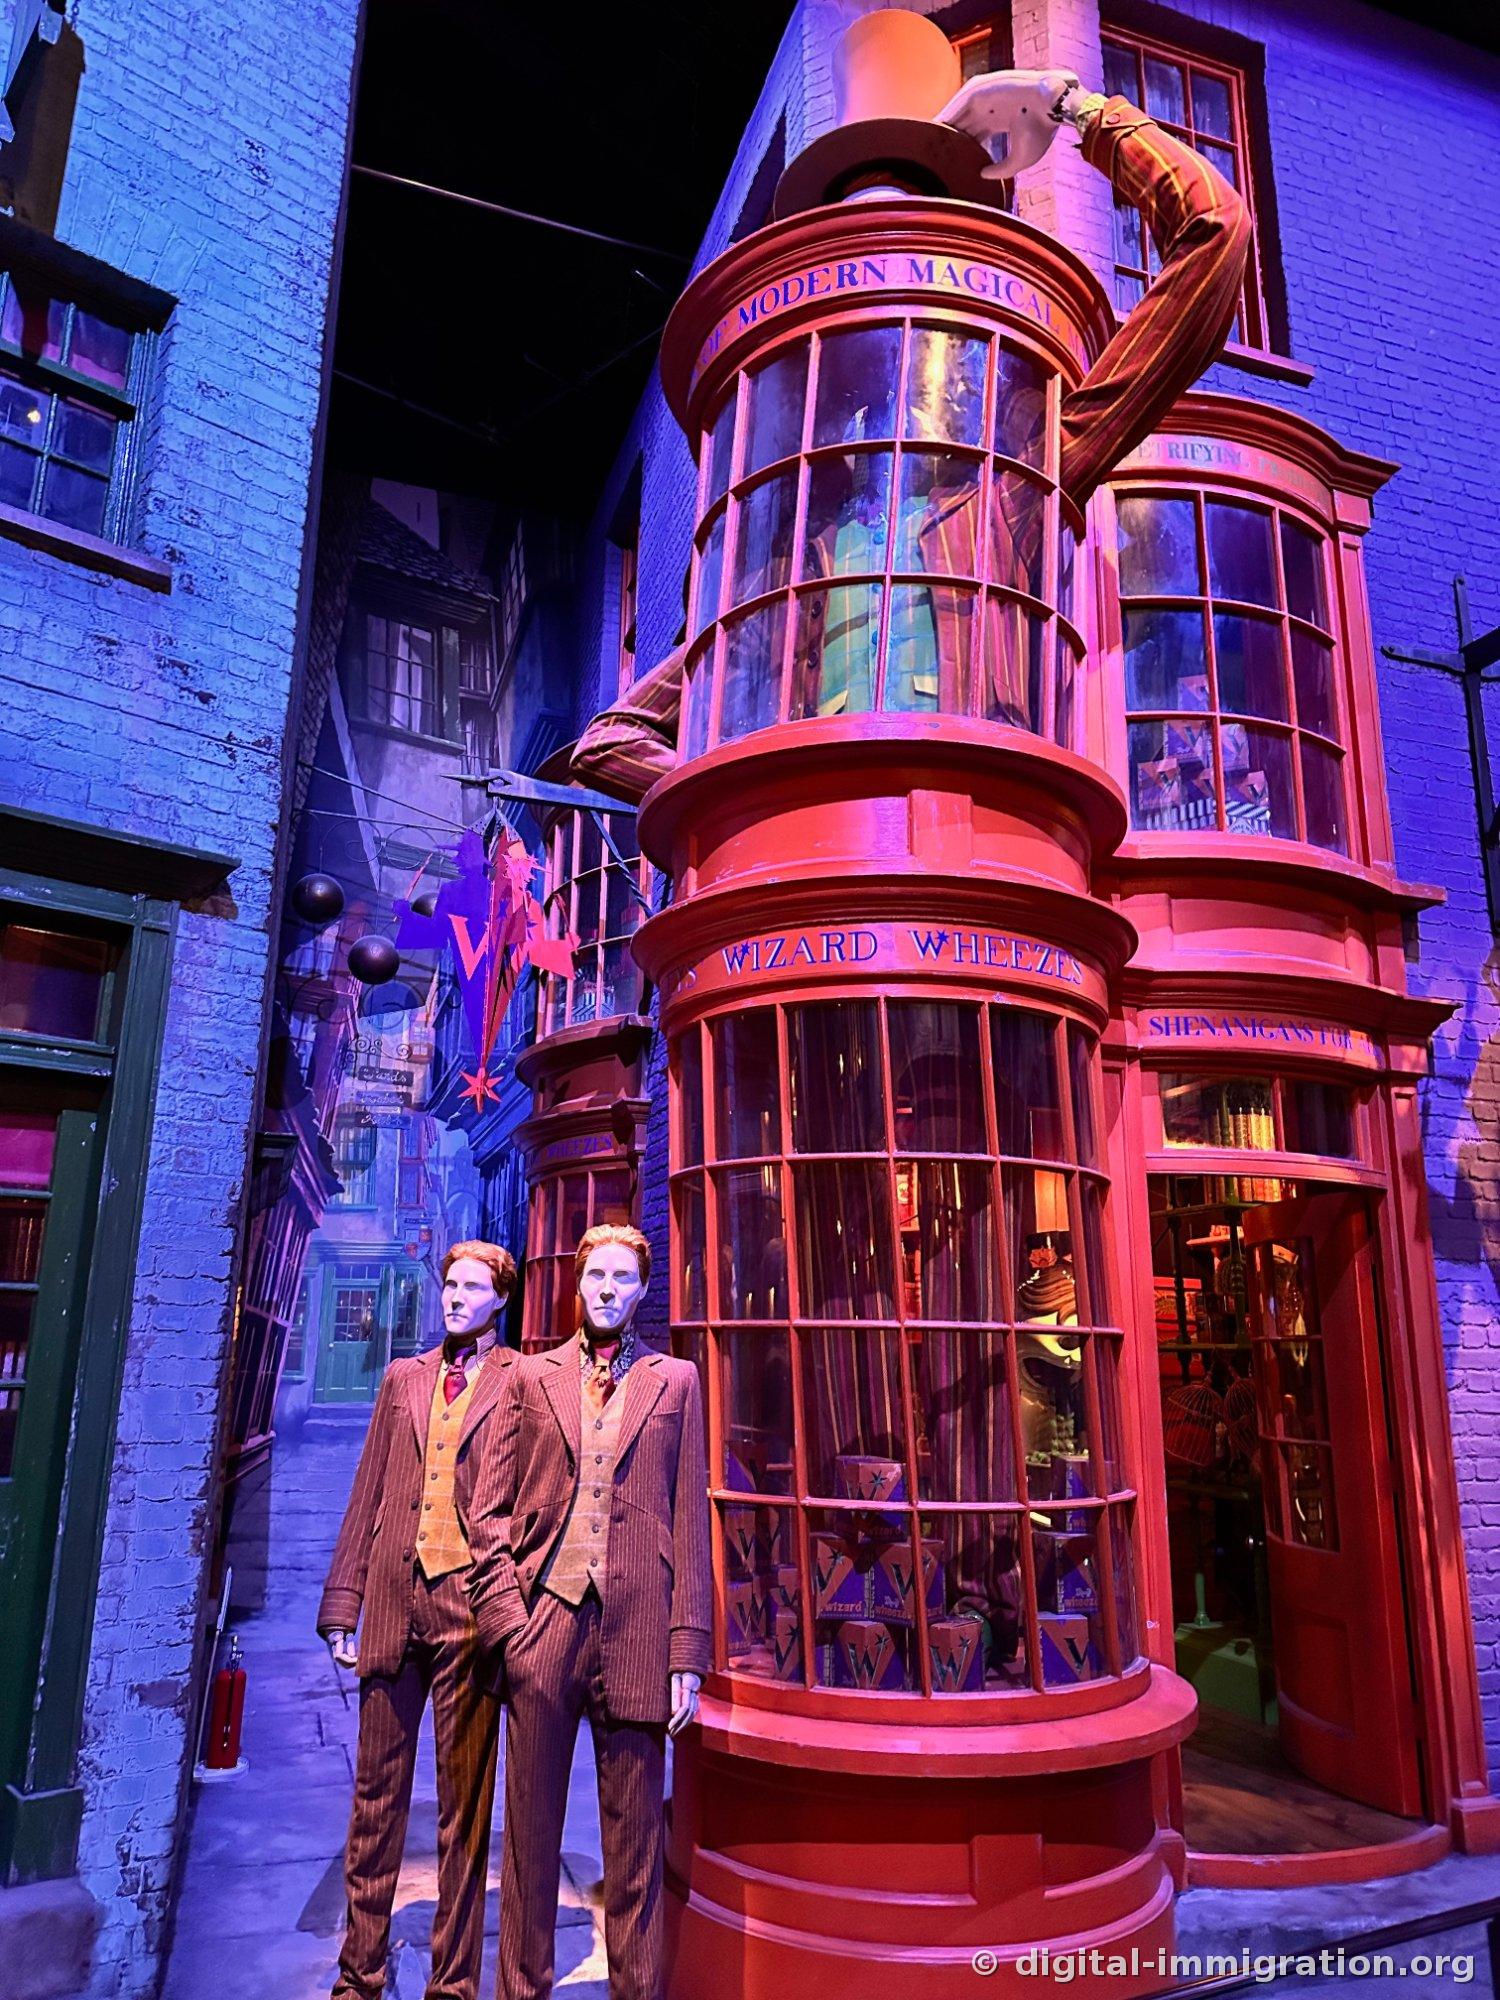
Entering a cobblestone alley, storefronts stand at full scale on both sides. Signs for Scrivenshaft's, Ollivander's, and Mulpepper's Apothecary appear in sequence, with the red Weasleys' Joke Shop at the alley's end. The uneven stone floor is immediately felt underfoot—comfortable shoes are the right call.
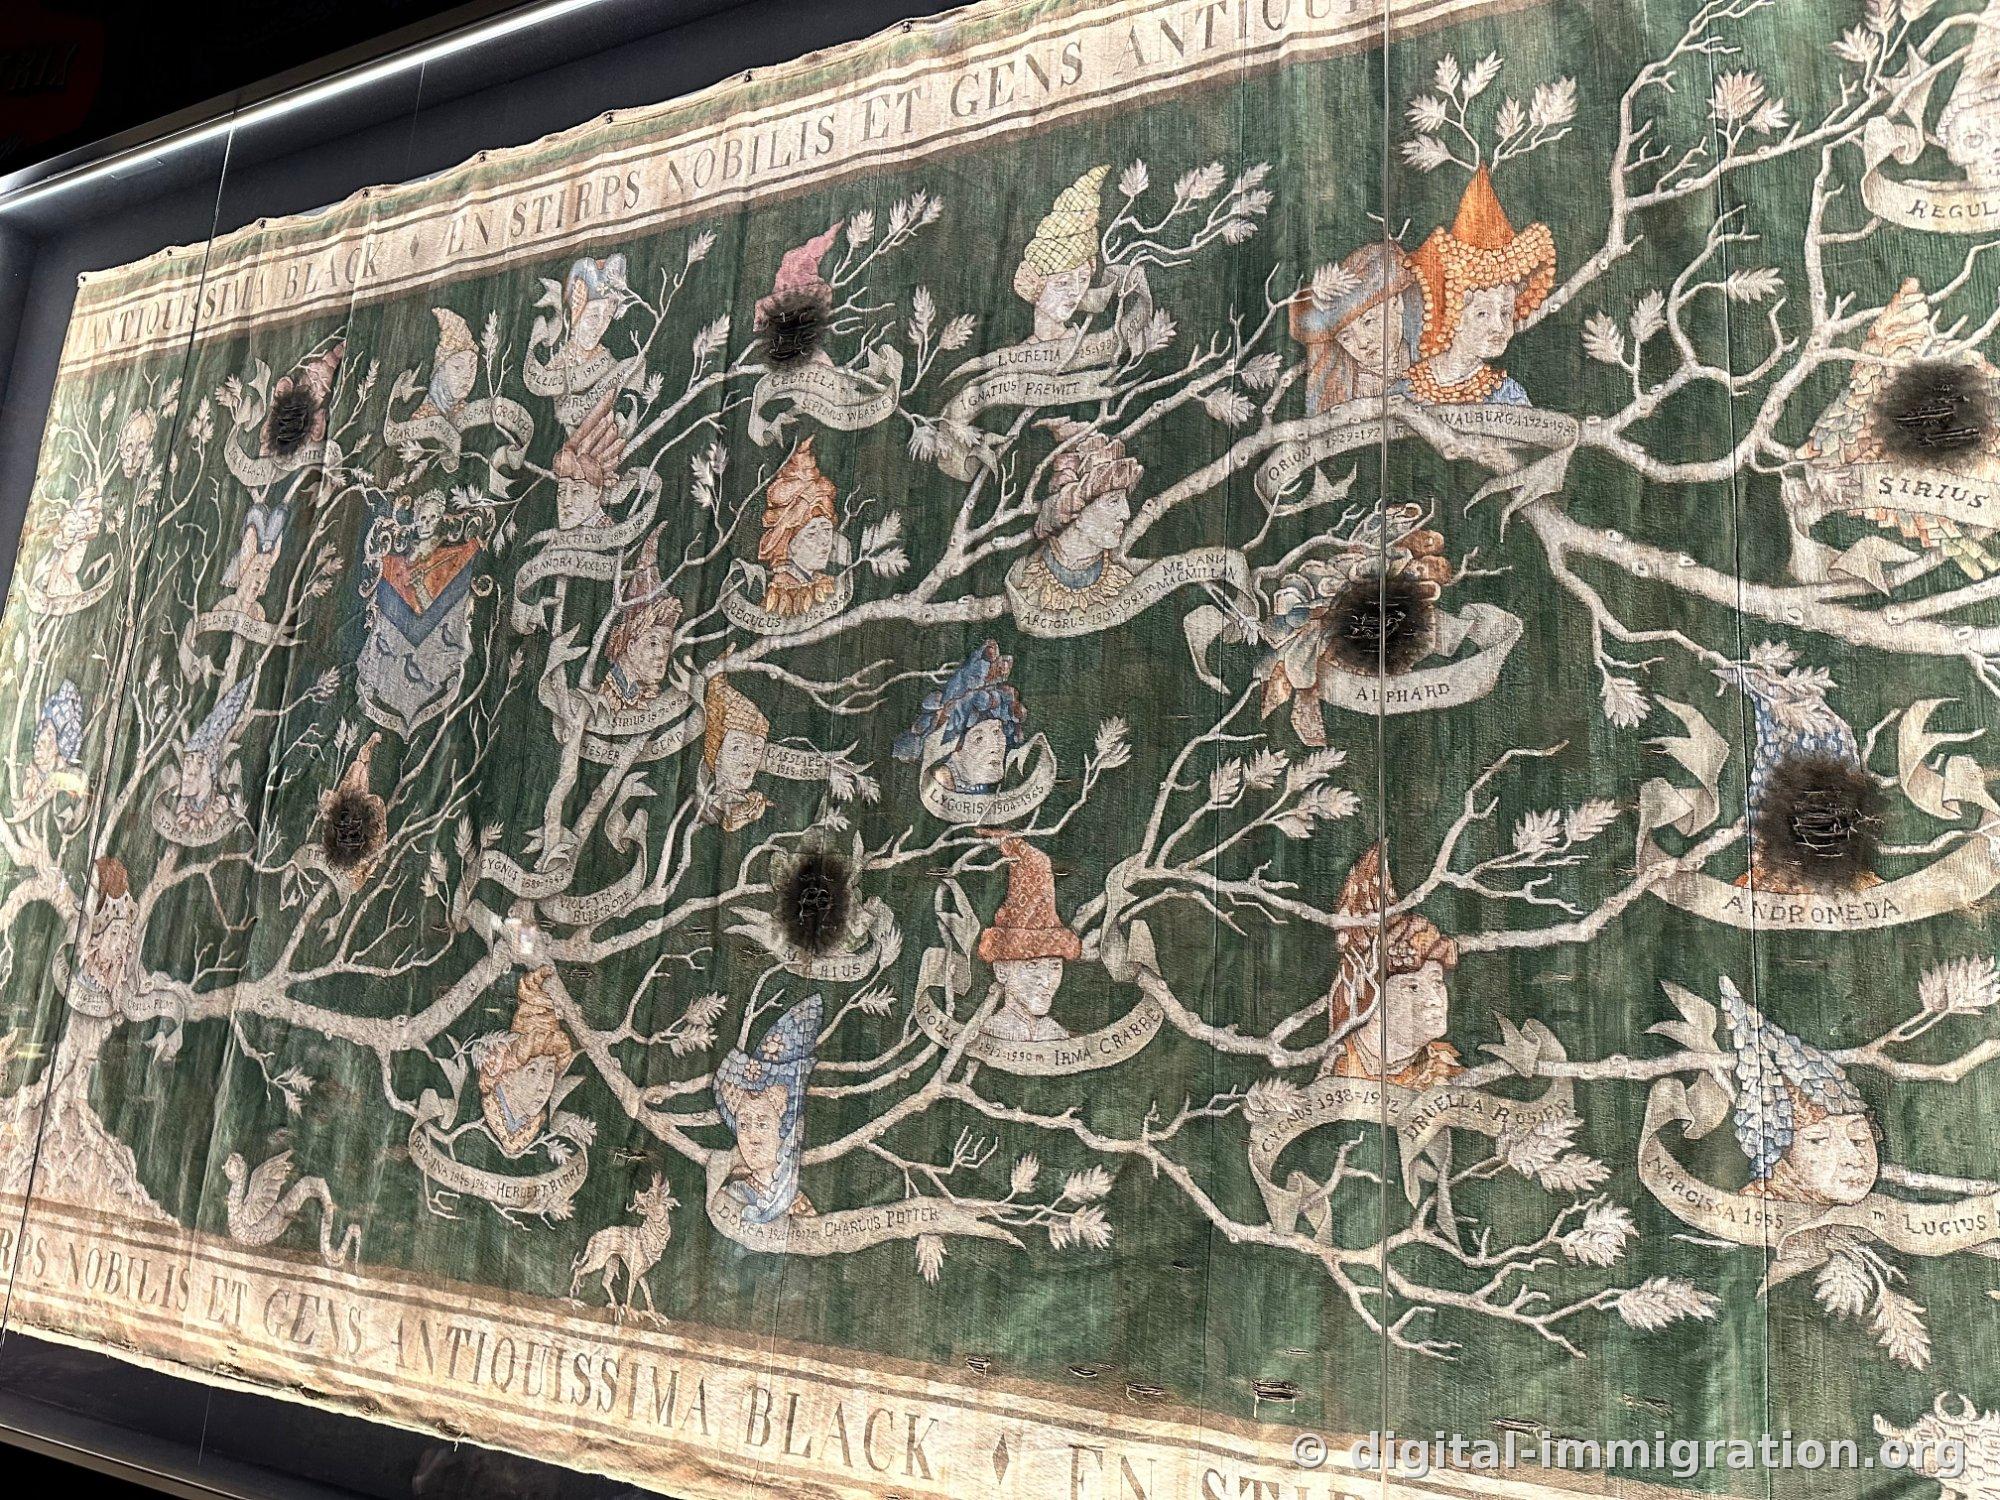
Near the alley, the Black Family tapestry hangs on a wall. Silver branches spread against a deep-green ground, with faces and name ribbons hanging from each branch. Where family members were blasted off, the fabric is scorched and torn—notably at the spots where Sirius and Andromeda's names appear. Glass glare is bad head-on; view it at an angle to read the text.
Outdoor Sets — Hagrid's Hut and 4 Privet Drive
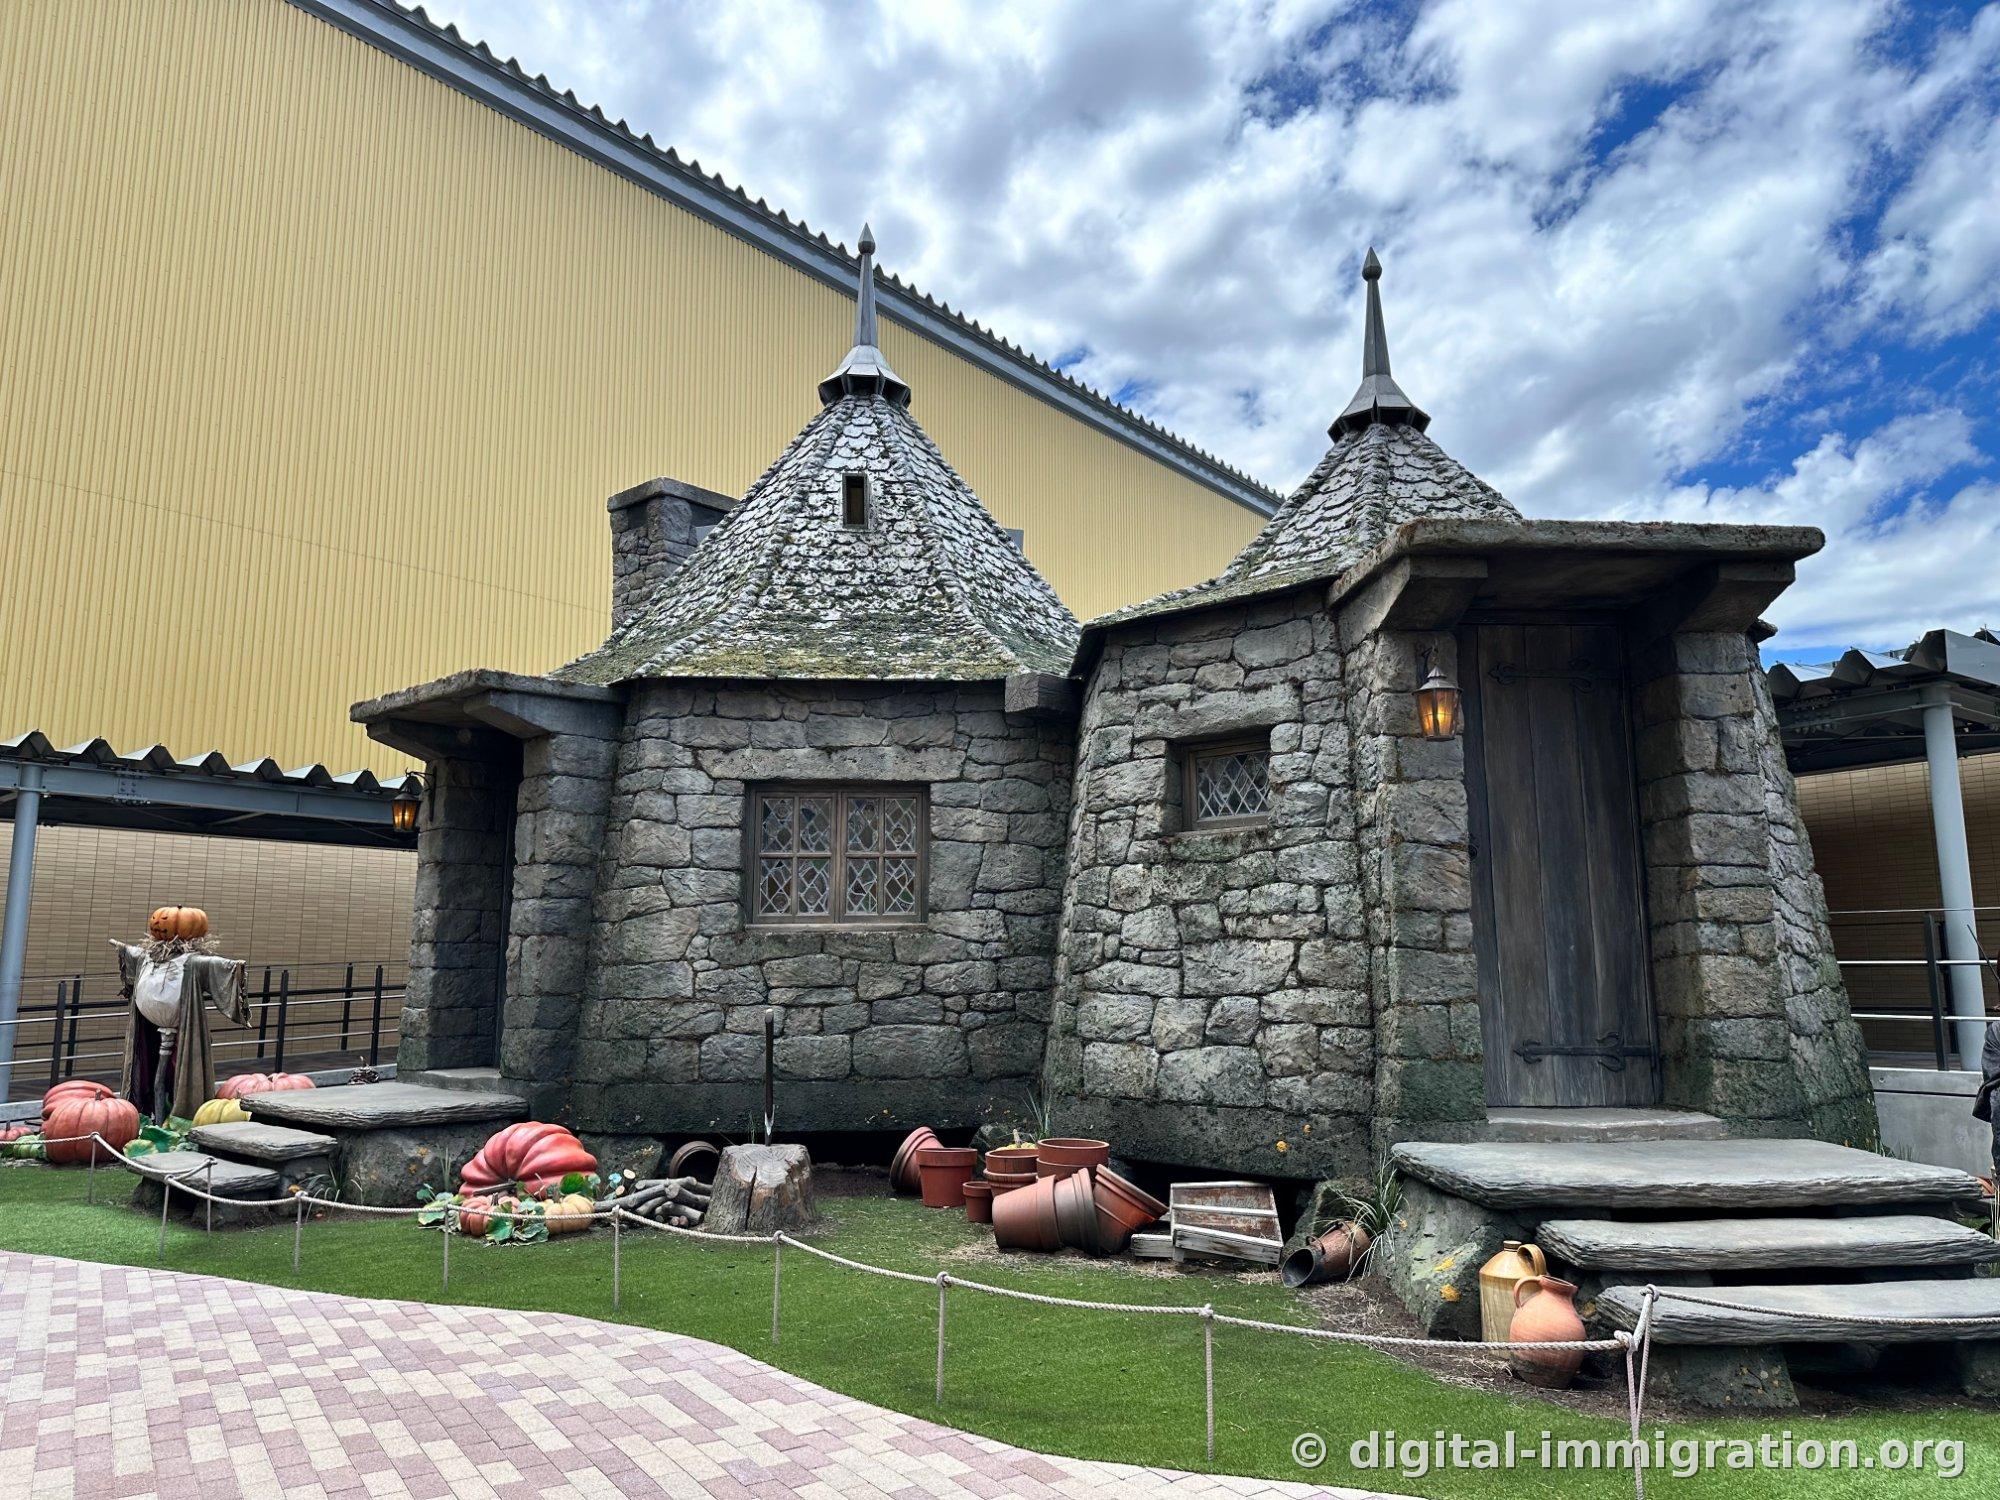
Mid-tour, there's an outdoor section—a moment to catch your breath. Hagrid's hut is stone-walled with a conical roof, flanked by giant pumpkins, a scarecrow, and overturned pots. Even roof moss is sculpted, though the studio warehouse wall visible behind gives you that "backlot" sense of actually being on a working set.
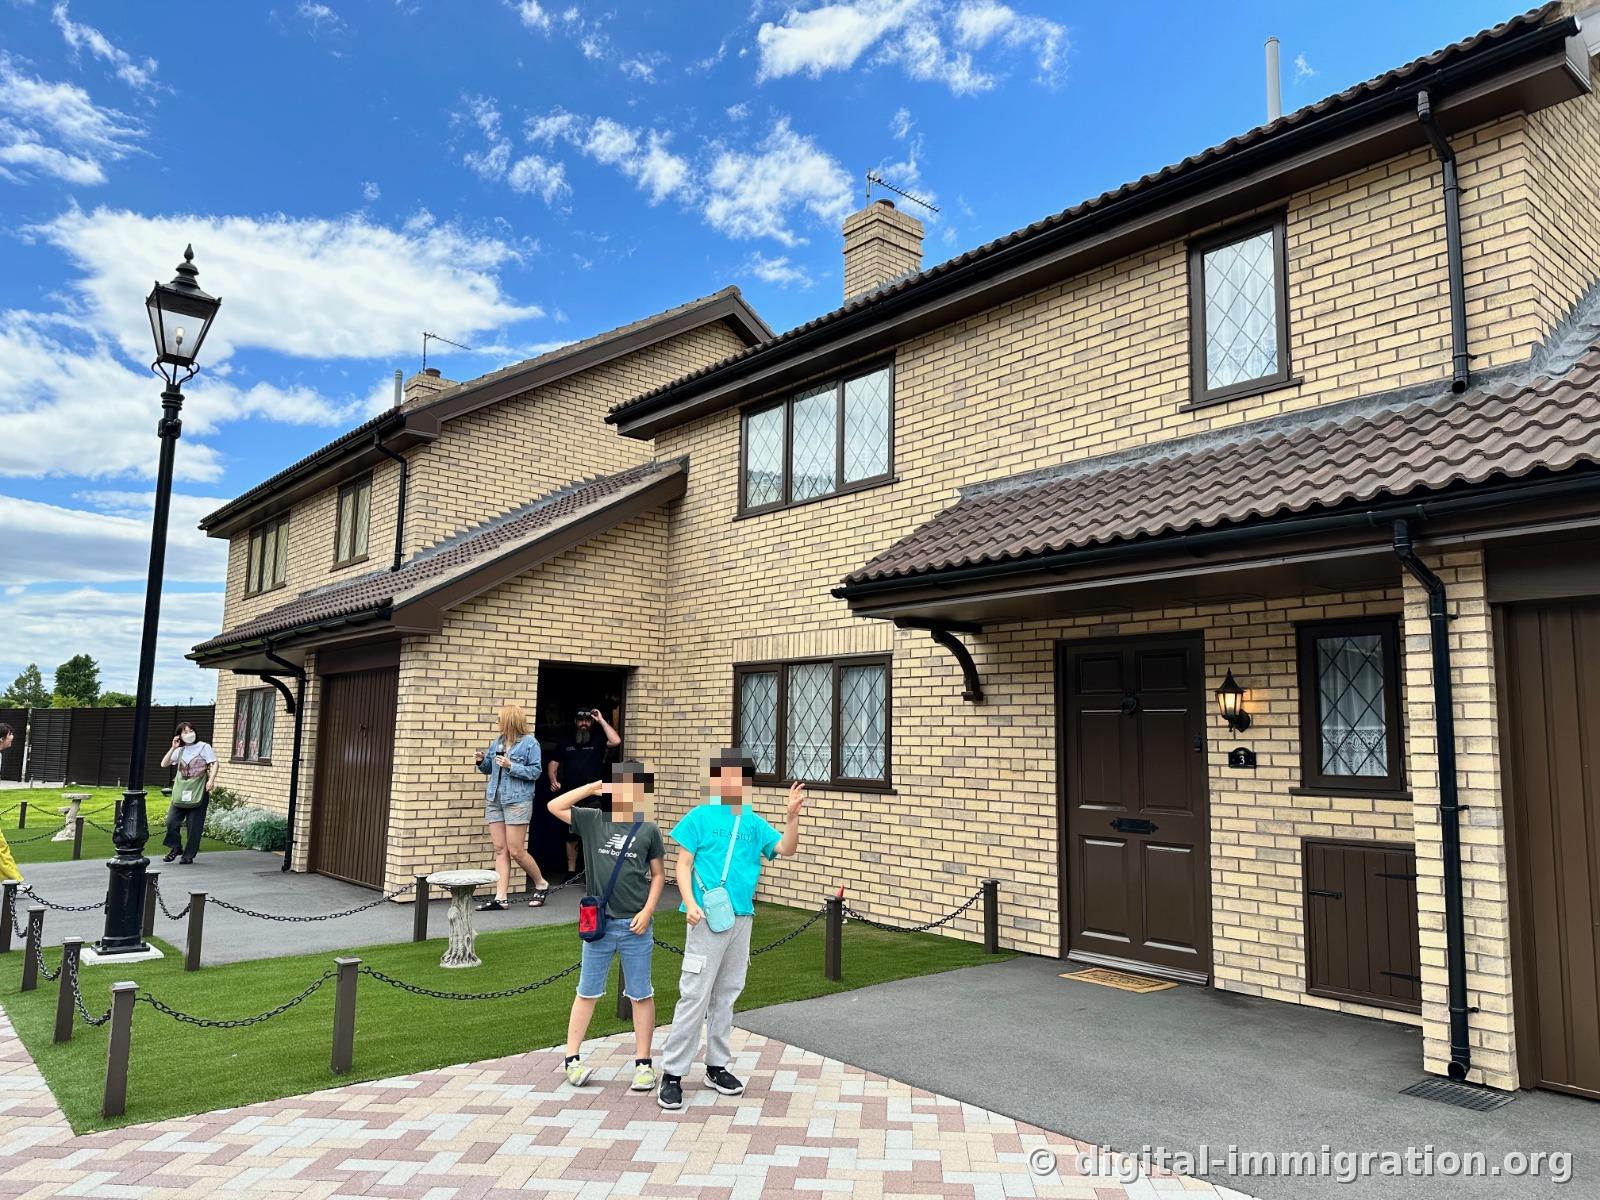
Further on, 4 Privet Drive stands next to its neighbor with house number 3 visible on the adjacent entrance. Yellow brick, brown window frames, artificial grass, a streetlamp, a bird bath—this mundane English suburban home feels oddly strange. Having spent two hours viewing the magical sets just before, the contrast is jarring. The front door is open, so you can peek inside.
Butterbeer Takes One Glass
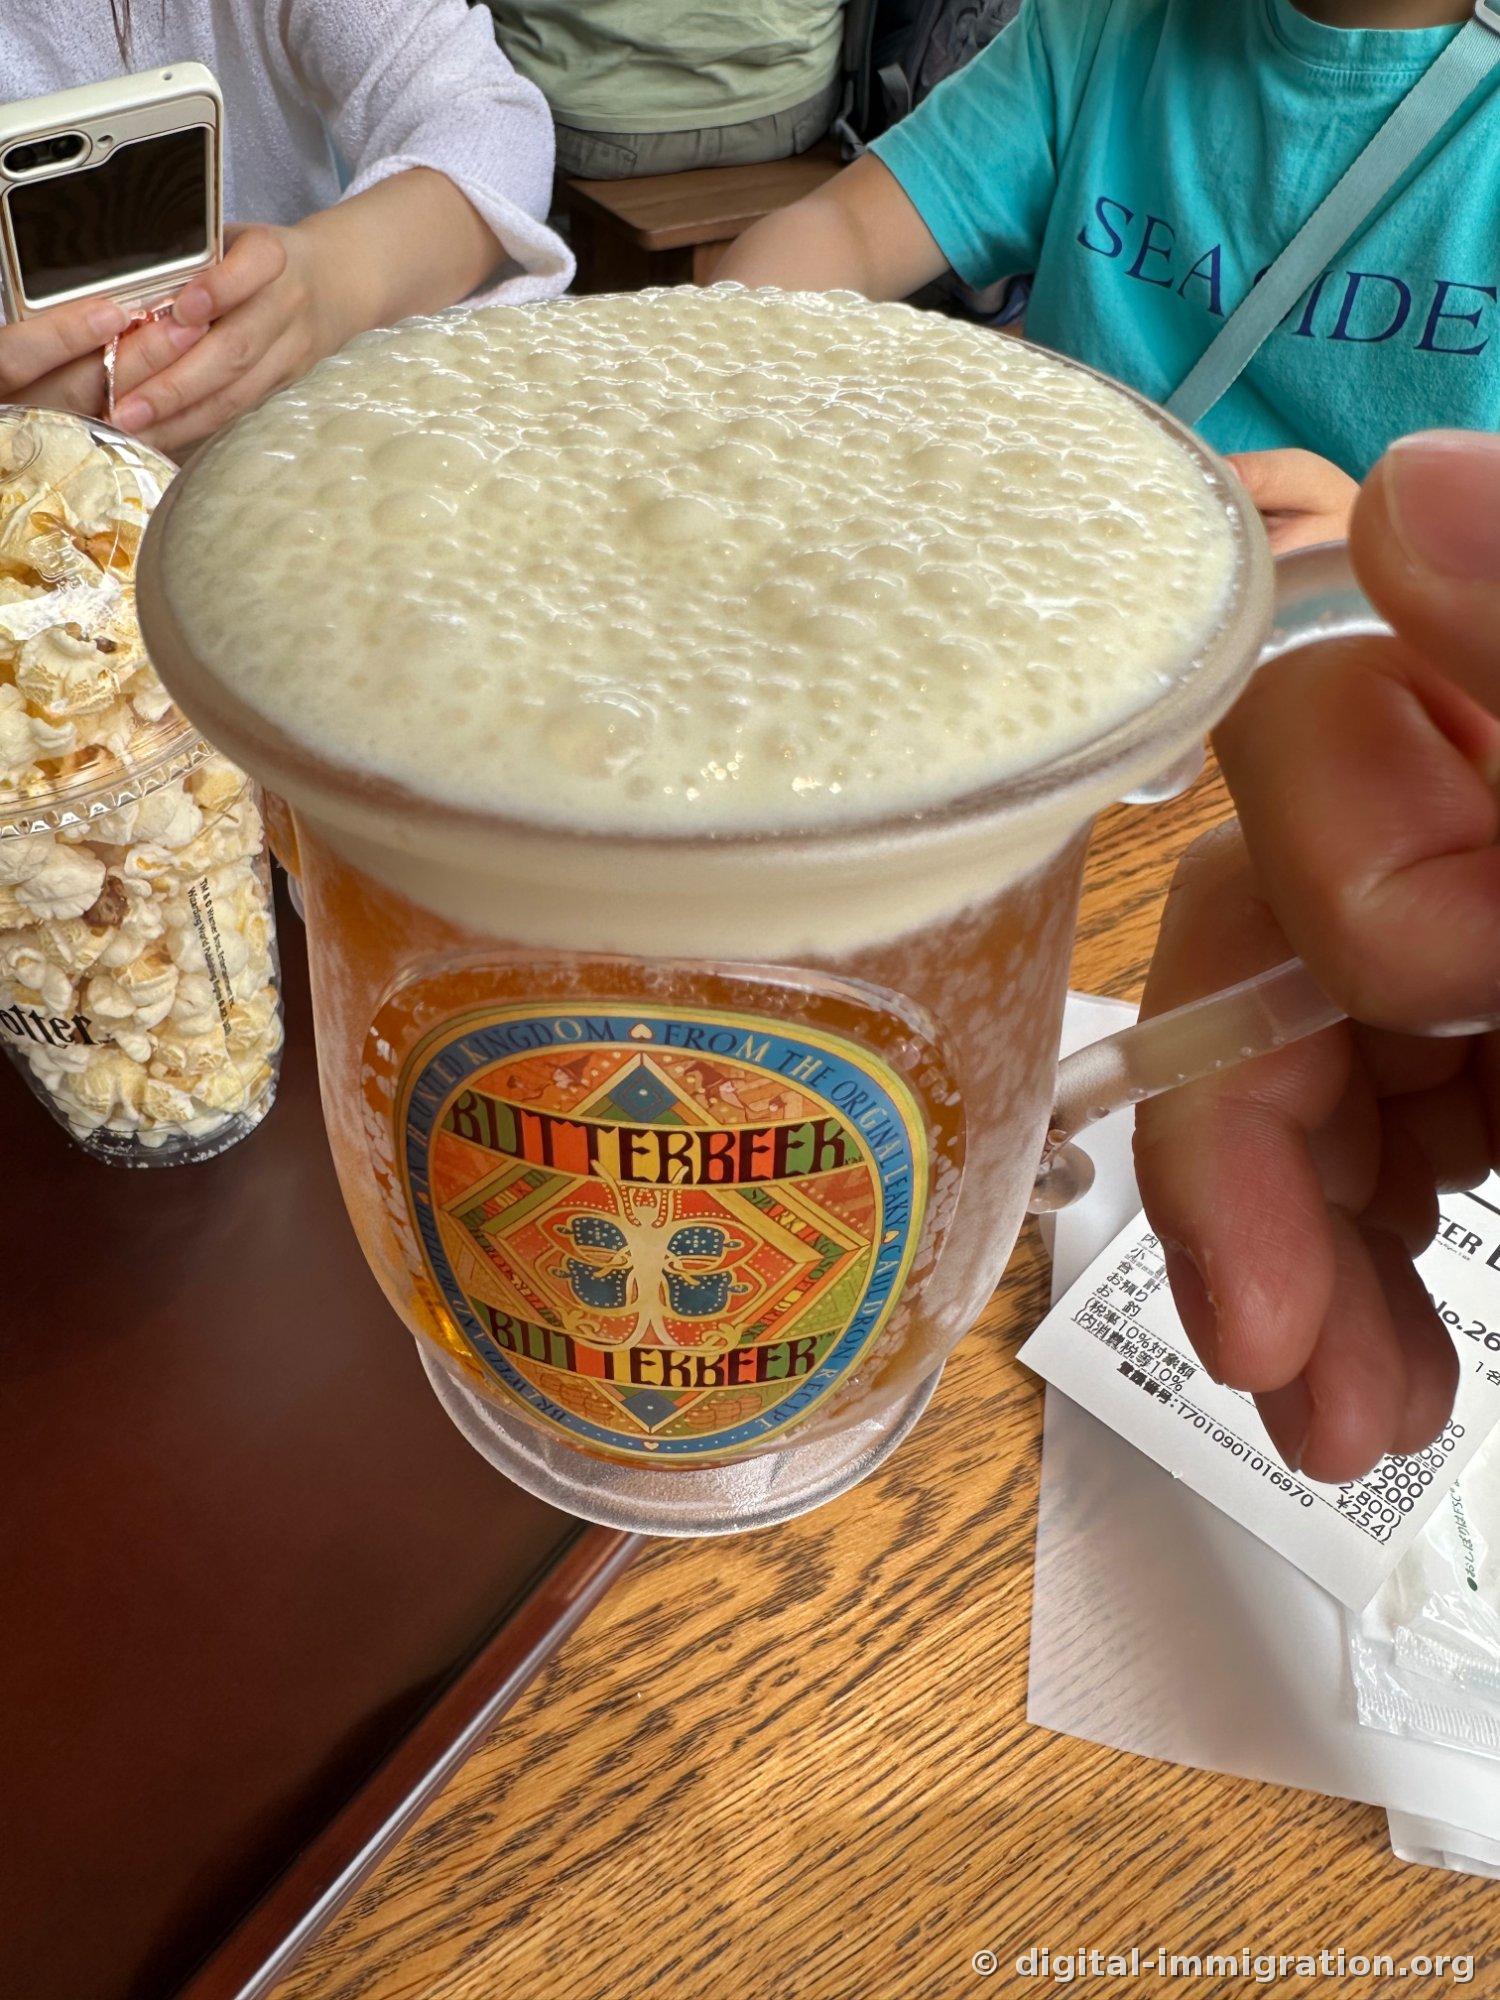
A cafe operates in the outdoor area. Butterbeer arrives with a thick foam head topping the glass. The foam is solid enough to rise about 1cm above the rim, and tasting it—strong caramel and butterscotch sweetness. Alcohol-free, so kids drink it too. But it's really sweet. Our group of four each ordered one and left about half unfinished. Next time, we'll order two and share. The caramel popcorn we ordered alongside was actually less sweet than the butterbeer. There's an option to receive it in a commemorative mug with a handle, but we went with regular glasses. Prices vary seasonally, so check on-site.
The Grand Finale: The Hogwarts Castle Model
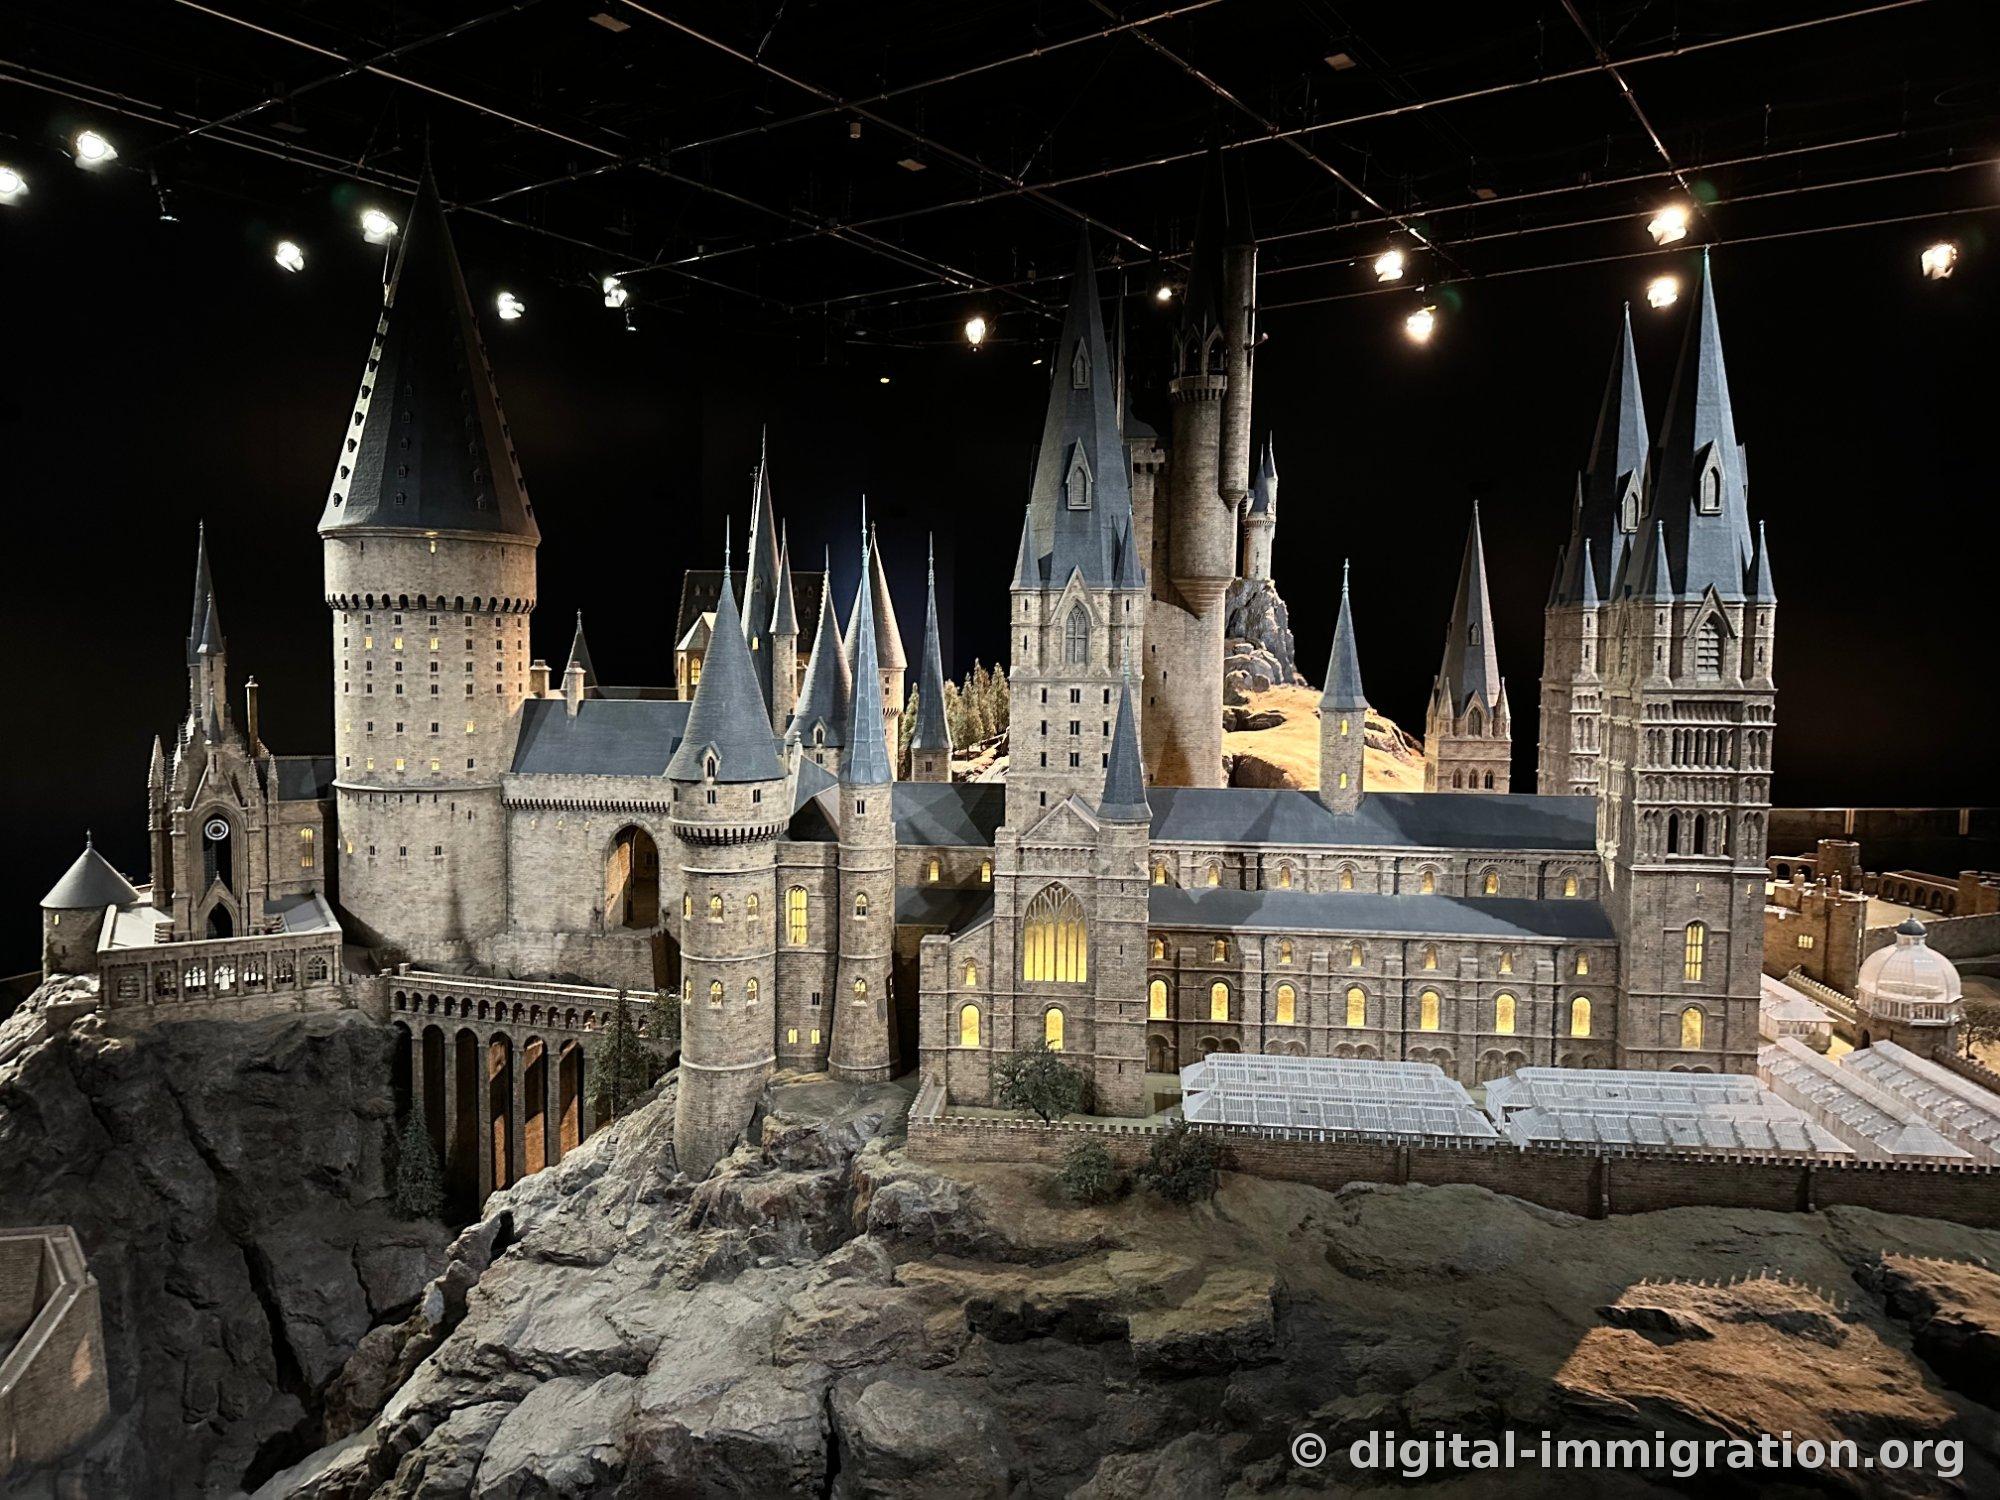
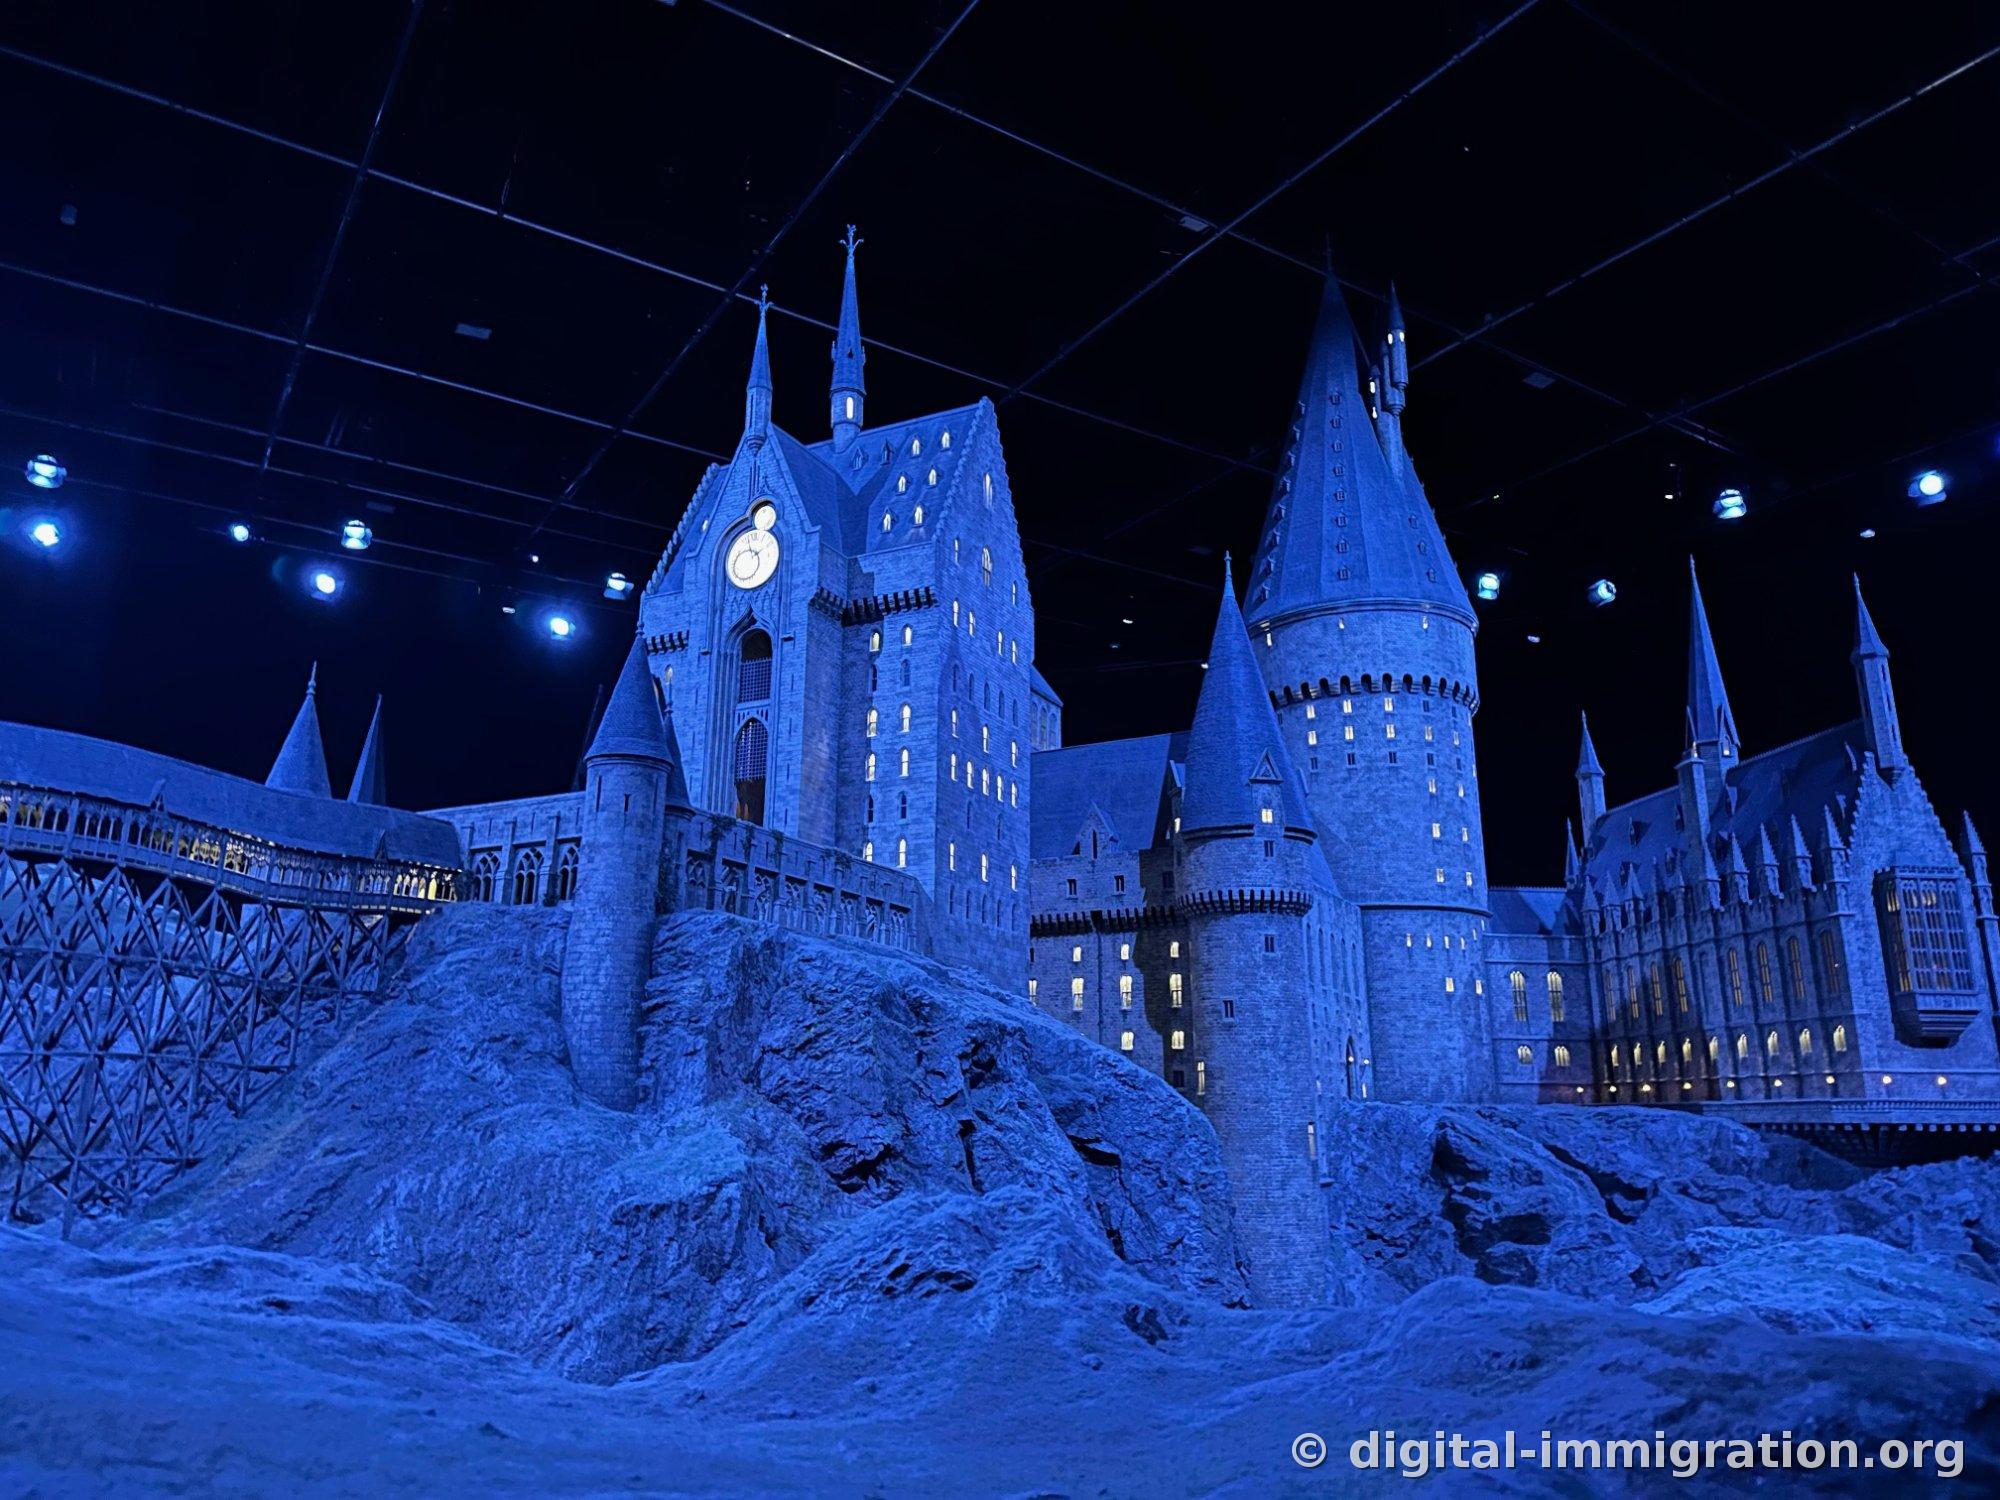
In the second half of the tour, there's a room with a Hogwarts model. Its scale demands circling it, and lighting changes periodically. When we first entered, warm daytime lighting bathed everything. Yellow light glowed from every window, the greenhouse glass roof, bridges, and rocky terrain texture all meticulously rendered.
Halfway around to the opposite side, the lighting shifted to night. Everything submerged in blue, with only the yellow window lights remaining. The room went quiet—everyone noticing simultaneously. Wooden bridges and clock towers emerged as silhouettes against the blue tone. Several visitors turned around to photograph it again. I did too.
Practical Notes to Take Away
- Getting there: Toshimaen Station on the Seibu Ikebukuro line or Toei Oedo line. It's visible right as you exit the ticket gates. The wrapped train car is a matter of luck—waiting won't bring it.
- Duration: We spent about 6 hours with photo stops. The official estimate is shorter, but reading the prop nameplates along the way adds time.
- Footwear: The cobblestone sections of Diagon Alley and outdoor areas make flip-flops a regret.
- Photography: The artifact display sections have dim lighting and heavy glass glare. Moving to the side to avoid reflections works better than using flash.
- Tickets, pricing, hours: Date-specific reservation system; details vary seasonally. Check the booking page for accuracy.
- Cafe: Butterbeer is very sweet. Taste one glass before ordering for the whole group.
This isn't a recreation of movie sets—it's a showcase of the actual props and the methods used to create them. Reading the placards explaining things like titanium broom handles changes how you experience the tour. If visiting with people unfamiliar with the source material, it's worth spending more time at the Great Hall, locomotive, and castle model than at the artifact section.
អានបន្តទៀត
- From Akihabara's Chuo-dori to the Kanda River: A Record of Tokyo's Electronics District Revisited Multiple Times
Tokyo's Akihabara is a neighborhood where it's hard to say you've seen everything in a single visit. I've come multiple times across different seasons, and each time the signs chan…
Tokyo · Akihabara - Buying a Single ¥300 Year-End Jumbo Lottery Ticket at Nishi-Ginza Chance Center in Tokyo
Exit from the Hibiya exit of Tokyo's Shimbashi Station, walk toward the elevated highway for about three minutes, and suddenly you'll see a line of people stretching along the side…
Tokyo · Nishi-Ginza Chance Center - Ueno Ameyoko, the real magic starts after sunset — an evening walk from the Okachimachi Gate to Ueno Station
Every time I come to Tokyo, my feet find their way to Ueno Ameyoko (アメ横) without fail. This time I entered from the Okachimachi side and worked my way toward Ueno Station. I've met…
Tokyo · Ameya Yokocho Market